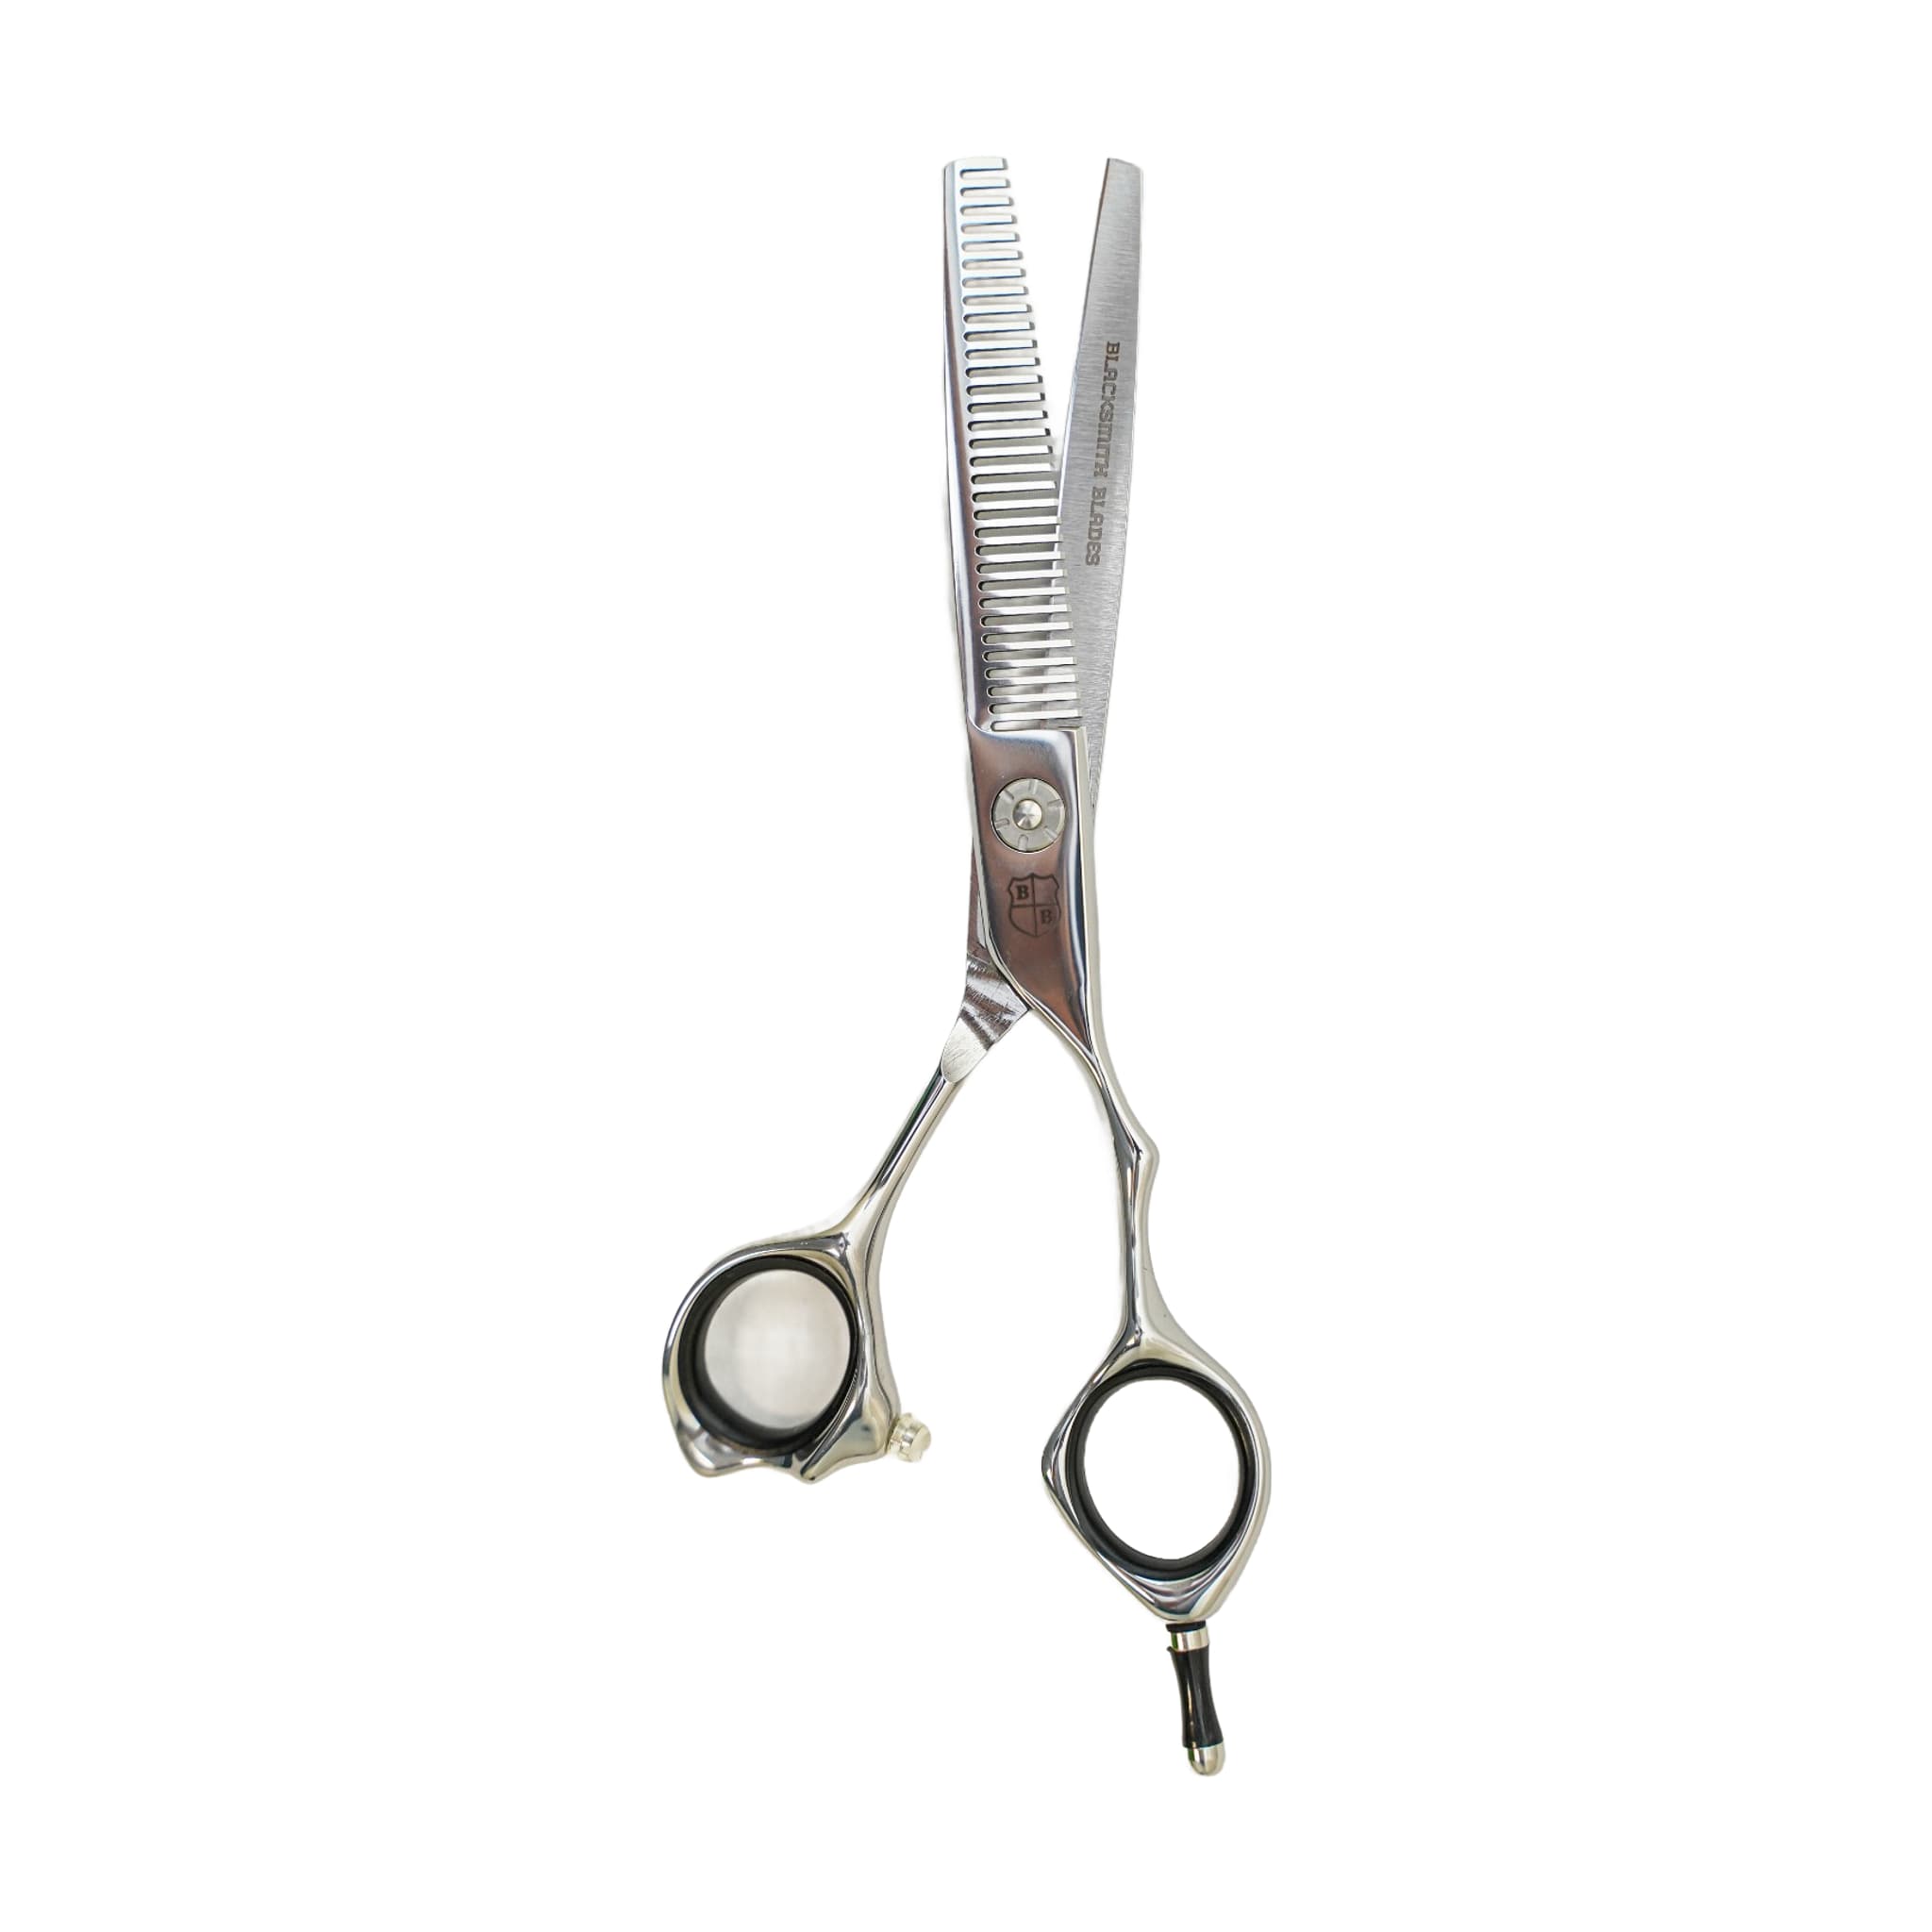
October 17, 2026/3 min read
Your End-of-Shift Care Routine for the Shears in the 5 Piece Hair Cutting Kit - 9CR
Wipe, oil the pivot, check tension when signs appear and store your shears protected. A short closing routine for the shears in the 5 Piece Hair Cutting Kit - 9CR.
What you're caring for in this kit
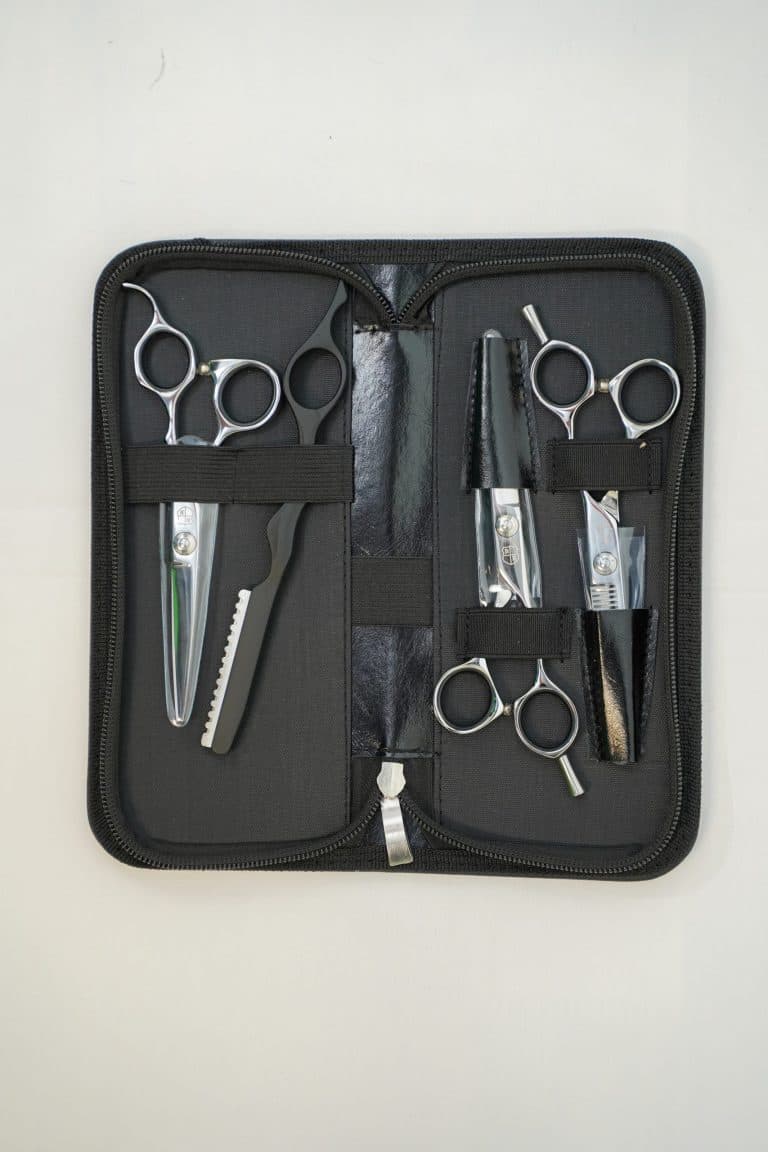
The 5 Piece Hair Cutting Kit - 9CR contains five pieces: a cutting shear in the size you choose, a 5.5-inch cutting shear, a 32T thinning shear, a hand/feather razor and a shear wallet. The main shear comes in 5.75, 6.5 or 7 inches, with left- or right-handed options. Four of the five pieces cut; the wallet is there for storage.
This routine is about your shears. It leaves out razor cleaning or handling, cleaning between the thinning shear's teeth, sharpening, and choosing an oil. The cleaning, oiling, tension and storage steps come from Blacksmith Blades' general shear-care pages rather than testing on this particular kit, so treat them as general practice you can apply to your shears.
Close the shift with a wipe-down and a pivot touch-up
After a full day of work, strands, styling product, moisture and disinfectant residue can settle in and around the blades and the pivot. Before you put your shears away, wipe down each one. A wipe-down looks after the surface finish and supports smooth blade movement.
Once the shear is wiped, apply a light application of oil to the pivot. This keeps the action clean and reduces needless friction. Afterward, open and close the shear so the oil spreads through the pivot.
If your shears work every day, oiling the pivot on a regular basis suits them, particularly after you've cleaned or disinfected them.
Spot the signs, then test the tension
Three things can prompt you to look at tension: cuts that come out uneven, hair that tugs or catches near the tip, and a hand that has to work harder than usual to close the blades. A shear can look perfectly fine and still show these signs.
Start by clearing loose hair and product away from the pivot and adding a light touch of shear oil. Oiling first lets you judge the feel of the shear more accurately. Once you've adjusted, confirm the result on clean hair or a practice fiber, and do that before a client sits down.
- Open the shear, lift one handle and let the blades close under their own weight.
- A good result is a shear that neither drops shut sharply nor hangs wide open.
- Adjust gradually in small steps and retest each time, before you cut any hair; tightening too far adds drag and tires your hand.
- Pause adjusting if anything about the screw, the ride line or the blade seems damaged.
If small adjustments don't end the folding, pushing, pulling or rough cutting, send the shear in for service.
Store your shears so the blades stay protected
Careless storage and misuse cause a lot of avoidable harm to shears. Even a small nick from a drawer, a counter edge or a drop can change how a shear cuts.
Rather than leaving your shears loose in a drawer or bag, place them in a case, wallet or other protected holder so the blades and tips don't touch other tools. The shear wallet that comes with your kit is one option for this.
Cut only hair with your hair shears. Cloth, string, tags, packaging and paper can damage or dull the edge.
Your closing routine at a glance
- Wipe each shear after use to clear residue and protect the finish.
- Oil the pivot lightly and open and close the shear to work the oil through.
- If you notice tension symptoms, clear the pivot, oil it, then run the tension check on clean hair or test fiber.
- Send the shears for service if adjusting doesn't resolve the problem.
- Put the shears in the wallet or another protected holder, away from other tools.
When you're ready to look at the kit itself, you can view the 5 Piece Hair Cutting Kit - 9CR on its product page.
Related resources
Sources
- 5 Piece Hair Cutting Kit - 9CR - Blacksmith Blades
- Adjusting Shear Tension - Blacksmith Blades
- Daily Shear Care and Storage - Blacksmith Blades