October 13, 2026/4 min read
How to Clean, Oil, and Store the 6CR 32T Professional Thinning Shear After Every Session
Your 6CR 32T Professional Thinning Shear needs a consistent post-session routine — wipe the blades and teeth, oil the pivot, check tension, and store it safely — to keep the pivot smooth and the edge clean between sharpening services.
Why the 6CR 32T Needs a Post-Session Care Routine
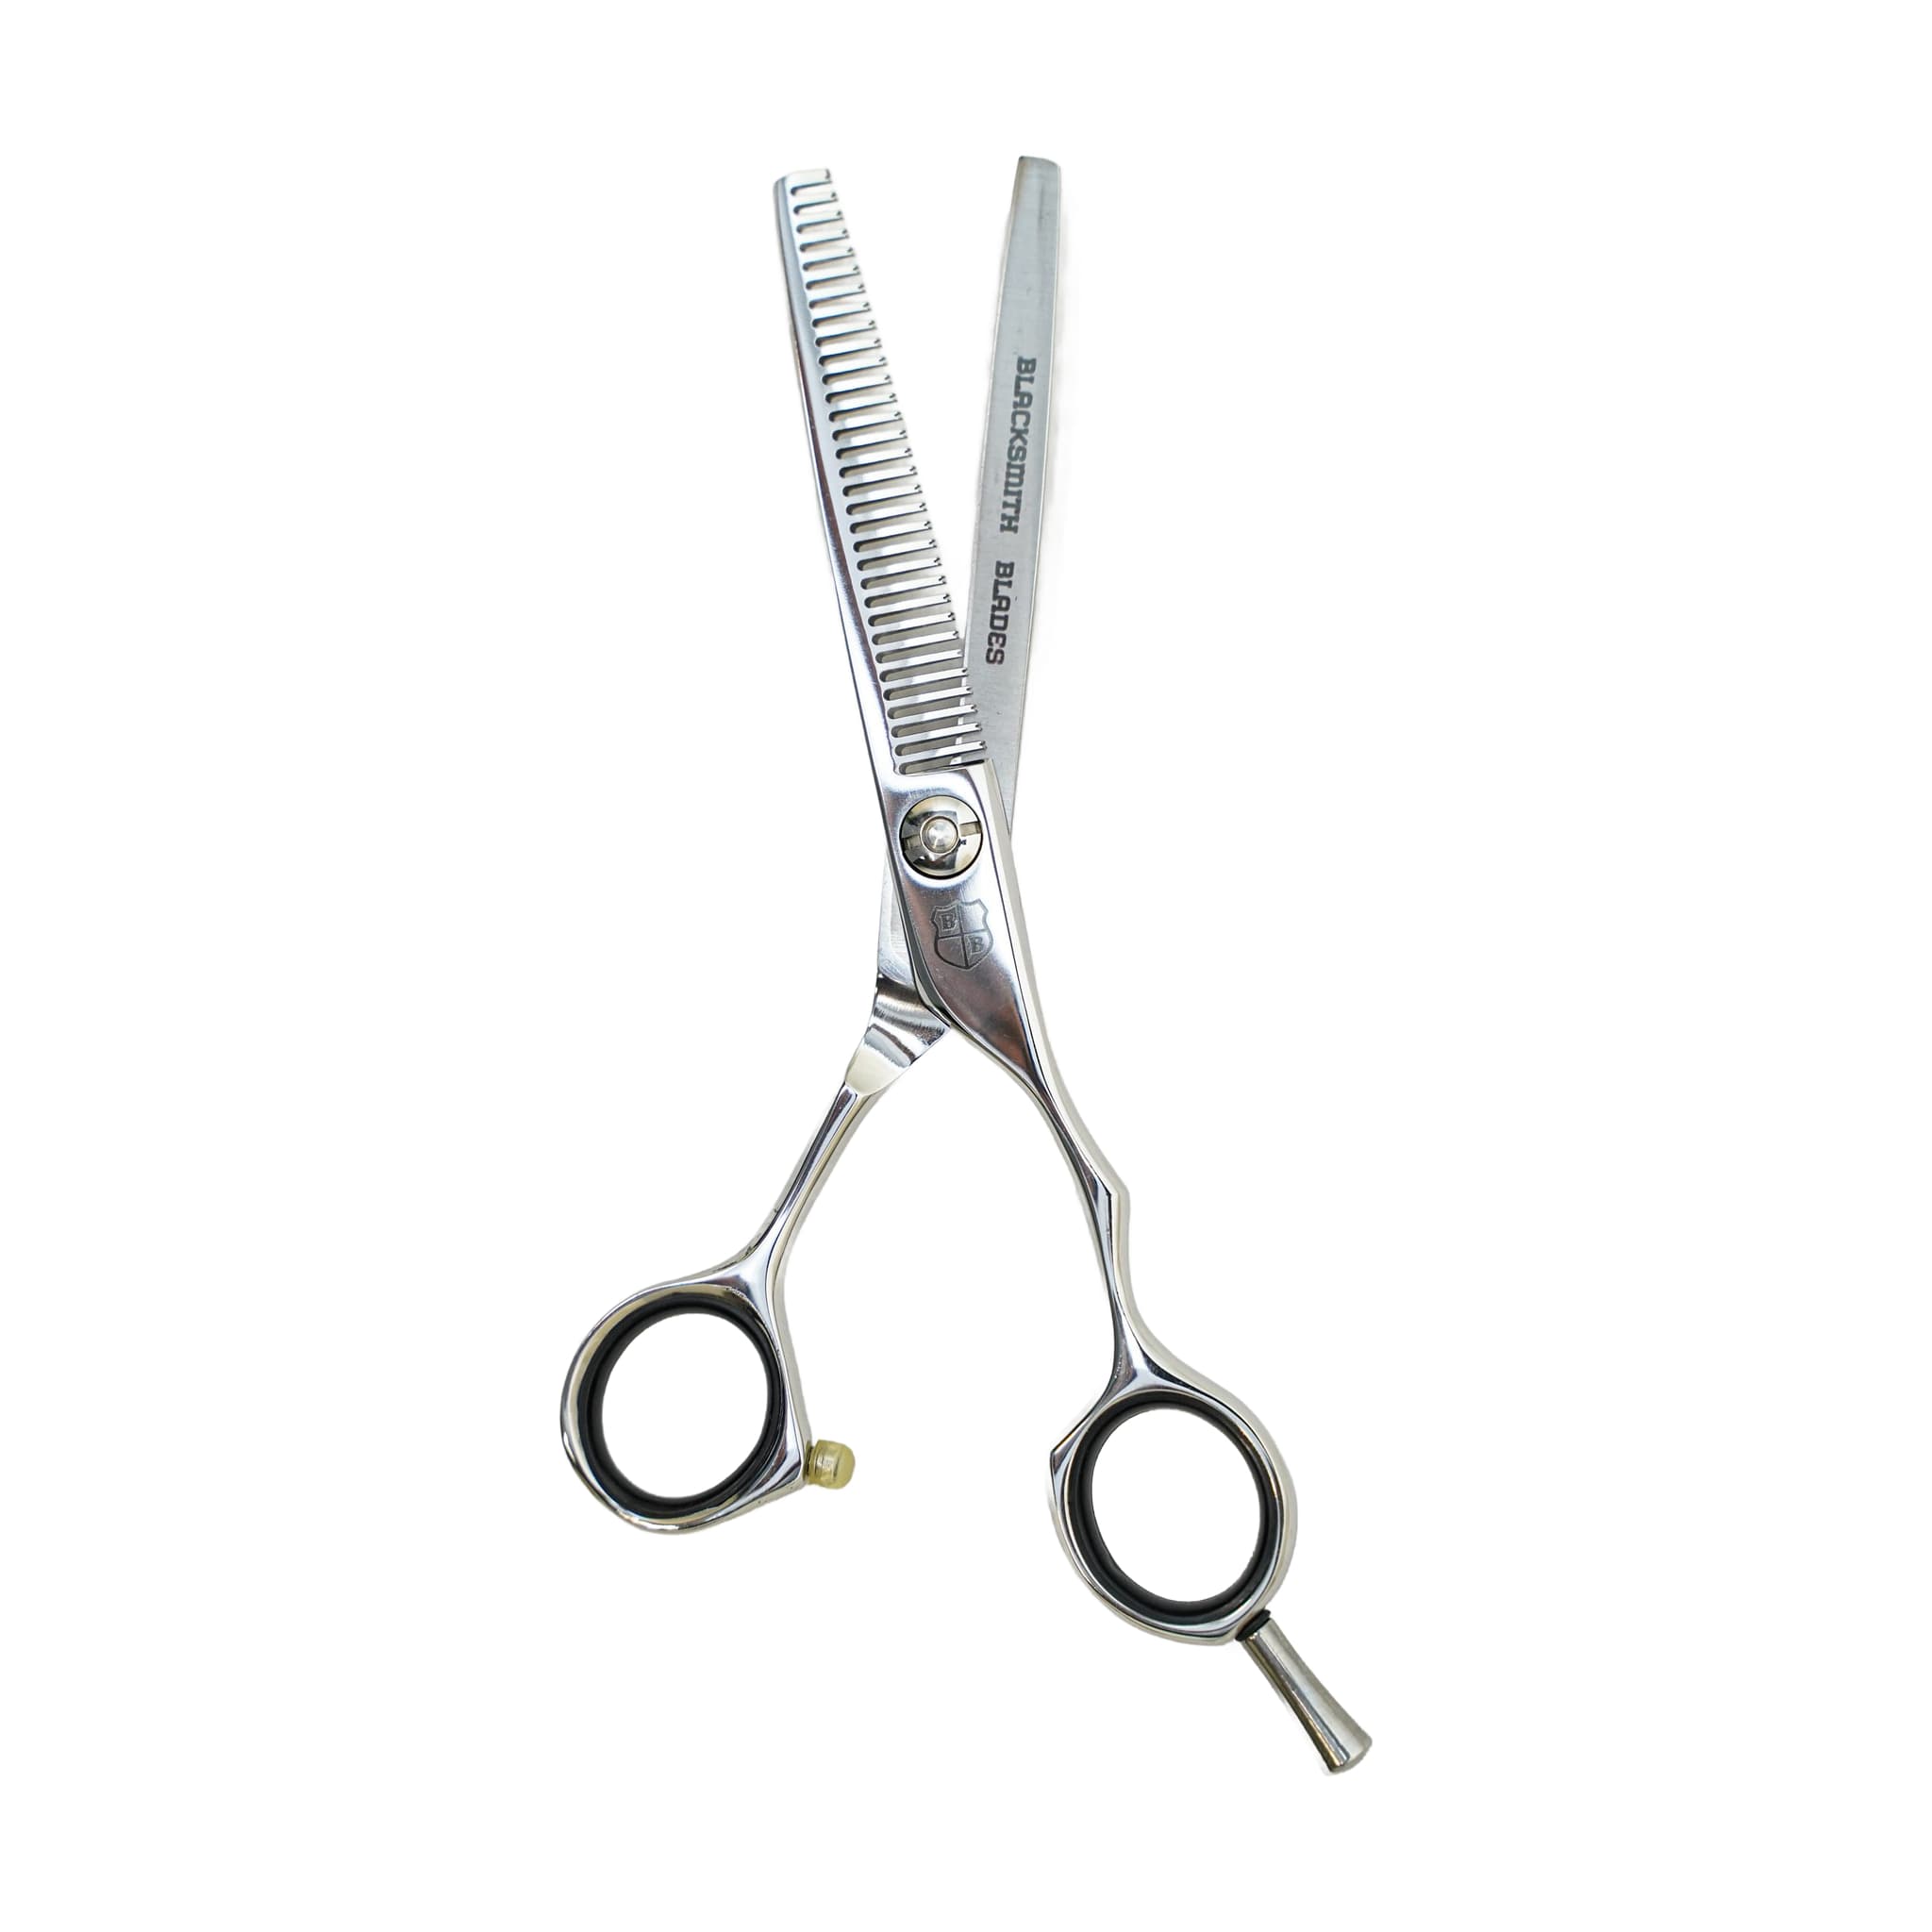
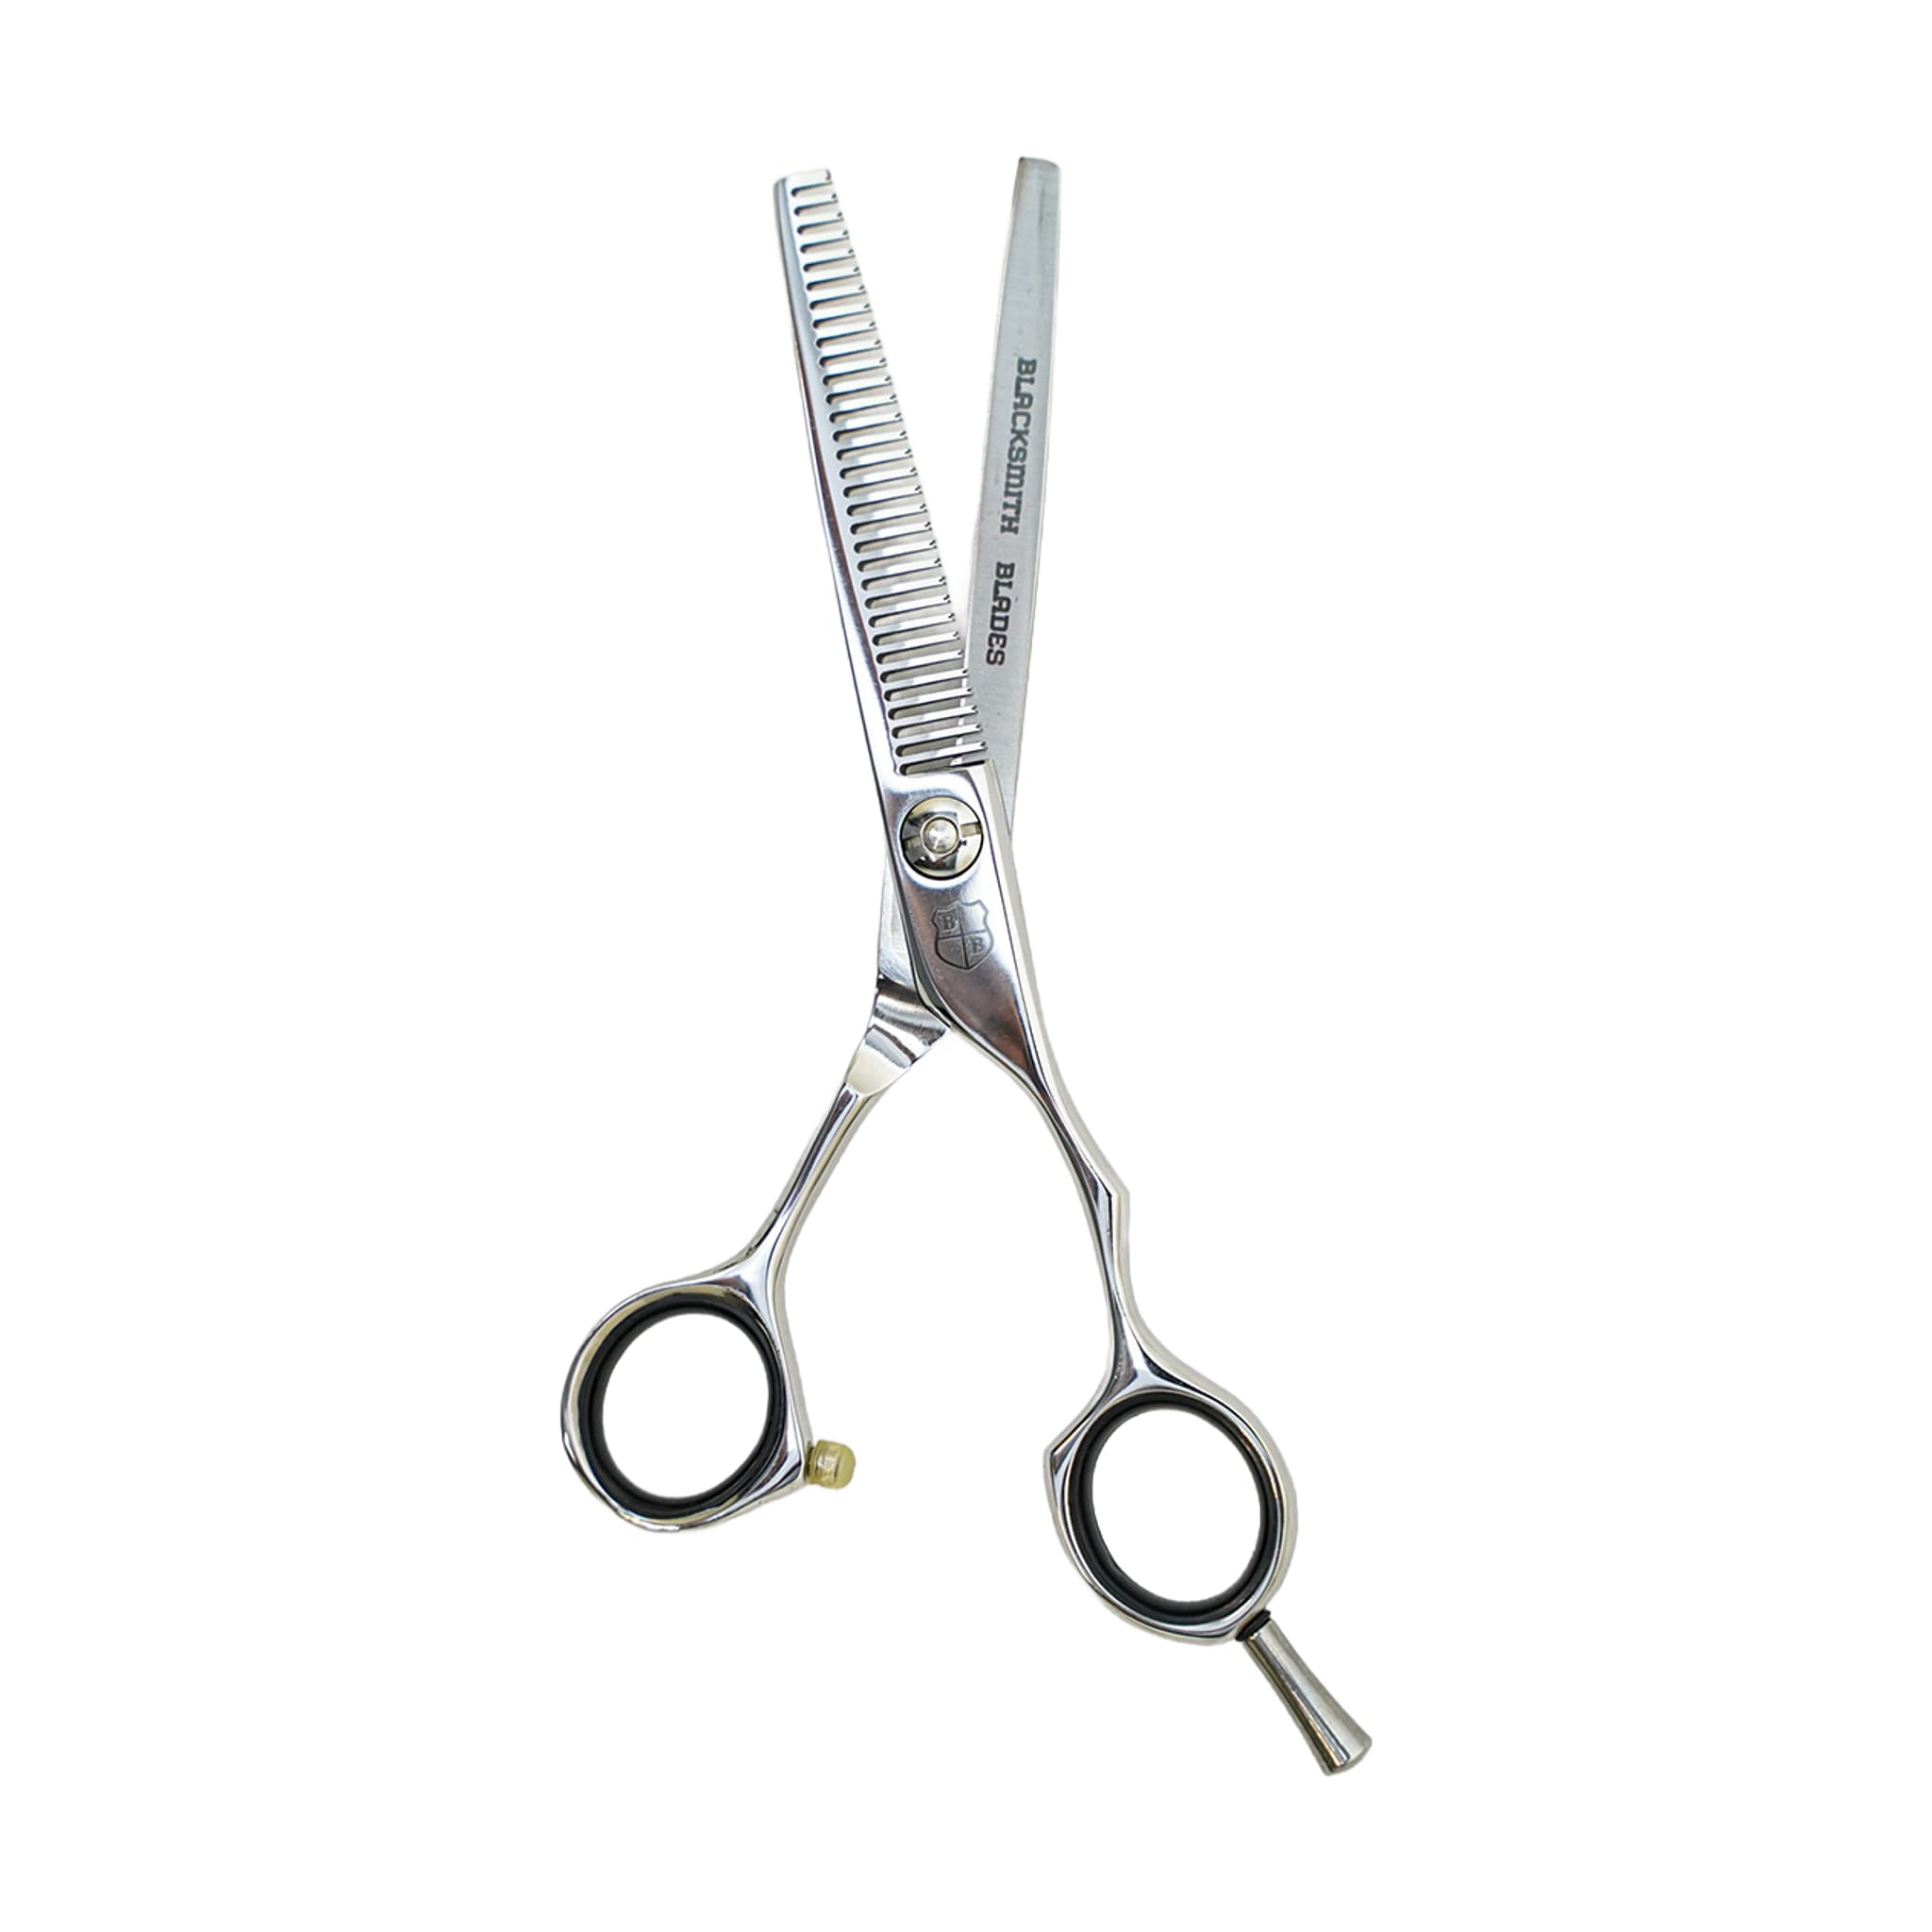
Thinning shears have more places for hair and product to collect than straight cutting shears, and the 6CR 32T Professional Thinning Shear is no exception. With 32 teeth along one blade, buildup between those teeth is a specific concern after every session. If that buildup is left unaddressed, the shear can start to drag or feel inconsistent during the next cut.
A nicked tooth can change the way the tool performs and may cause pulling. Attending to the shear after each shift — cleaning the teeth, oiling the pivot, and storing it properly — supports a cleaner edge and a smoother pivot between professional sharpening services.
Wipe the Blades and Clear the Teeth
After your last client of the shift, wipe the shear down before putting it away. Hair, product, moisture, and disinfectant residue can collect around the blades and pivot, and wiping the shear after use protects the finish and helps the blades move smoothly.
Because your thinning shear has a toothed blade, pay particular attention to the spaces between the teeth. Cleaning between uses is especially important for thinning and texturizing shears precisely because of those additional collection points. A soft cloth or a small brush drawn through the teeth removes the fine hair and product residue that a quick wipe of the flat blade surface alone will miss.
Oil the Pivot
Once the blades and teeth are clean, apply a small amount of shear oil at the pivot. This helps the blades move cleanly and reduces unnecessary friction. It also makes your tension check more accurate, so oiling before you assess tension — rather than after — gives you a truer read of how the shear is actually set.
After applying the oil, open and close the shear several times to work it through the pivot. Daily working shears benefit from this step regularly, and it becomes especially important after cleaning or disinfecting, when residue removal may have stripped away any oil that was already present.
Check Tension as Part of the Routine
With the pivot clean and freshly oiled, you're ready to assess tension. Hold the shear by one handle, let the other fall freely, and observe how far it closes on its own. A well-set shear moves partway and stops — it neither drops all the way shut nor stays fully open. If the result is at either extreme, a small incremental adjustment is worth making before your next session; test again before returning to client work.
Knowing what incorrect tension feels like helps you catch problems early. When the pivot screw is too loose, hair tends to fold or push away rather than sever cleanly. When it is too tight, the shear feels heavy and rough in the hand and can cause fatigue over a long shift. Neither condition is obvious from looking at the shear — you'll notice it in how the tool feels during a cut.
If a tension adjustment does not resolve folding, pushing, pulling, or rough cutting — or if the screw, ride line, or blade feels damaged — stop adjusting and send the shear for professional service. Self-adjustment has a clear stopping point.
Store the Shear Safely
Most preventable shear damage comes from storage and misuse. A small nick from a drawer edge, a counter surface, or a dropped tool can change how the shear cuts — and on a toothed blade, even a single damaged tooth affects the result. After your care routine, store your thinning shear in a case or protected holder rather than loose in a drawer or bag.
- Store the shear in a case, wallet, or protected holder so the teeth and tips do not contact other tools or hard surfaces.
- Do not toss the shear loose into a drawer or bag where the blade can contact other objects.
- Use your thinning shear only on hair — never on paper, tags, thread, or packaging, as these can dull or damage the edge quickly.
When to Send Your Thinning Shear for Professional Sharpening
Your post-session routine keeps the pivot clean and the edge free of buildup, but it does not replace professional sharpening. When the shear starts to snag, pull, or feel rough during a cut, that is the signal that professional sharpening is the appropriate next step. Thinning shears require careful service because the teeth and the cutting edge must work together, so this is not a task for general sharpening tools.
The same applies if tension adjustment does not resolve folding, pushing, pulling, or rough cutting. At that point, continued self-maintenance is not the right path — the shear needs professional attention.
Related resources
Sources
- 6CR 32T Professional Thinning Shear - Blacksmith Blades
- Adjusting Shear Tension - Blacksmith Blades
- Daily Shear Care and Storage - Blacksmith Blades
- How to Use Texturizing and Thinning Shears Like a Professional - Blacksmith Blades