September 22, 2026/4 min read
How to Use the 3 Piece Haircutting Kit - 6CR: Tool Roles, Technique Foundations, and Daily Care
The 3 Piece Haircutting Kit - 6CR includes a cutting shear, a 32T thinning shear, and a hand/feather razor. Learn each tool's role and a simple wipe, oil, and storage routine after each session.
What Comes in the 3 Piece Haircutting Kit - 6CR
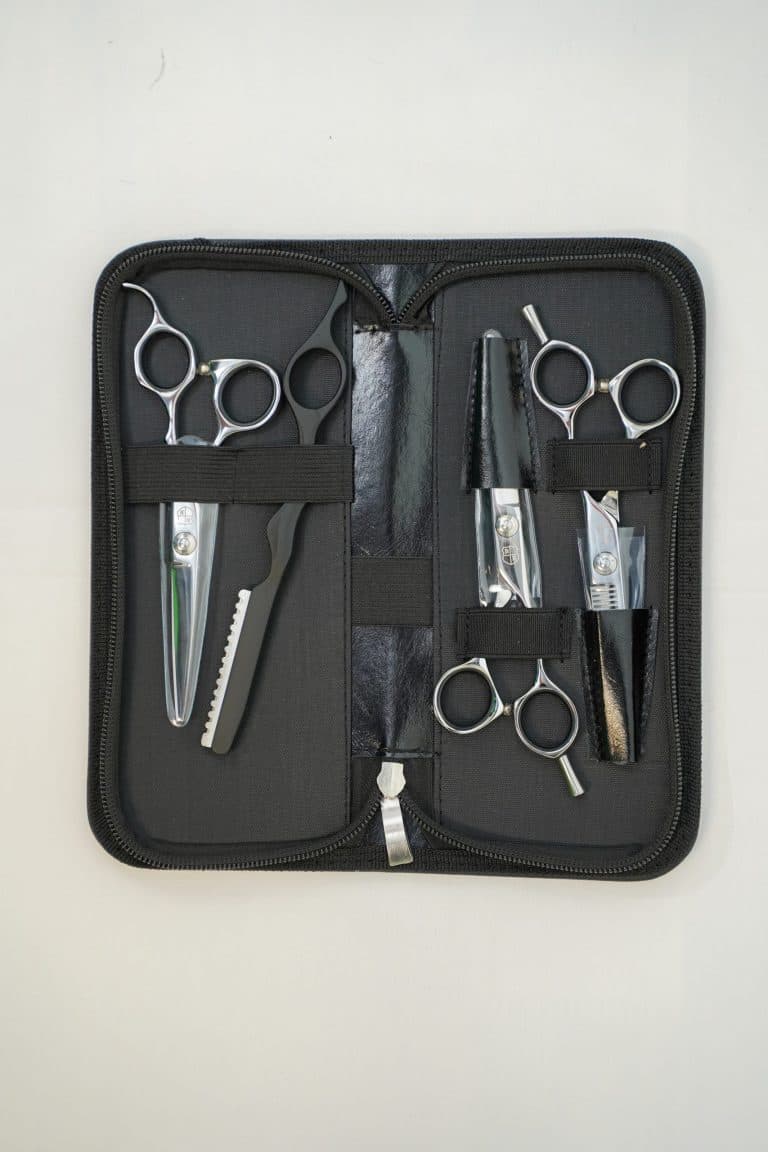
The 3 Piece Haircutting Kit - 6CR includes a professional cutting shear in your chosen size — 5.75, 6.5, or 7 inches — a 32T professional thinning shear, a hand/feather razor, and a shear wallet. Use the wallet to store your shears between sessions.
Before your first cut, identify the cutting shear, thinning shear, and razor. Use each for its intended role. The sections below explain what each tool does and how to care for the kit after every session.
Who This Kit Is Built For and What 6CR Steel Means
This kit was designed with affordability in mind and is frequently used as academy shears, though professionals also reach for it. If you are a student beginning your training or a professional who wants a practical backup set, the 6CR steel grade fits that use case well.
6CR steel is a practical, affordable option for students and occasional users. For your own kit, follow the daily care steps below: wipe the blades, oil the pivot, and store the tools in their wallet.
Assign a Role to Each Tool Before You Cut
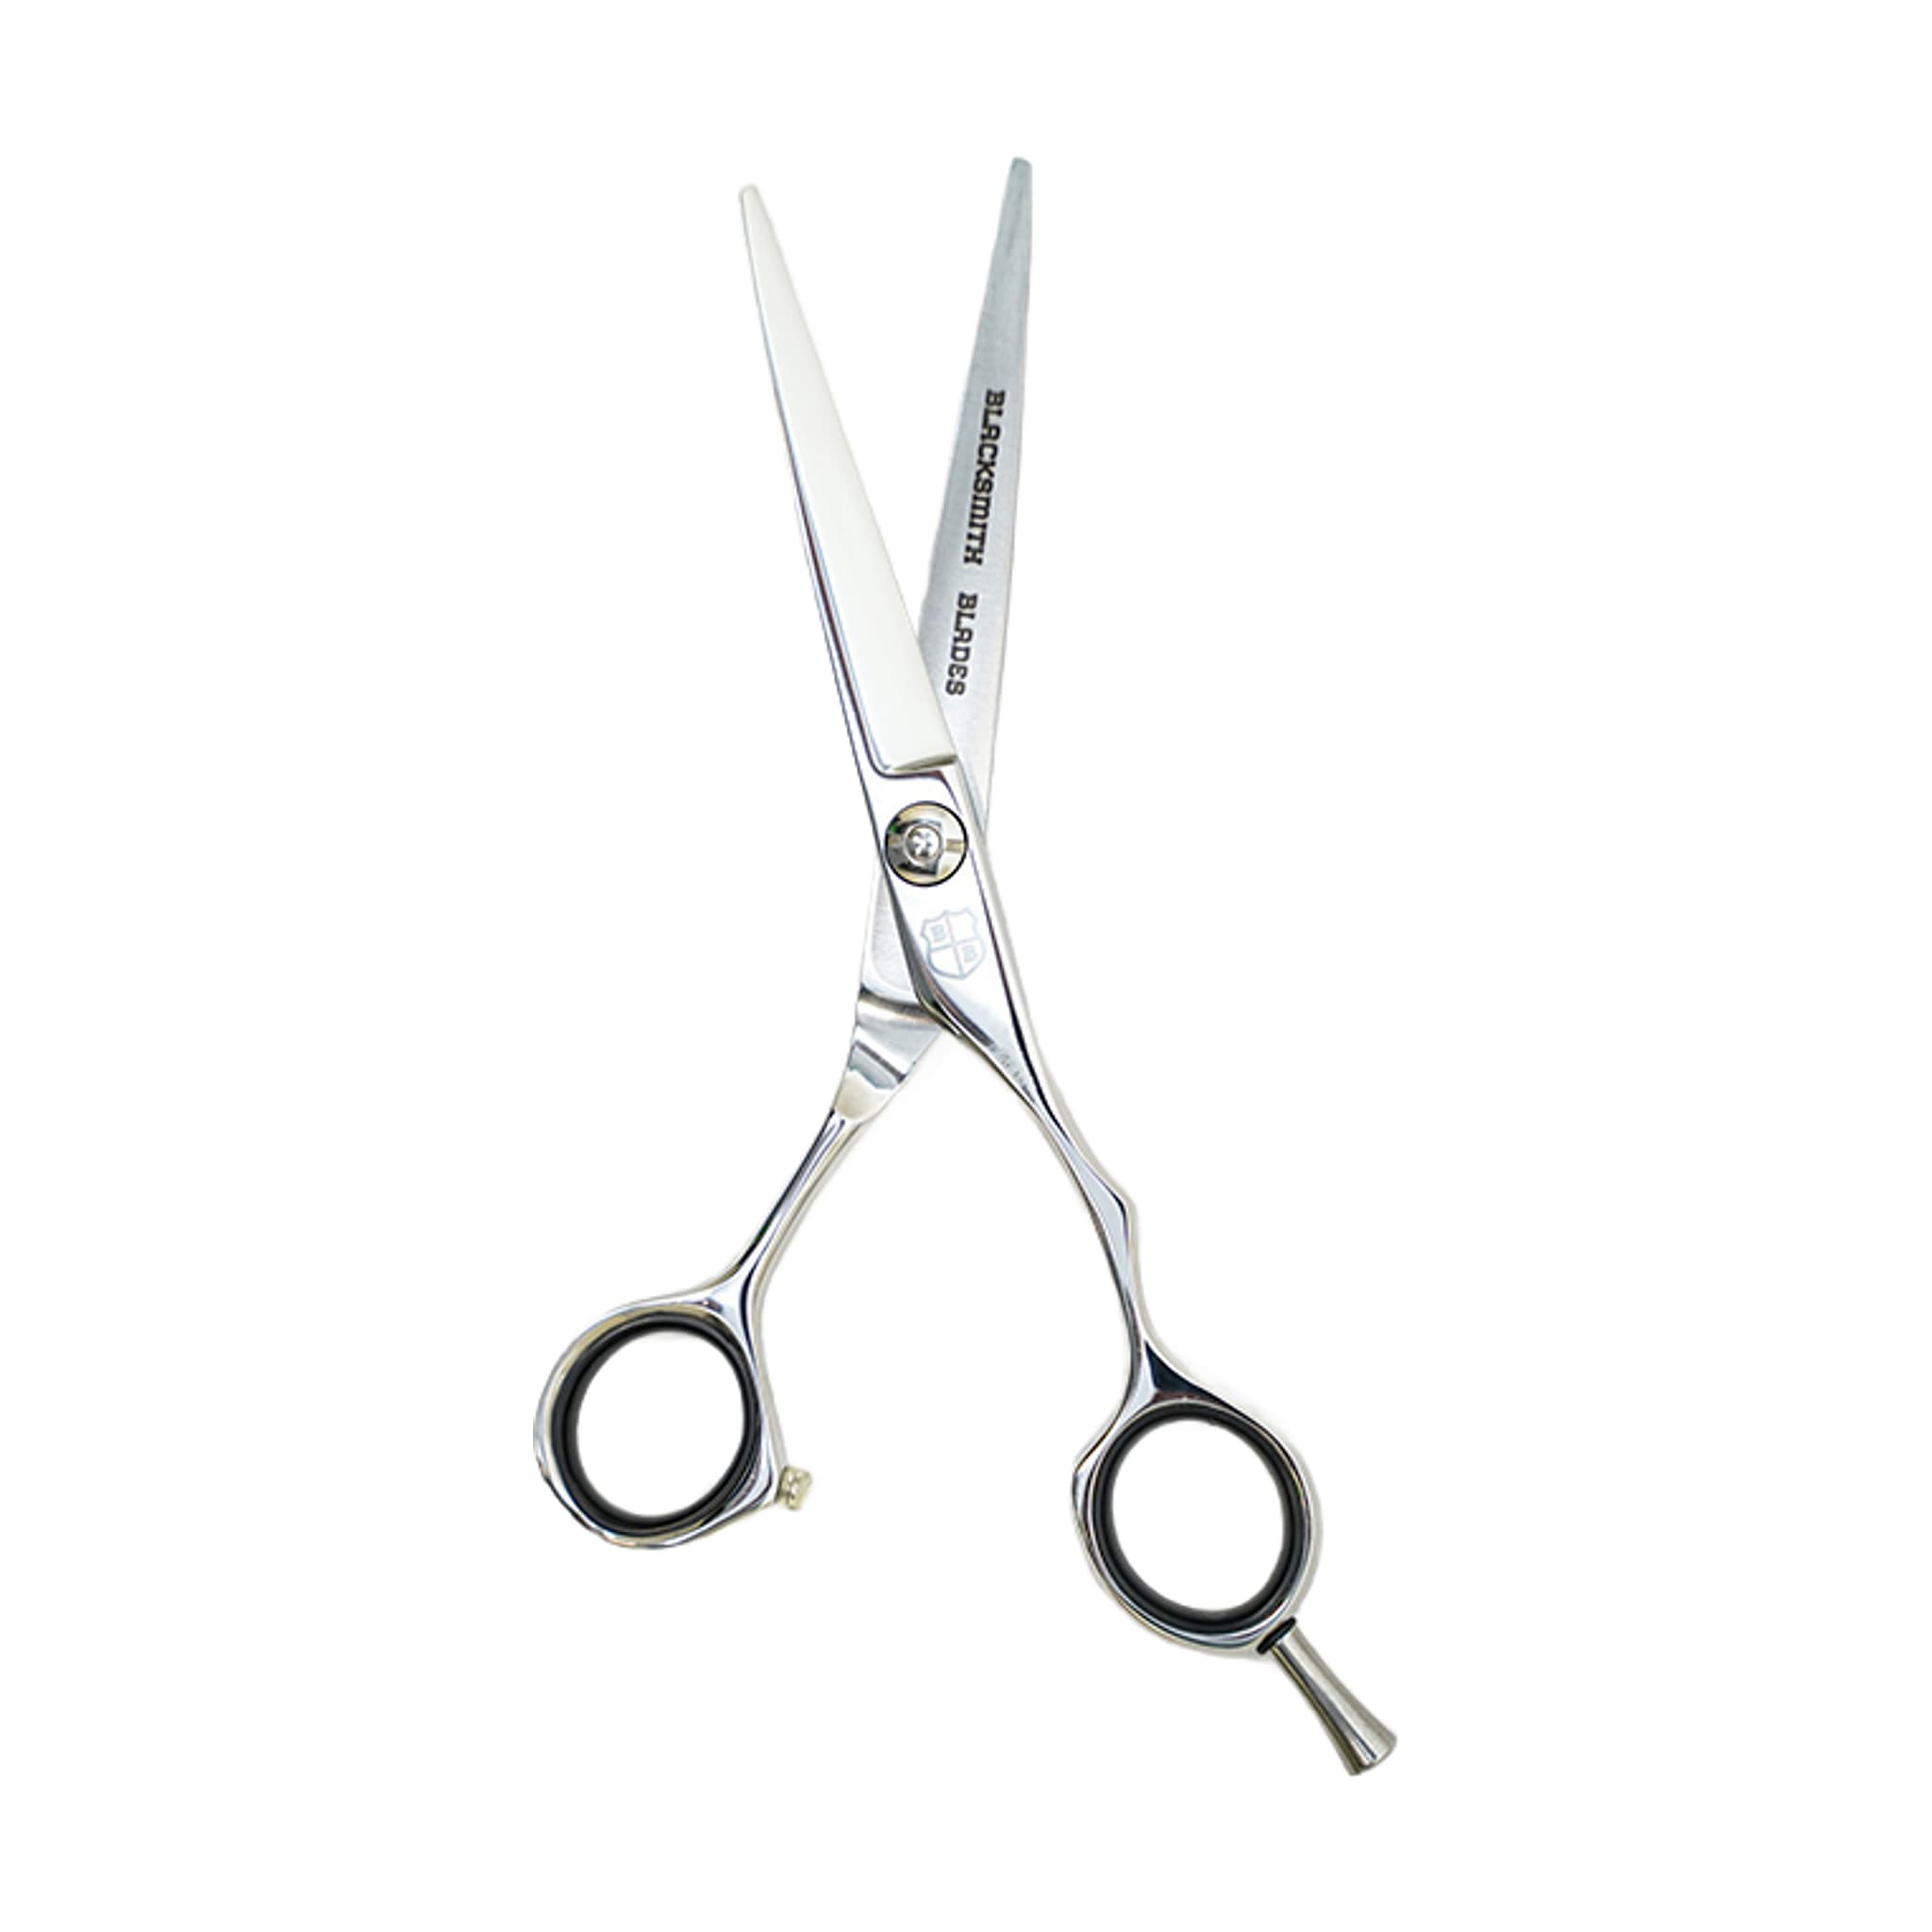
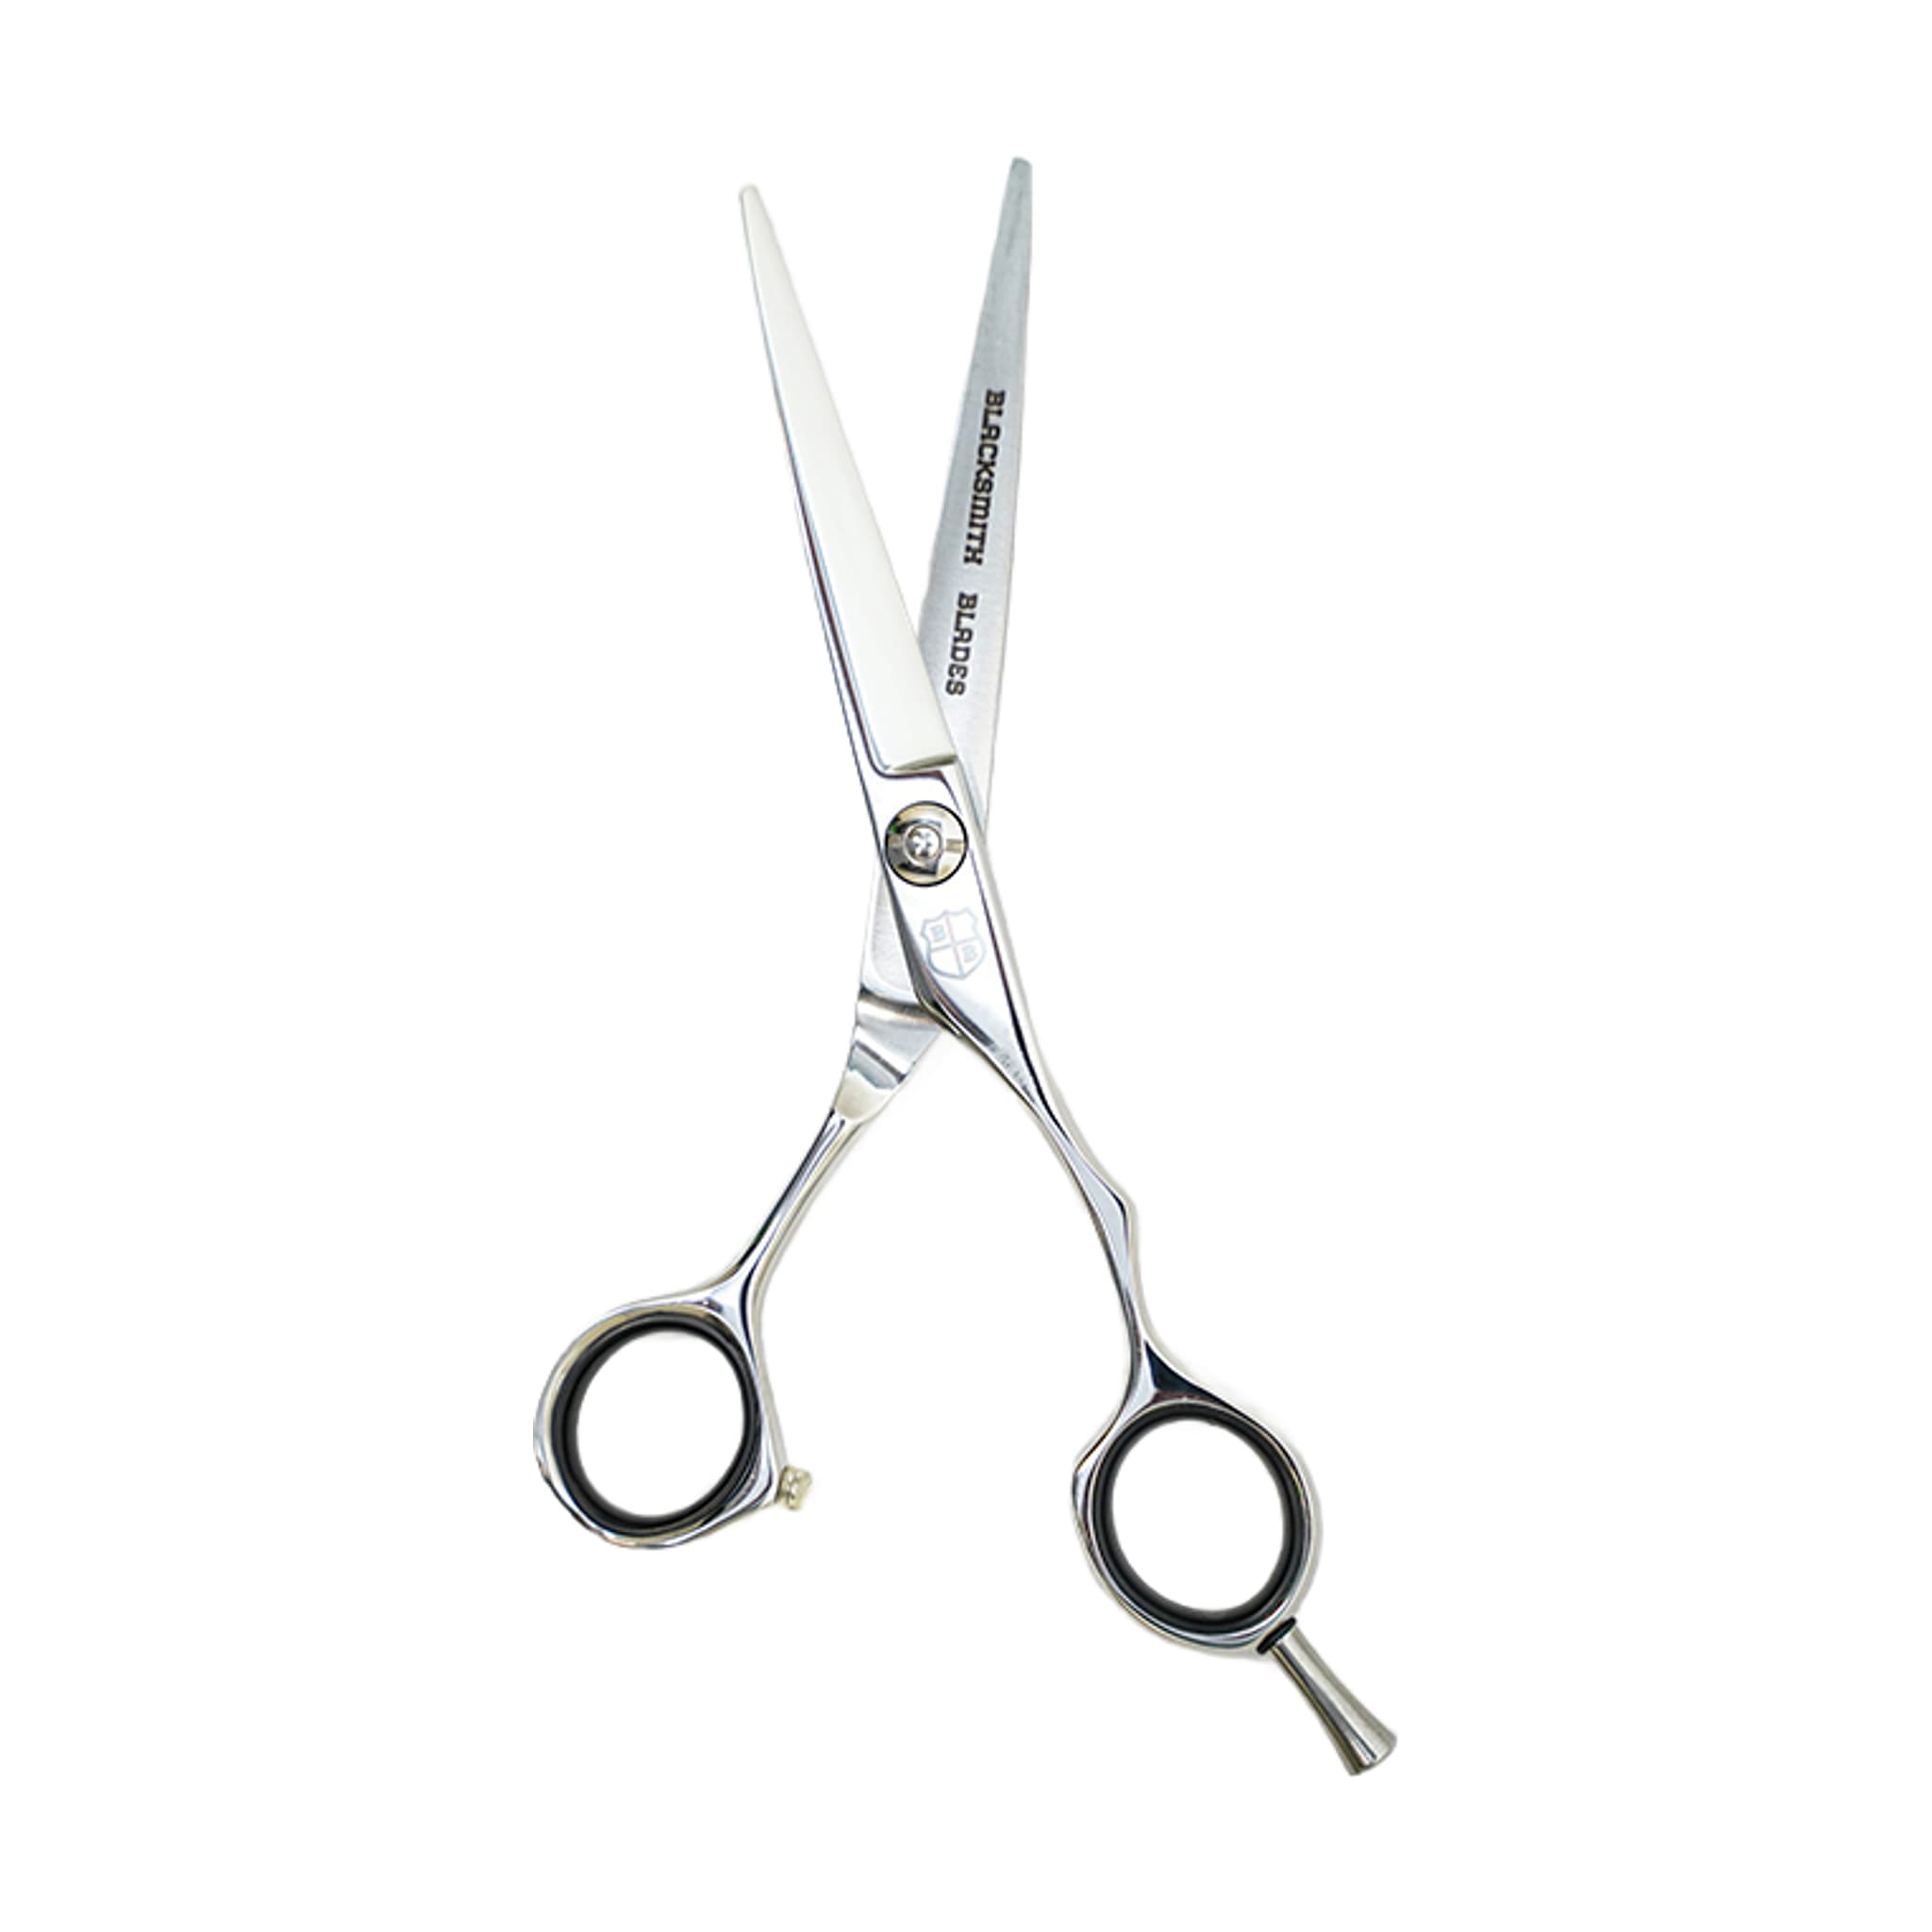
Your cutting shear is the foundation tool. It handles basic cutting, layering, point cutting, and general shaping. Before you reach for anything else in the kit, your cutting shear should have already established the structure of the haircut.
Your 32T thinning shear comes in after the cutting shear has done its work. It is a complement to the cutting shear, not a replacement for it. A thinning shear is added when you need better finishing control — softening weight lines, blending sections, or refining texture after the shape is already in place.
The 32T thinning shear in your kit is a versatile blending option. More teeth on a thinning shear generally produce a softer blend, while fewer teeth remove more hair and create stronger texture.
Your hand/feather razor is the third tool in the kit. Its role is distinct from both shears. Do not substitute the razor for the cutting shear or the thinning shear — each tool should have a defined place in your workflow.
Daily Care After Every Session: Wipe, Oil, and Store
Hair, product residue, moisture, and disinfectant can collect around the blades and pivot during a session. Wiping your shears down after each use protects the finish and helps the blades move smoothly the next time you pick them up.
After wiping, add a small amount of oil at the pivot. Oil helps the blades move cleanly, reduces unnecessary friction, and makes your tension checks more accurate. Open and close the shear a few times to work the oil through the pivot. Daily working shears benefit from this step especially after cleaning or disinfecting.
- Wipe the blades clean after every session to remove hair, product, and moisture.
- Apply a small amount of shear oil at the pivot and open and close the shear to distribute it.
- Store your shears in a wallet or protected holder so the blades and tips do not contact other tools.
- Use your shears only on hair — paper, tags, thread, and packaging can dull or damage the edge quickly.
Checking and Adjusting Tension
How firmly the blades press against each other as they close determines whether your shear performs as expected or folds and pushes hair instead. A screw set too loose allows hair to slip between the blades rather than being cut. A screw set too tight makes the shear feel heavy or rough in your hand. When your shear starts folding or pushing hair, check the tension setting before assuming the edge is the problem — the blades may simply not be meeting correctly.
To check tension, hold the shear open, lift one handle, and allow it to fall closed on its own. A well-set shear closes partway and stops — it neither slams shut nor hangs fully open. Oil the pivot before you evaluate the final feel, then make small incremental adjustments and test on hair before returning to client work.
If adjusting tension does not stop folding, pushing, pulling, or rough cutting, send the shear for professional service. Stop immediately if the screw, ride line, or blade feels damaged.
Using the Shear Wallet to Protect the Kit
Your kit includes a shear wallet, and using it consistently is one of the simplest ways to protect your edges between sessions. Storing your shears in the wallet keeps the blades and tips from contacting other tools, surfaces, or the inside of a bag.
Loose storage or a dropped tool can nick a blade and affect how the shear cuts. After you've wiped and oiled the tools, return them to the wallet before you put them away.
Related resources
Sources
- 3 Piece Haircutting Kit - 6CR - Blacksmith Blades
- Adjusting Shear Tension - Blacksmith Blades
- Daily Shear Care and Storage - Blacksmith Blades
- Different Types of Haircutting Shears and How to Choose the Right Pair - Blacksmith Blades