September 14, 2026/4 min read
How to Use the 3 Piece Haircutting Kit - 9CR with 42T: Tool Roles, Thinning Technique, and Daily Care
Getting consistent results from the 3 Piece Haircutting Kit - 9CR with 42T starts with knowing what each tool does, applying deliberate technique with the 42T thinning shear, and following a simple daily care routine.
What Comes in the 3 Piece Haircutting Kit - 9CR with 42T
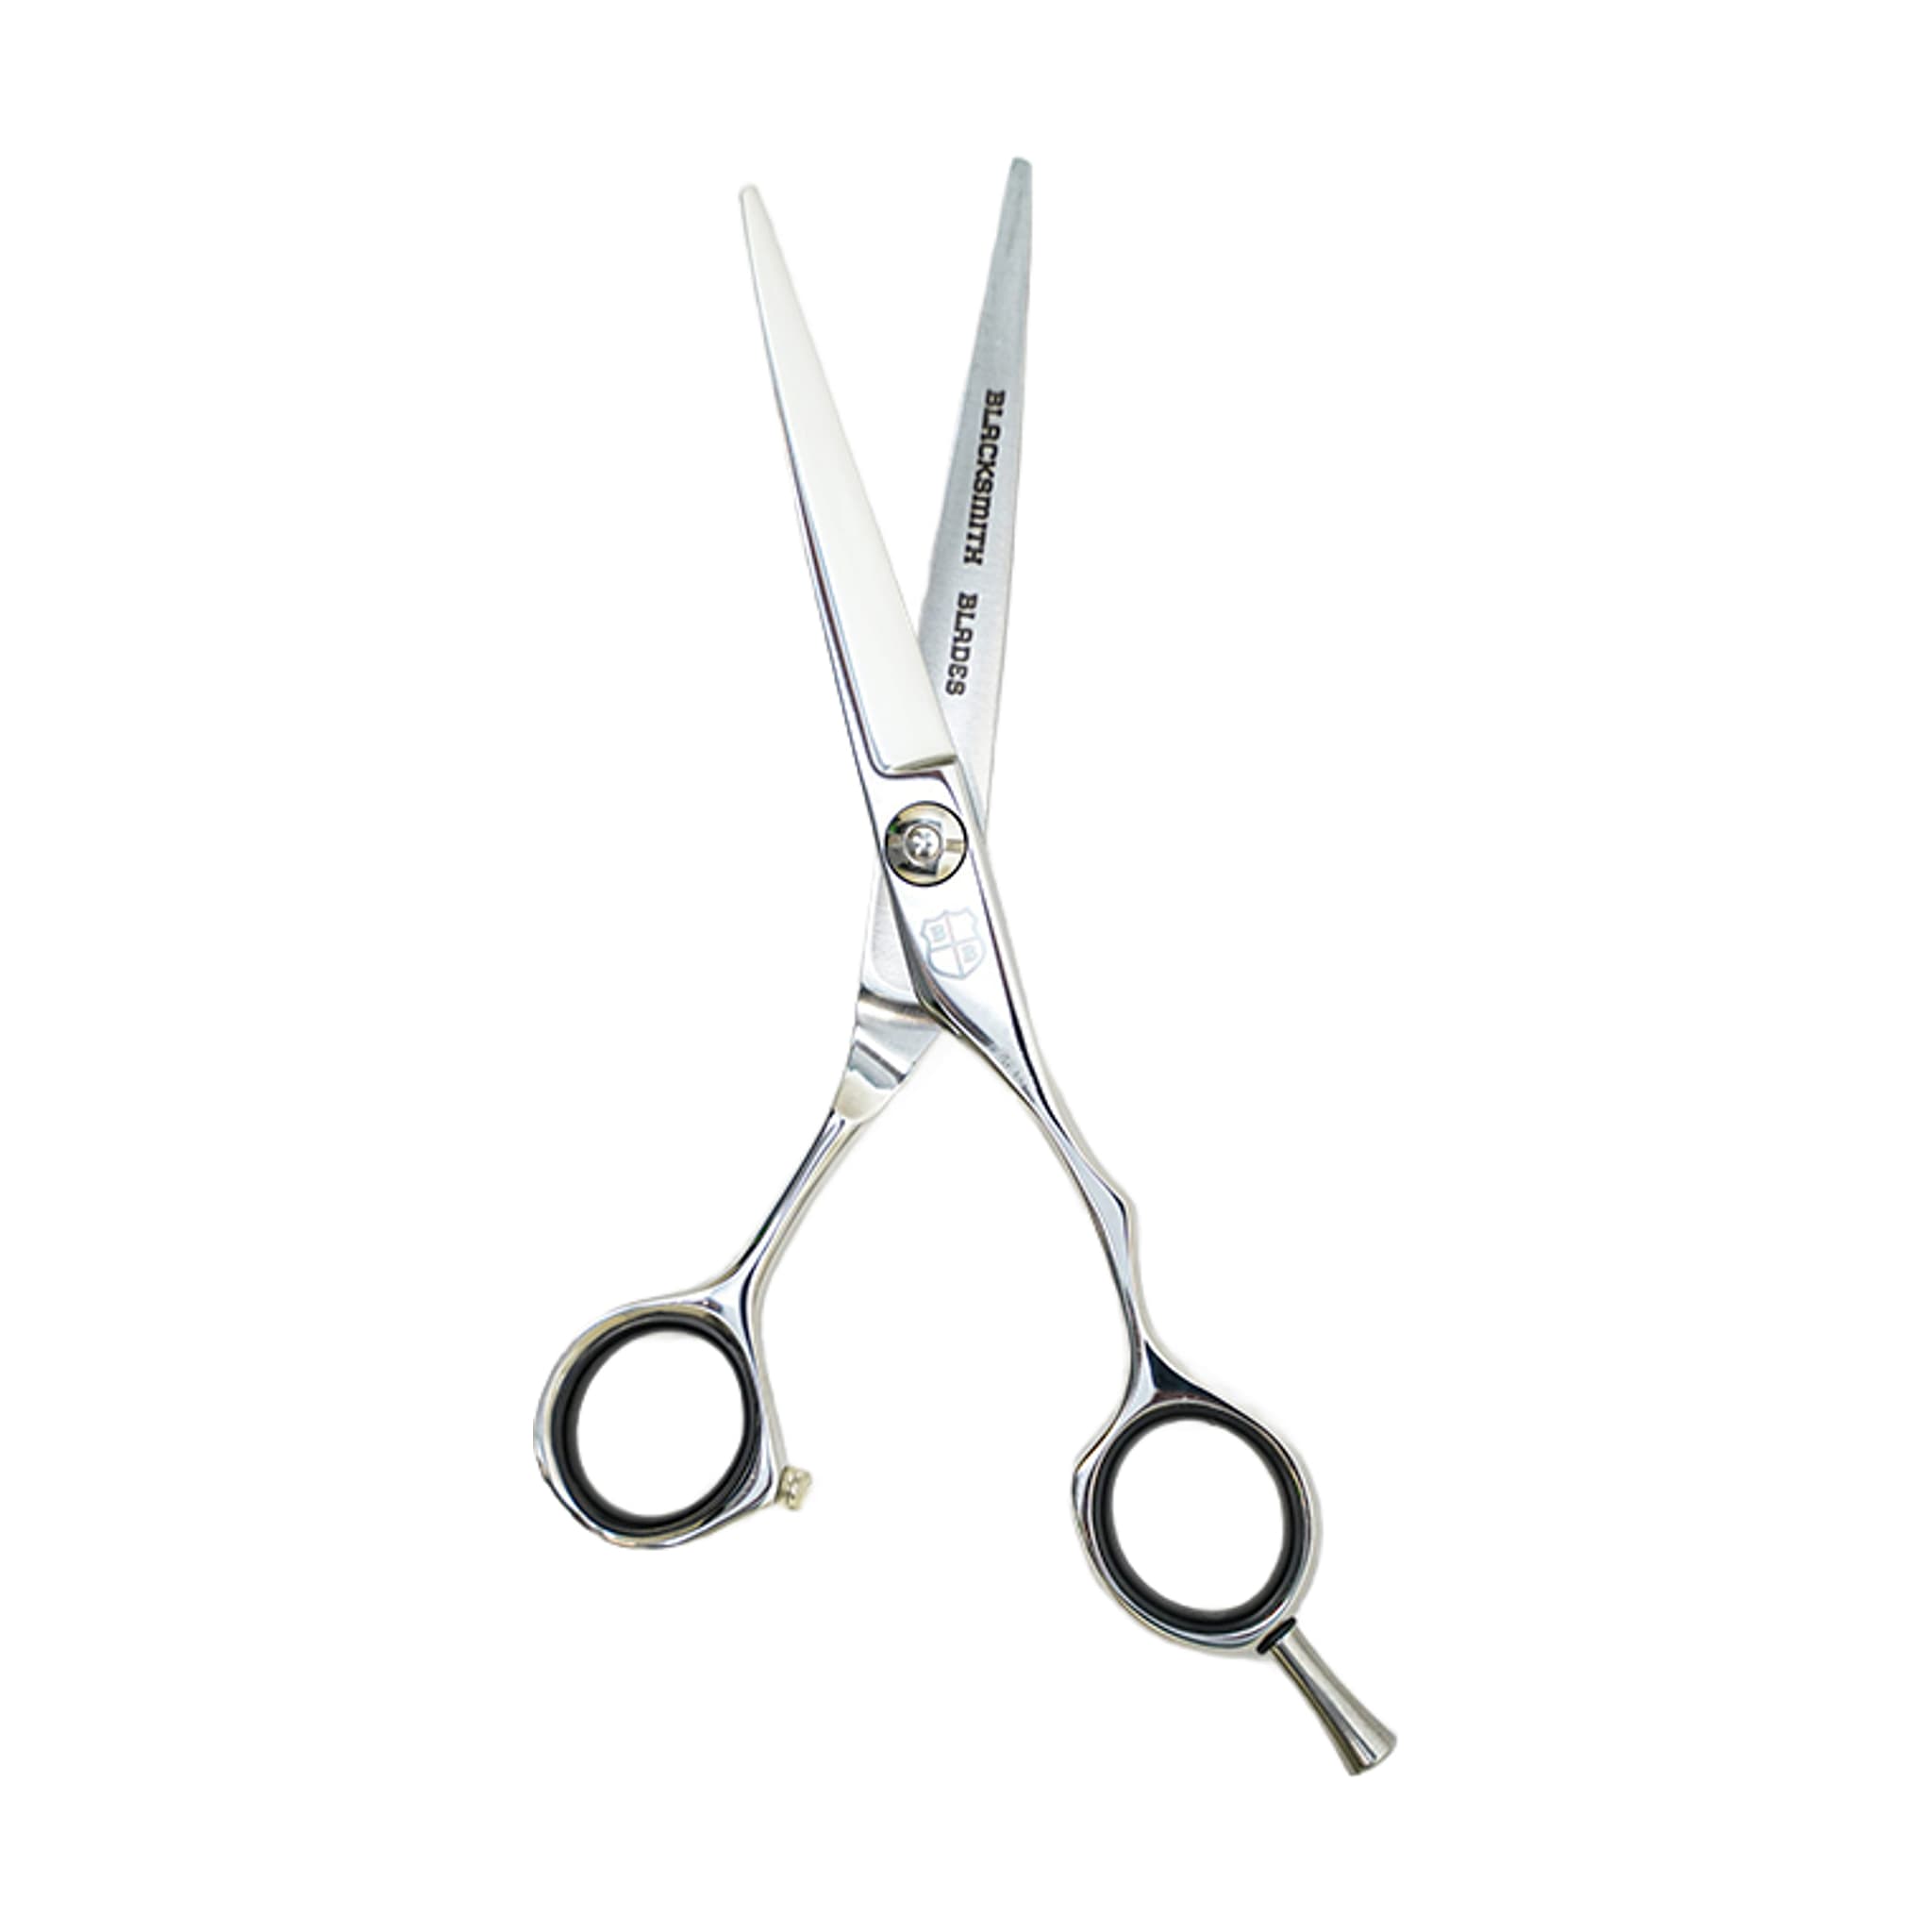
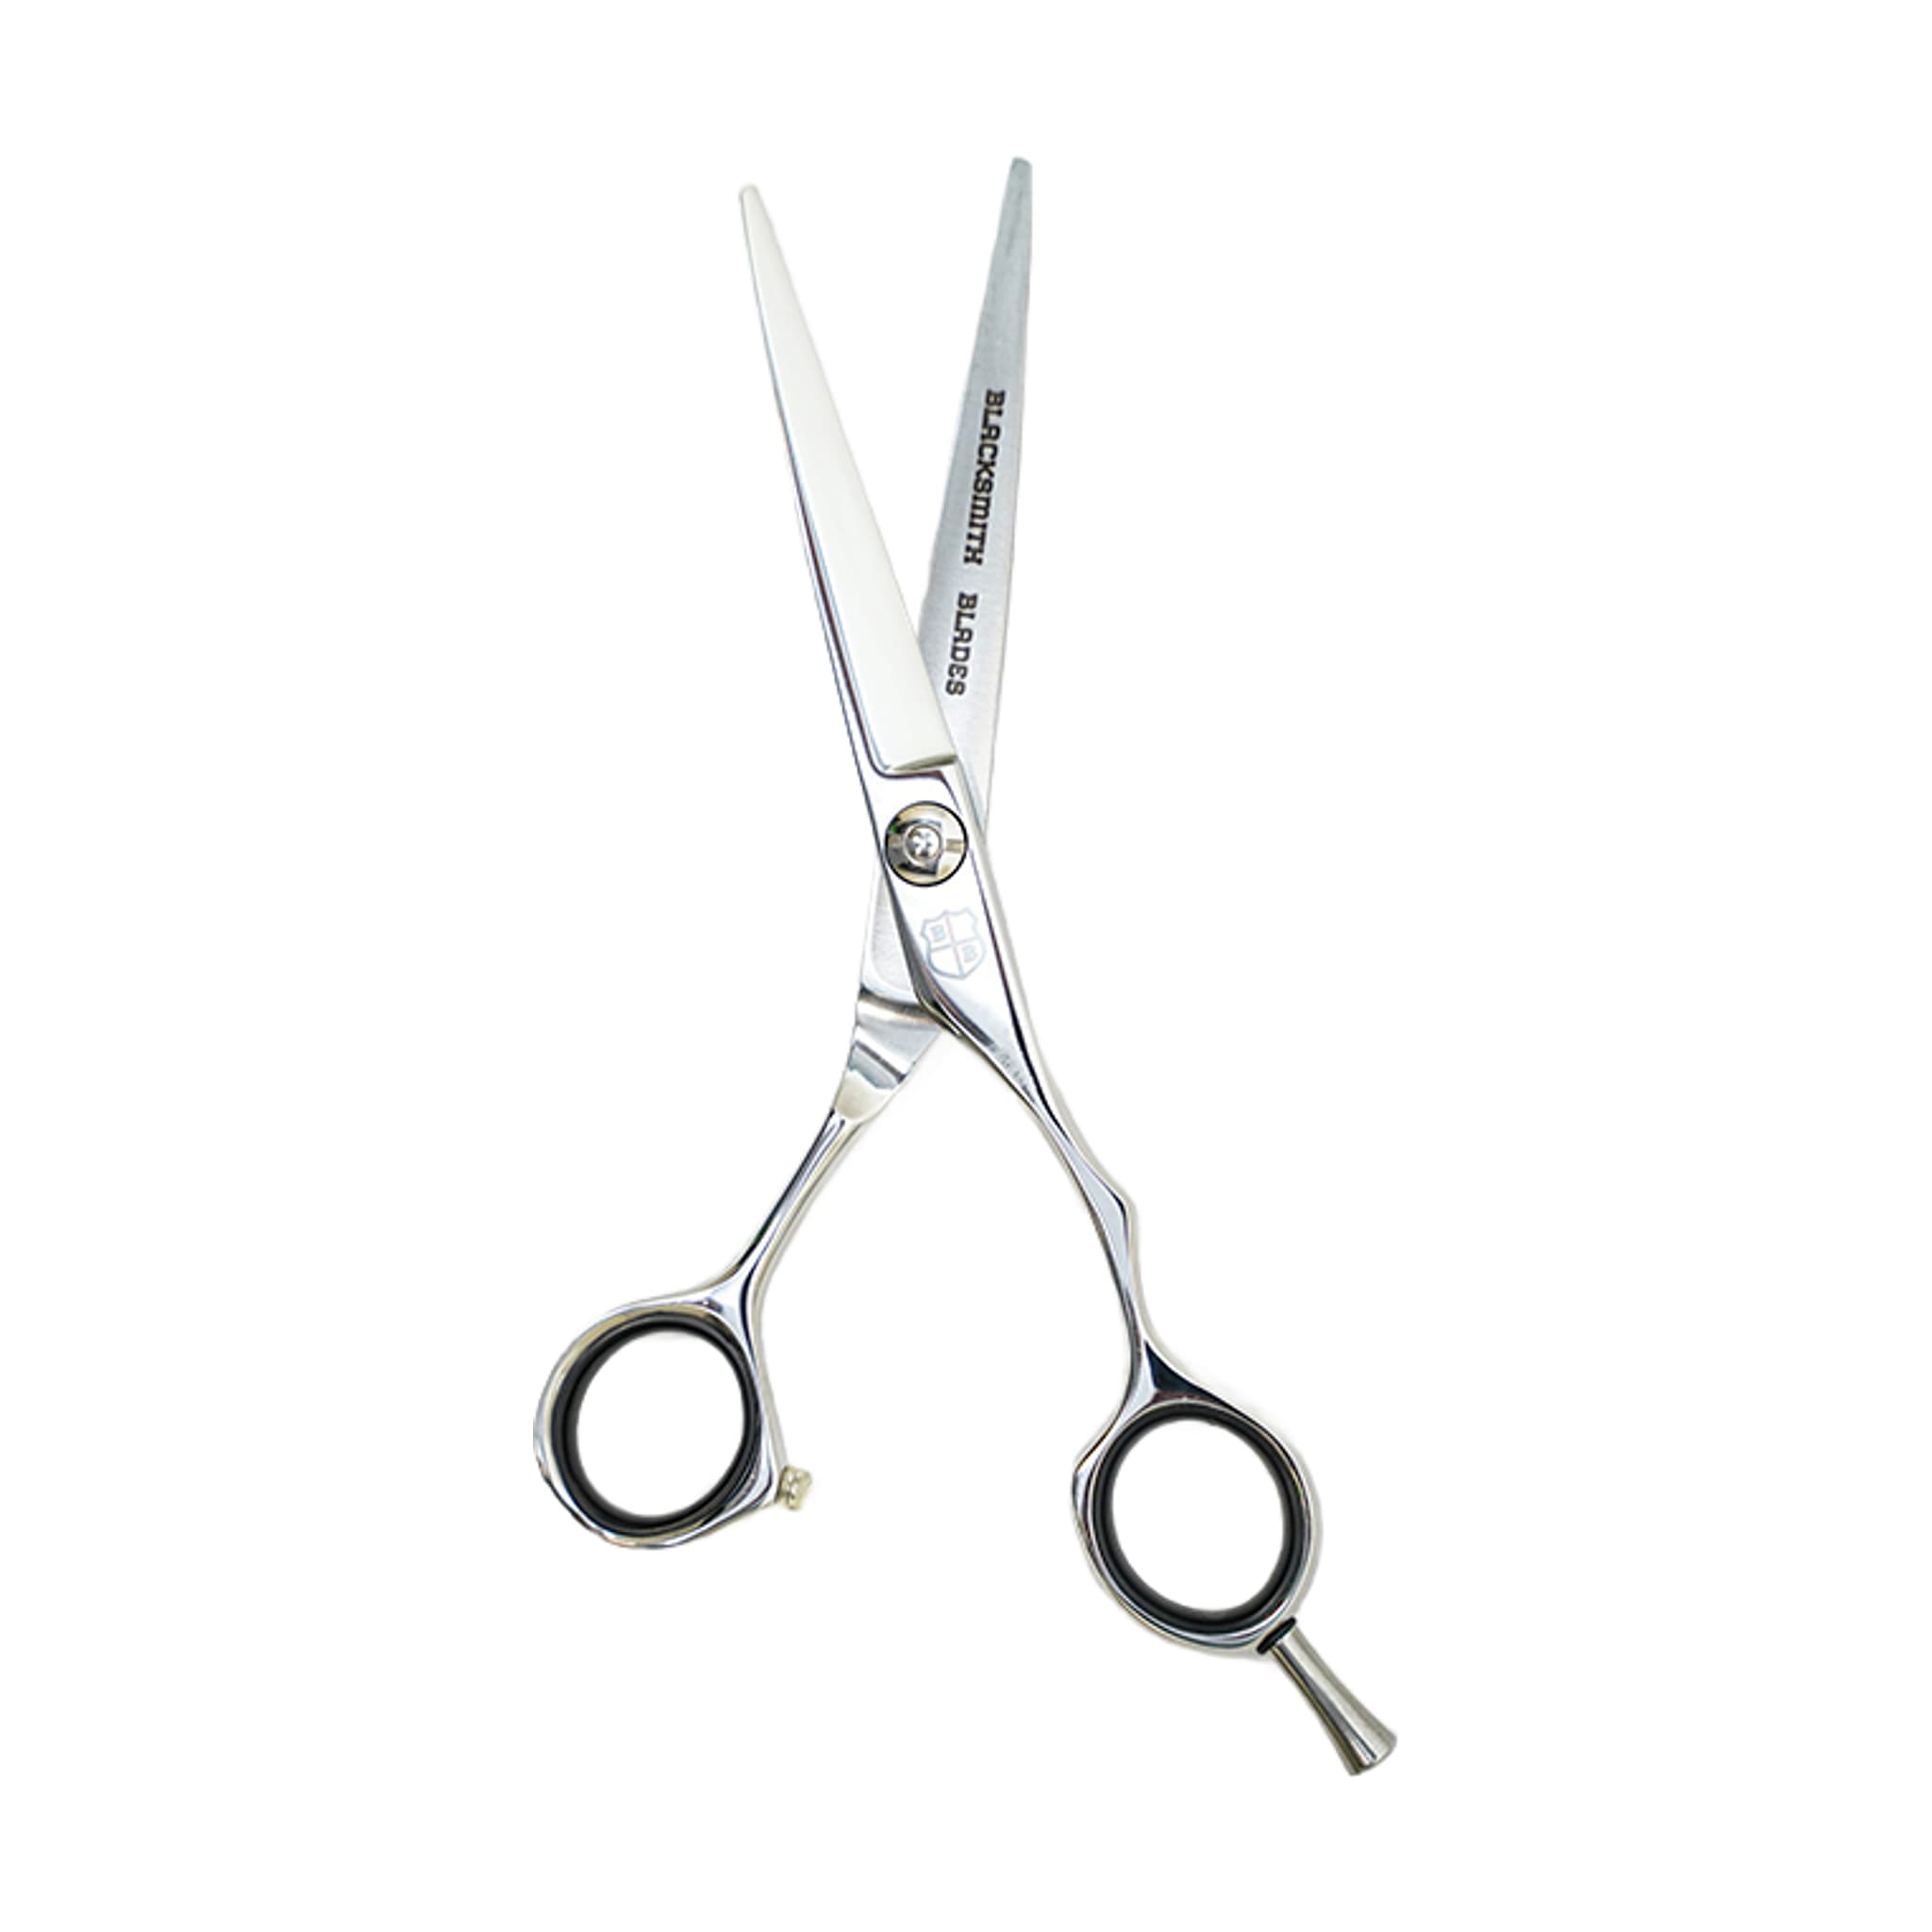
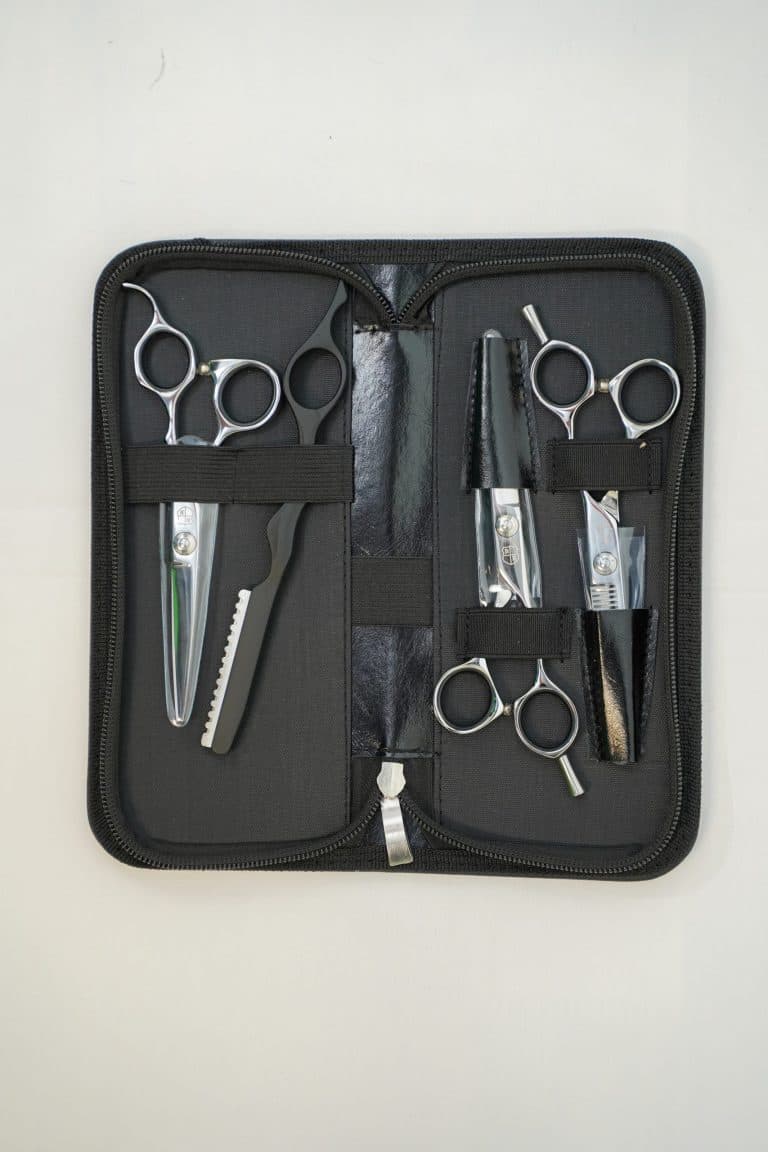
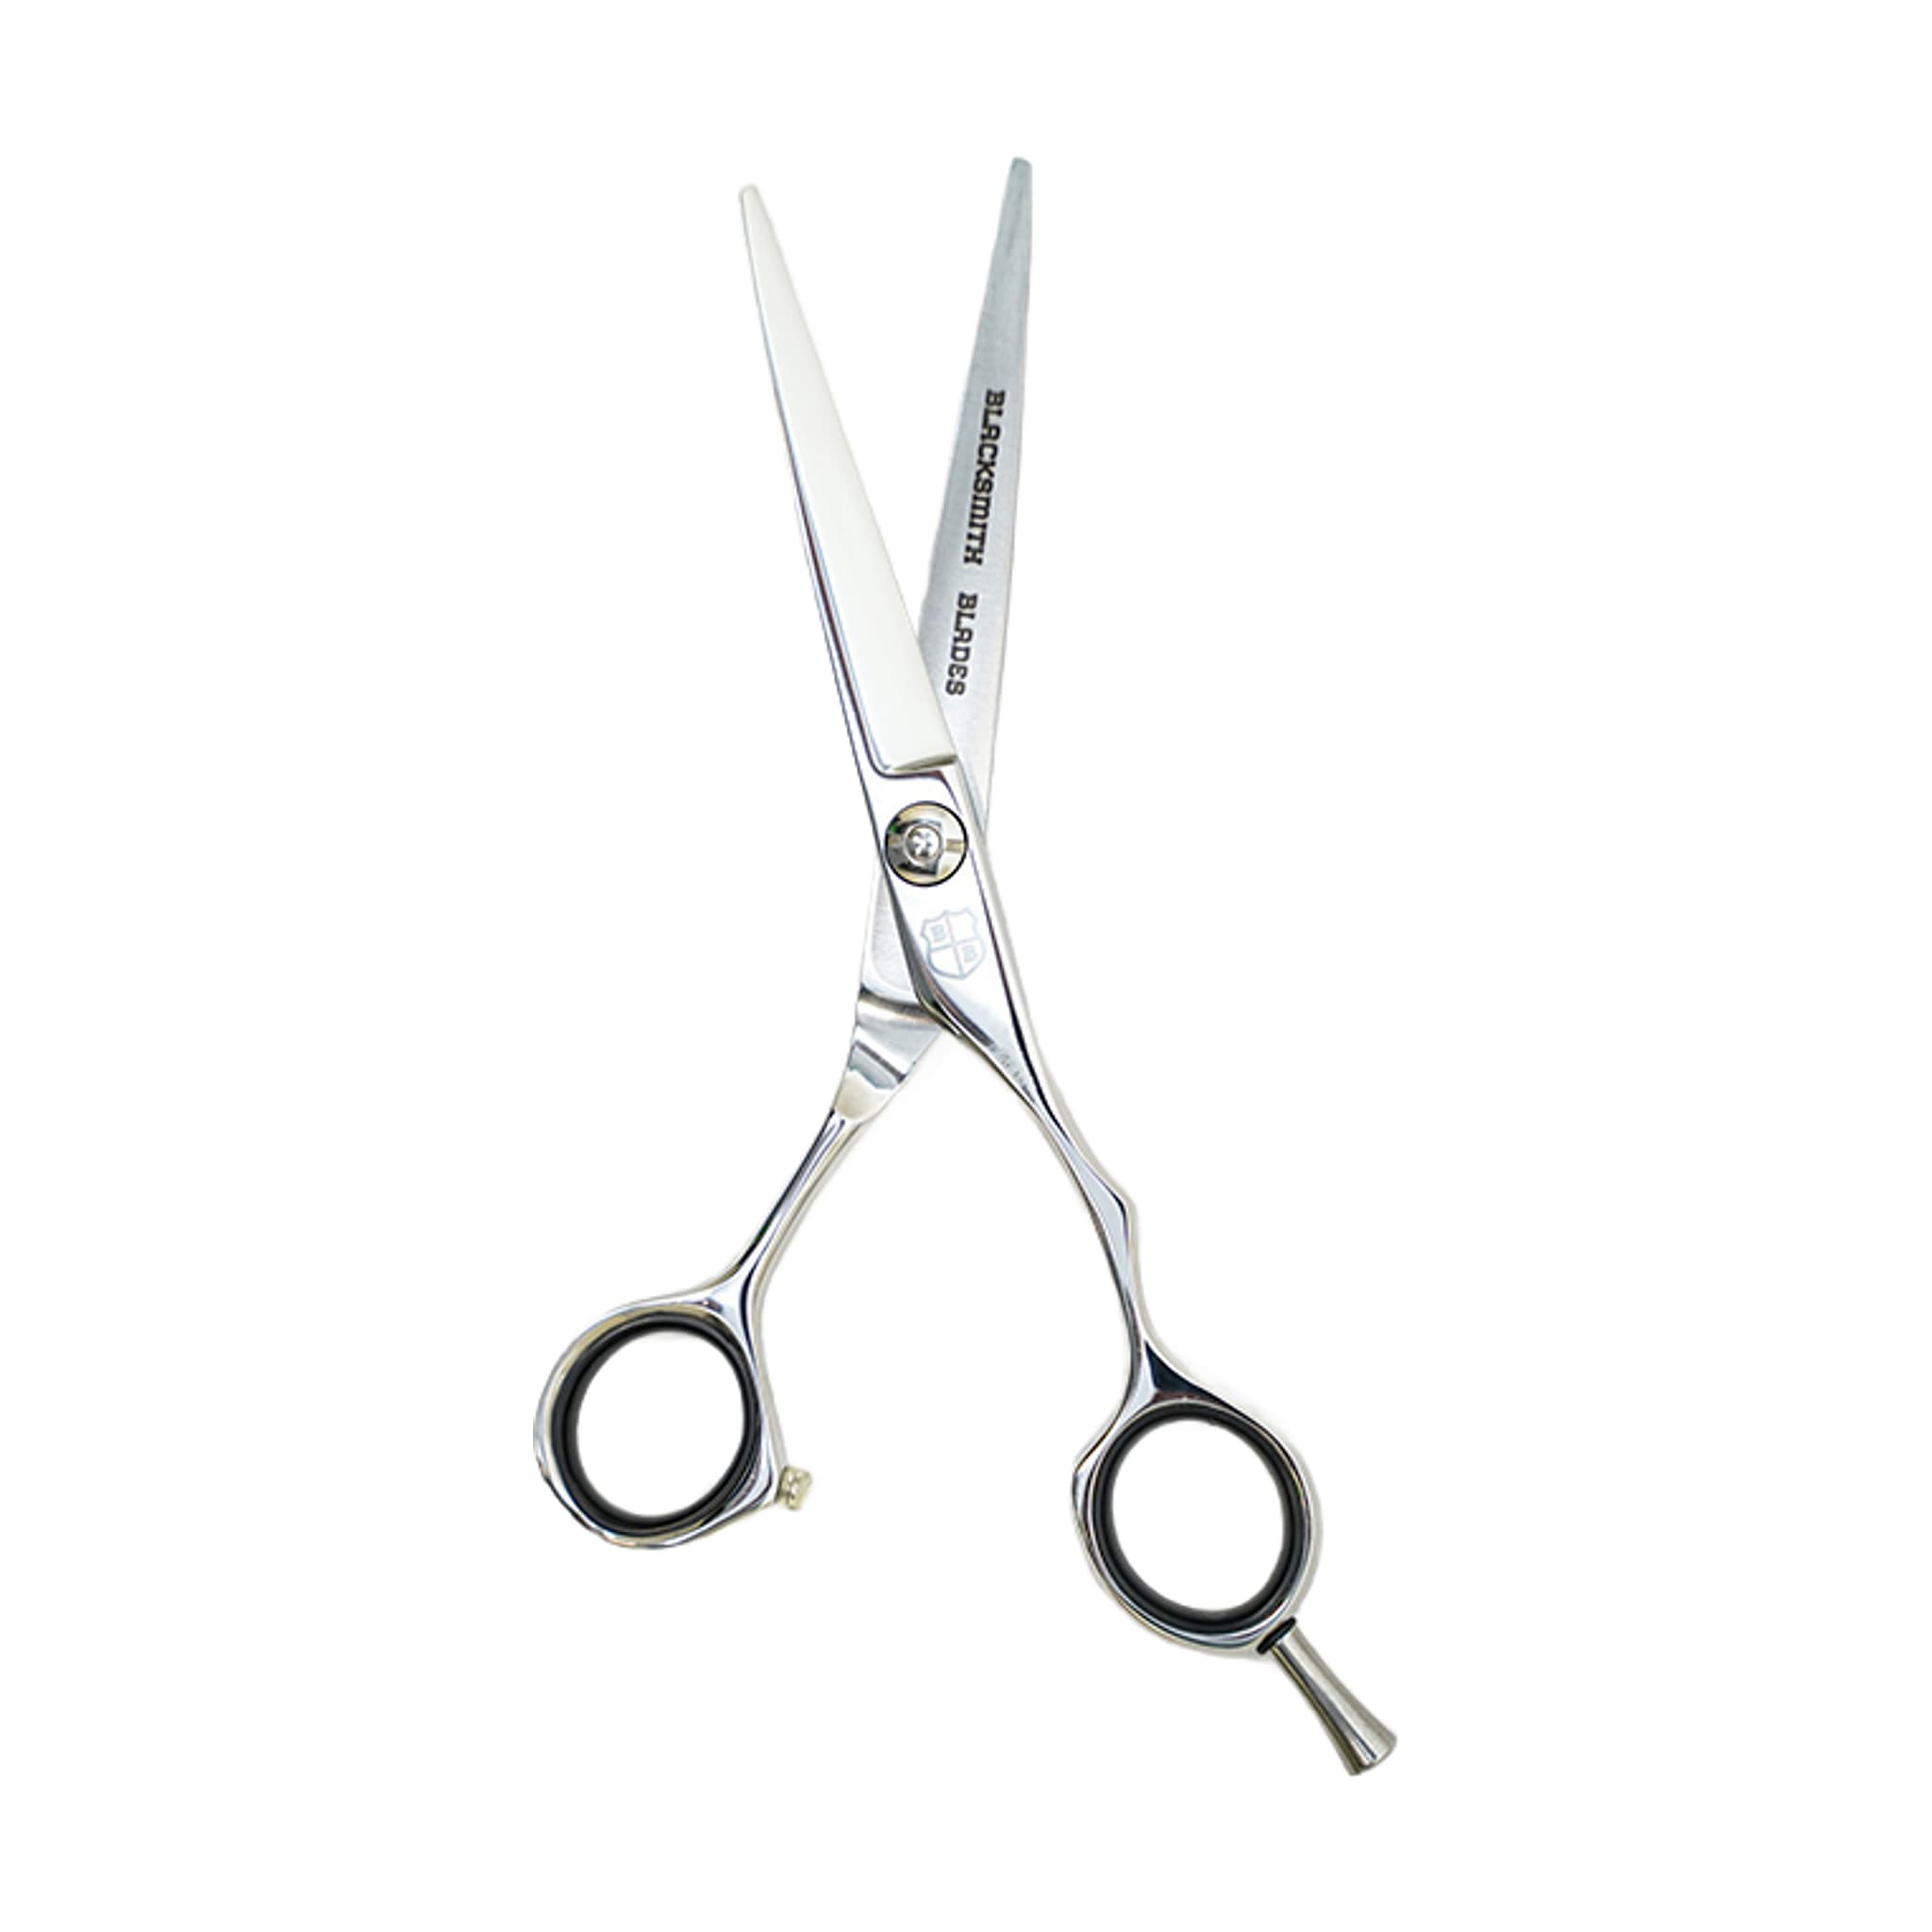
The kit includes a professional cutting shear available in 5.75, 6.5, or 7 inch lengths, a 42T professional thinning shear, and a hand/feather razor. A shear wallet is also included to protect the tools between uses. The shears in the kit are made with 9CR steel, and the kit is designed to serve academy students starting their training as well as working professionals.
- Professional cutting shear — available in 5.75, 6.5, or 7 inch lengths
- 42T professional thinning shear
- Hand/feather razor
- Shear wallet for storage and protection
Assign a Role to Each Tool Before You Cut
Before you pick up any tool in the kit, decide what you are trying to accomplish. The thinning shear is the tool you reach for when the haircut needs density reduction, line softening, transition blending, or added movement — but only after you have identified which of those goals applies to the section in front of you.
Thinning shears are easy to close and hard to undo. If the purpose is unclear, step back and evaluate the haircut before cutting more. Different goals require different placement, and sometimes a different tool entirely.
A higher tooth count thinning shear is better suited for soft blending, while a lower tooth count texturizer or chunker creates stronger separation and removes more hair. The thinning shear in this kit sits toward the soft blending end of that range. Understanding that distinction helps you choose the right tool for the effect you are after.
Using the Thinning Shear: Placement, Section Control and Restraint
Work in clean sections. Sectioning gives you control and helps you stay aware of where you have already worked. Comb through each section and evaluate the shape before making another pass. Hair can look different after it settles back into position, so professional thinning work is often slow and deliberate.
Keep the shear away from the scalp unless you have a specific reason to work there. Cutting too close to the root with a thinning shear is one of the most common mistakes at this stage of training. Short interior pieces created near the scalp can push hair outward or create frizz. Most controlled thinning happens through the mid-lengths and selected weight areas, not randomly at the root.
Restraint is the clearest sign of skill with a thinning shear. The best thinning work often looks like very little was done. If the client can see chunks, holes, or weak ends, the tool was probably overused. Your goal is movement and balance, not maximum hair removal.
Adjusting Technique for Different Hair Types
Hair type changes how you should use the thinning shear. Apply the same foundational approach — clean sections, mid-length placement, deliberate passes — but adjust the amount of work you do based on what the hair can support.
- Fine hair needs restraint because it can look thin quickly — fewer passes and careful evaluation after each one.
- Curly hair needs careful placement because short interior pieces can expand and create frizz once the hair dries.
- Thick, dense hair may tolerate stronger texture, but even then you should work in controlled passes rather than removing large amounts at once.
- Removing too much weight from fragile ends can make the hair look weaker — sometimes a cleaner cut is the better answer.
Daily Care: Wipe, Oil and Store After Every Session
A consistent end-of-session routine protects the edge and pivot of every tool in the kit. Hair, product, moisture, and disinfectant residue can collect around the blades and pivot during use. Wiping the shears down after each session removes that buildup and helps the blades move smoothly.
Apply a small amount of oil at the pivot after wiping. Oil helps the blades move cleanly, reduces unnecessary friction, and makes tension checks more accurate. Open and close the shear a few times to work the oil through the pivot. Thinning shears collect hair and product between the teeth, so cleaning between uses is especially important for this tool.
Most preventable shear damage comes from storage and misuse rather than cutting. A small nick from a drawer, counter, or dropped tool can change how a shear cuts. Store every tool in the kit in a case or protected holder — never loose in a drawer or bag. Use the shears only on hair; paper, tags, thread, and packaging can dull or damage the edge quickly.
- Wipe the blades clean after every session to remove hair, product, moisture, and disinfectant residue.
- Oil the pivot and open and close the shear to work oil through — especially after cleaning or disinfecting.
- Keep shears in a case or protected holder between uses rather than loose in a drawer or bag.
- Use shears only on hair — never on paper, tags, thread, or packaging.
Using the Shear Wallet to Protect the Kit
The shear wallet included in the kit is your primary storage tool between sessions. Keeping each tool in the wallet prevents the blades and tips from contacting other tools or surfaces that could cause nicks or damage. A nicked tooth on the 42T can change the way it performs and may cause pulling, so protecting the teeth during storage is as important as protecting the cutting edge.
Related resources
Sources
- 3 Piece Haircutting Kit - 9CR with 42T - Blacksmith Blades
- Daily Shear Care and Storage - Blacksmith Blades
- How to Use Texturizing and Thinning Shears Like a Professional - Blacksmith Blades