October 1, 2026/5 min read
How to Use the 3 Piece Haircutting Kit - 9CR with 32T: Tool Roles, Thinning Technique, and Daily Care
Getting consistent results from the 3 Piece Haircutting Kit - 9CR with 32T starts with knowing what each tool does, applying deliberate technique with the 32T thinning shear, and following a simple daily care routine.
What Comes in the 3 Piece Haircutting Kit - 9CR with 32T
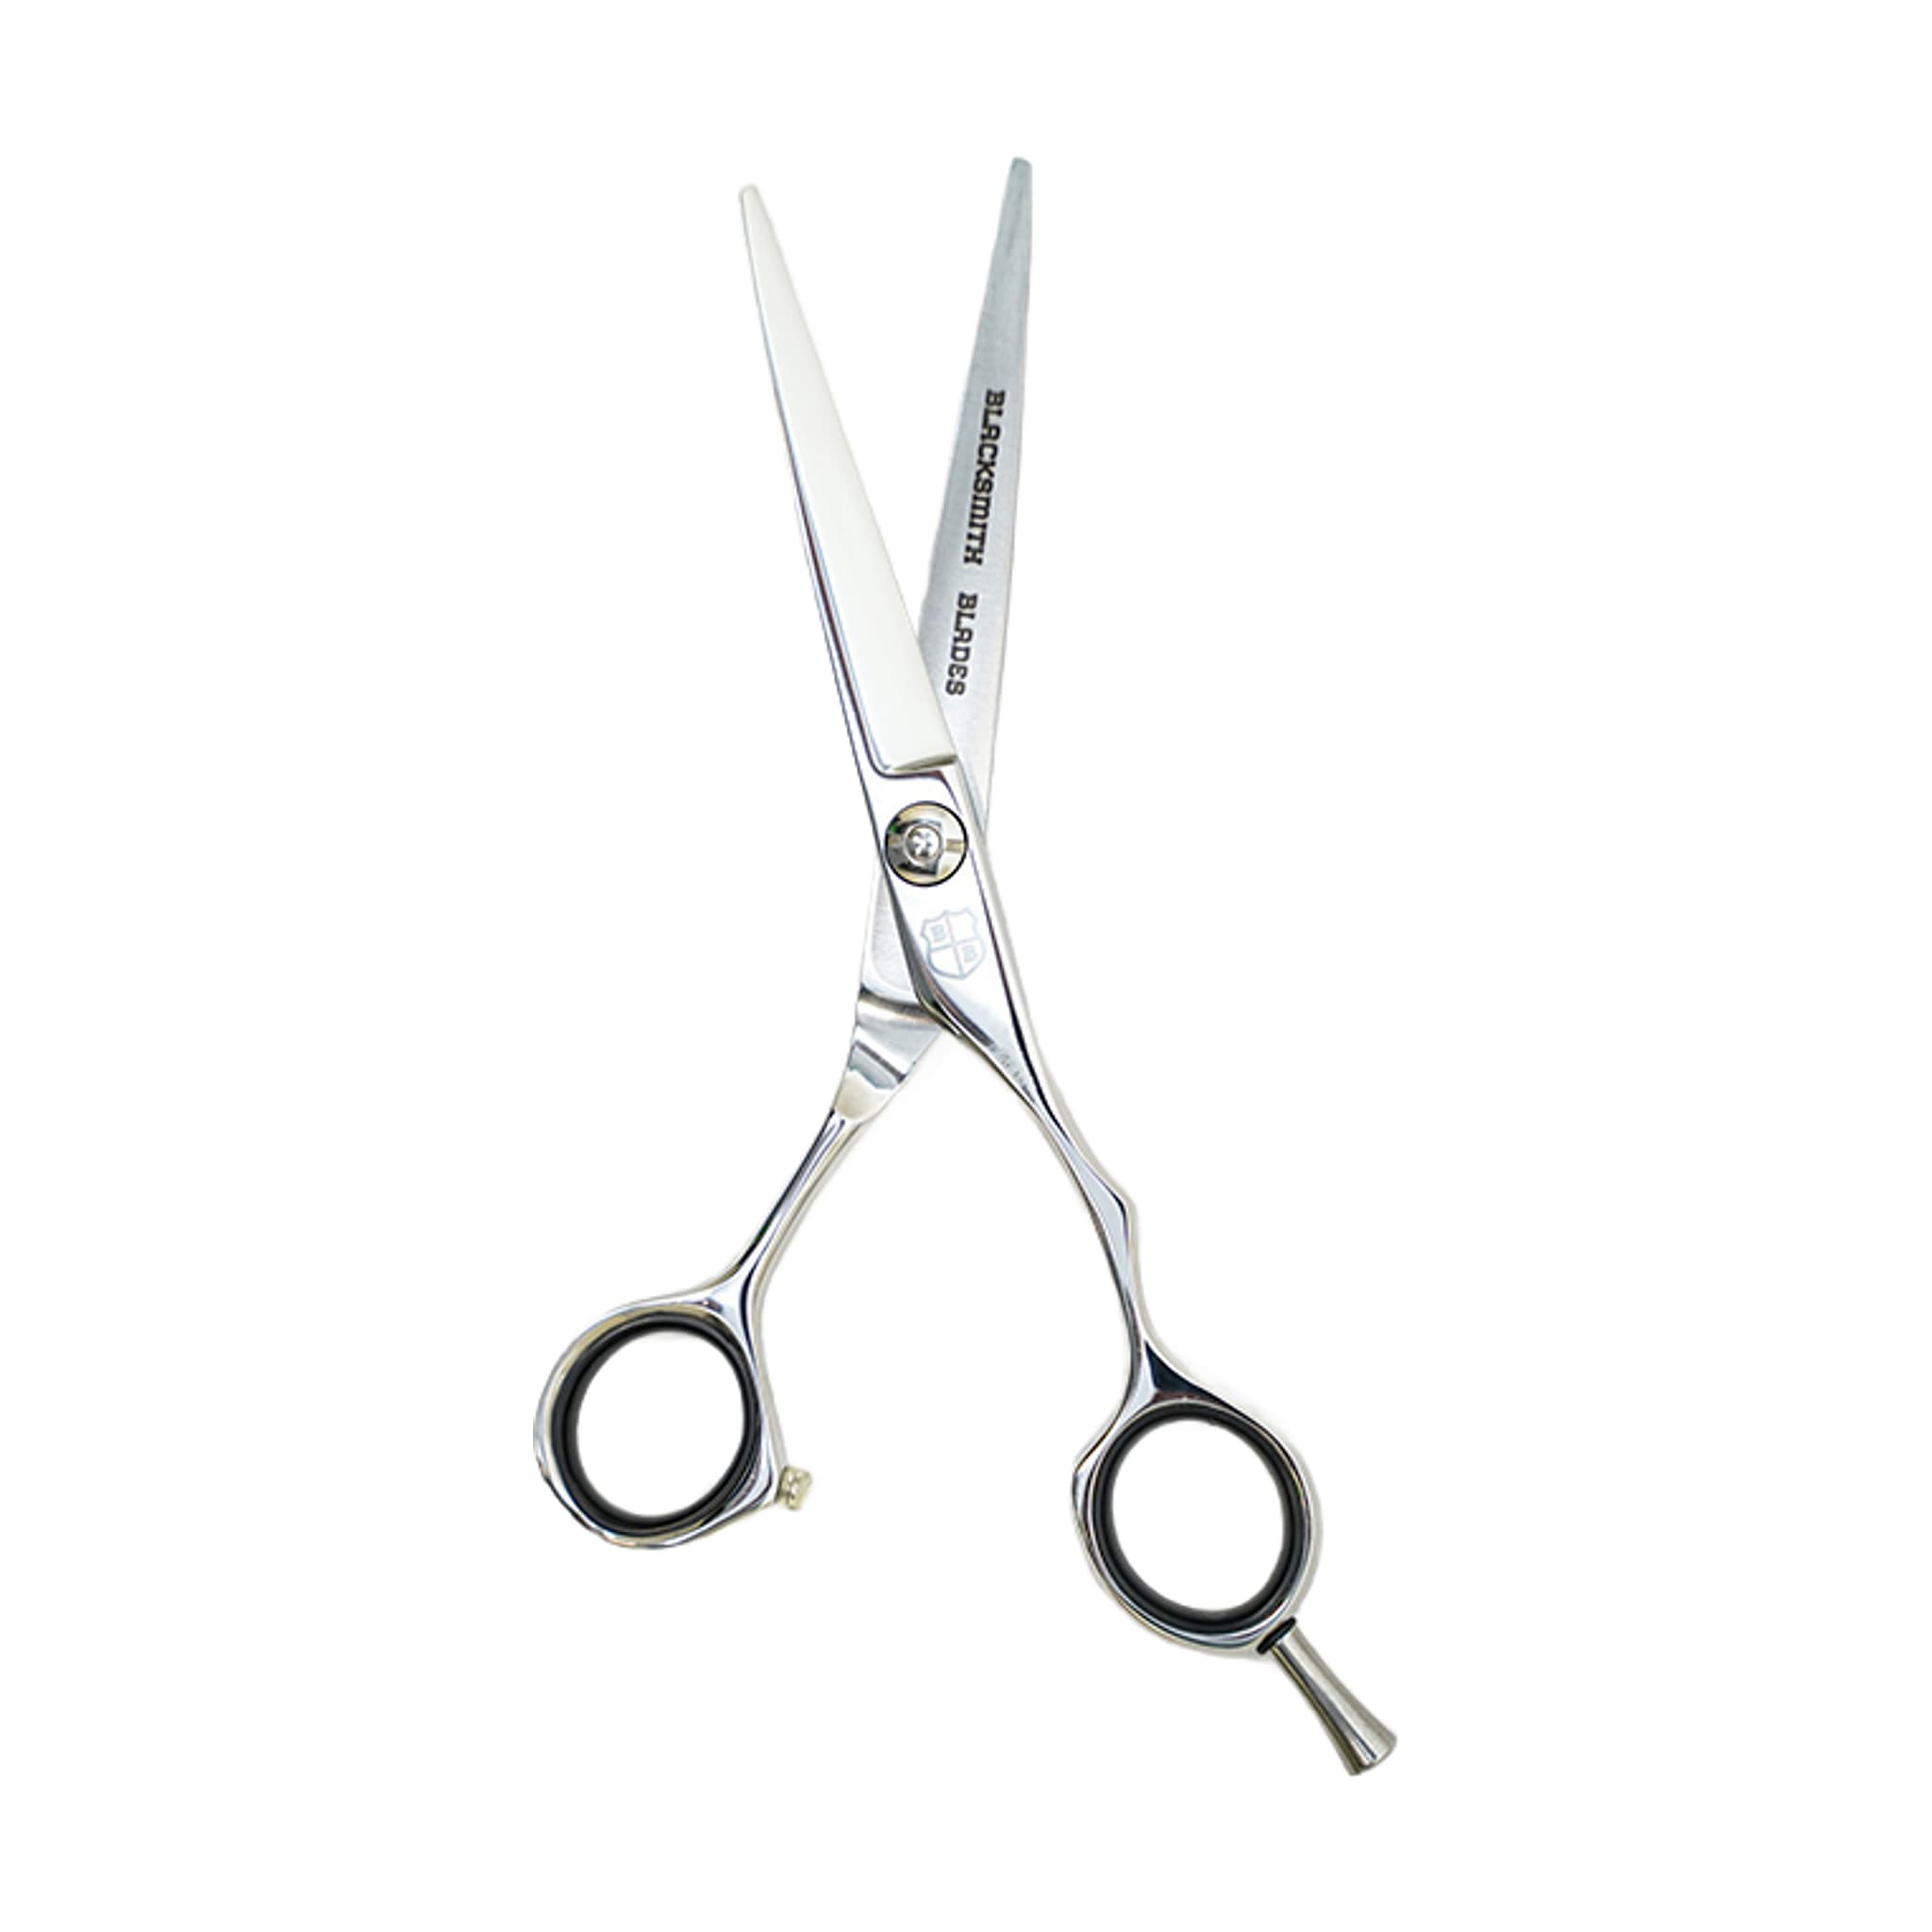
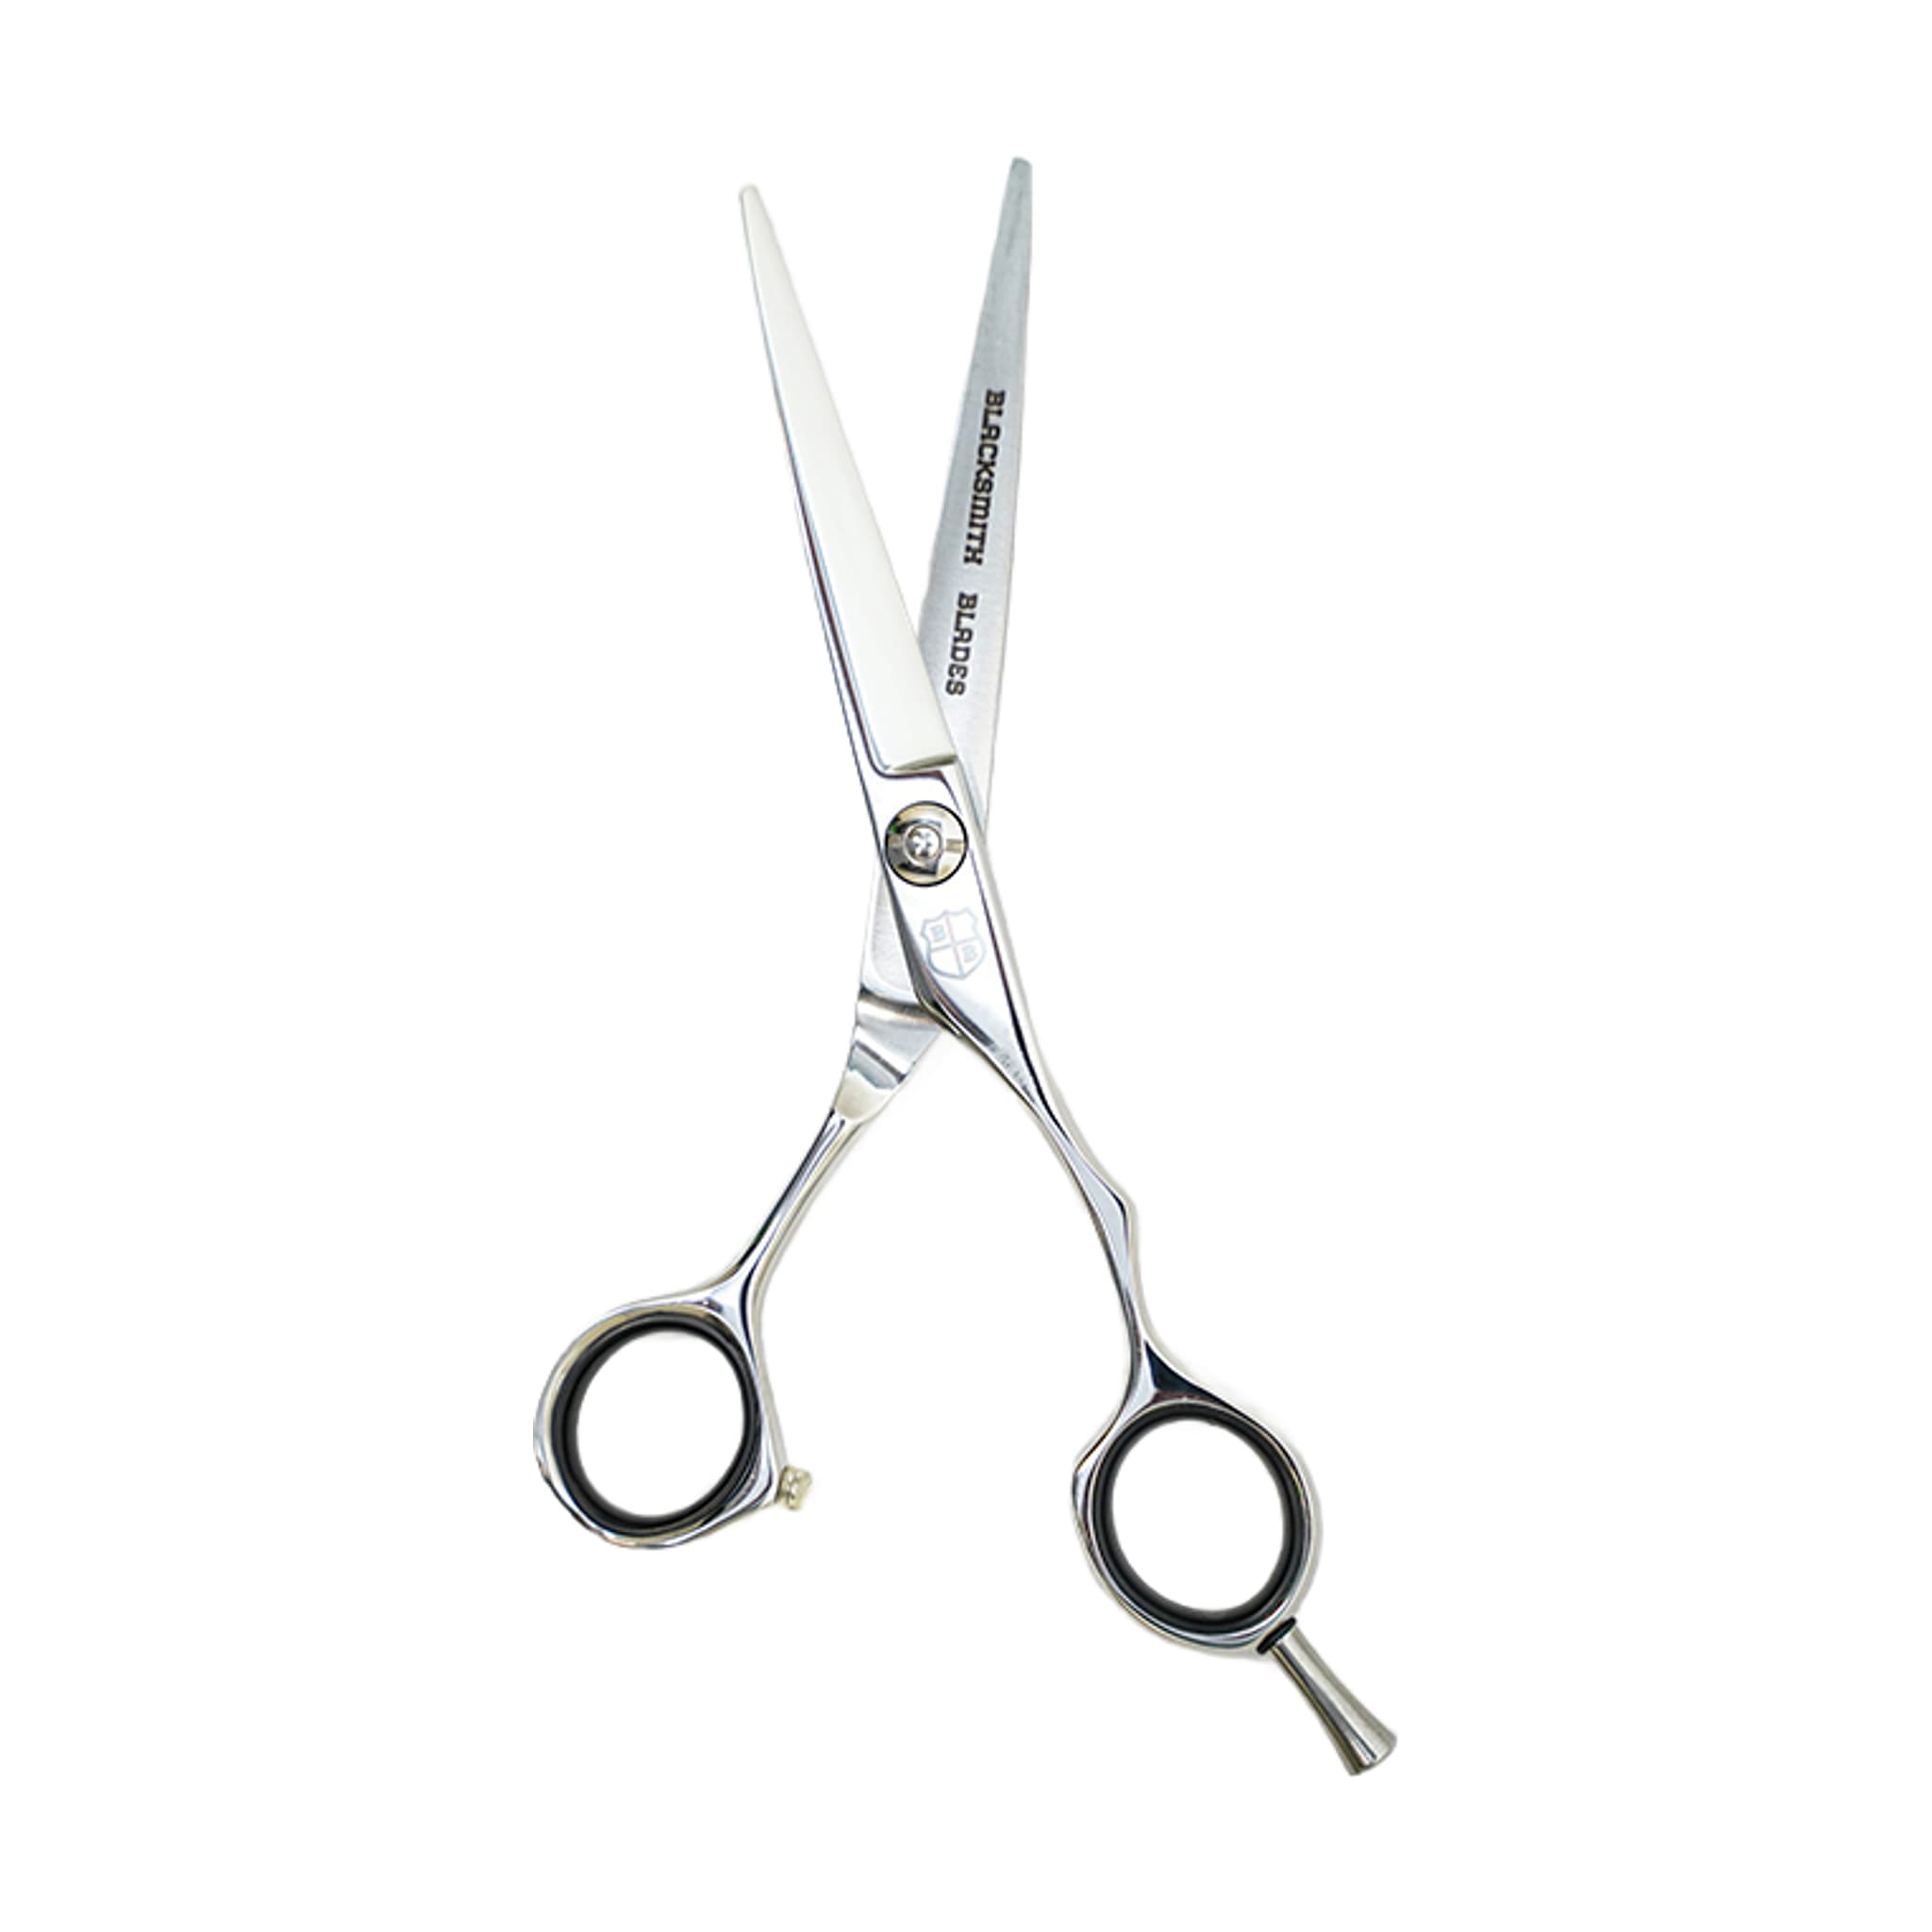
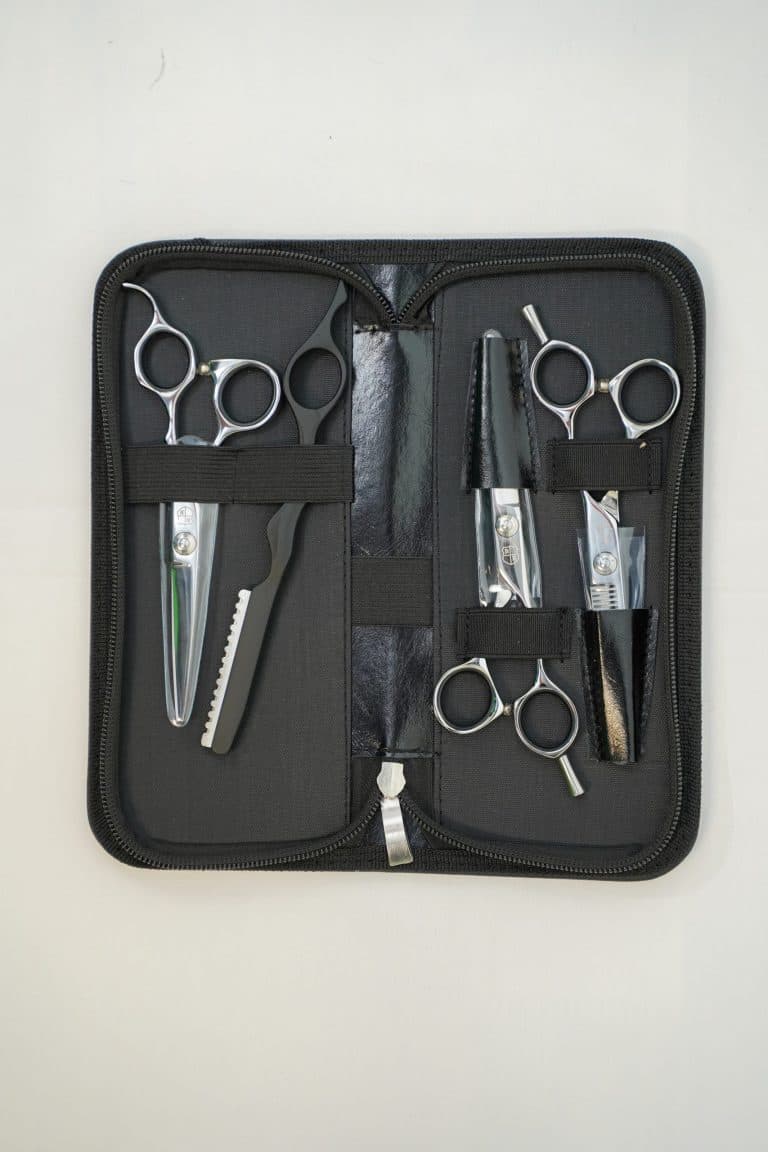
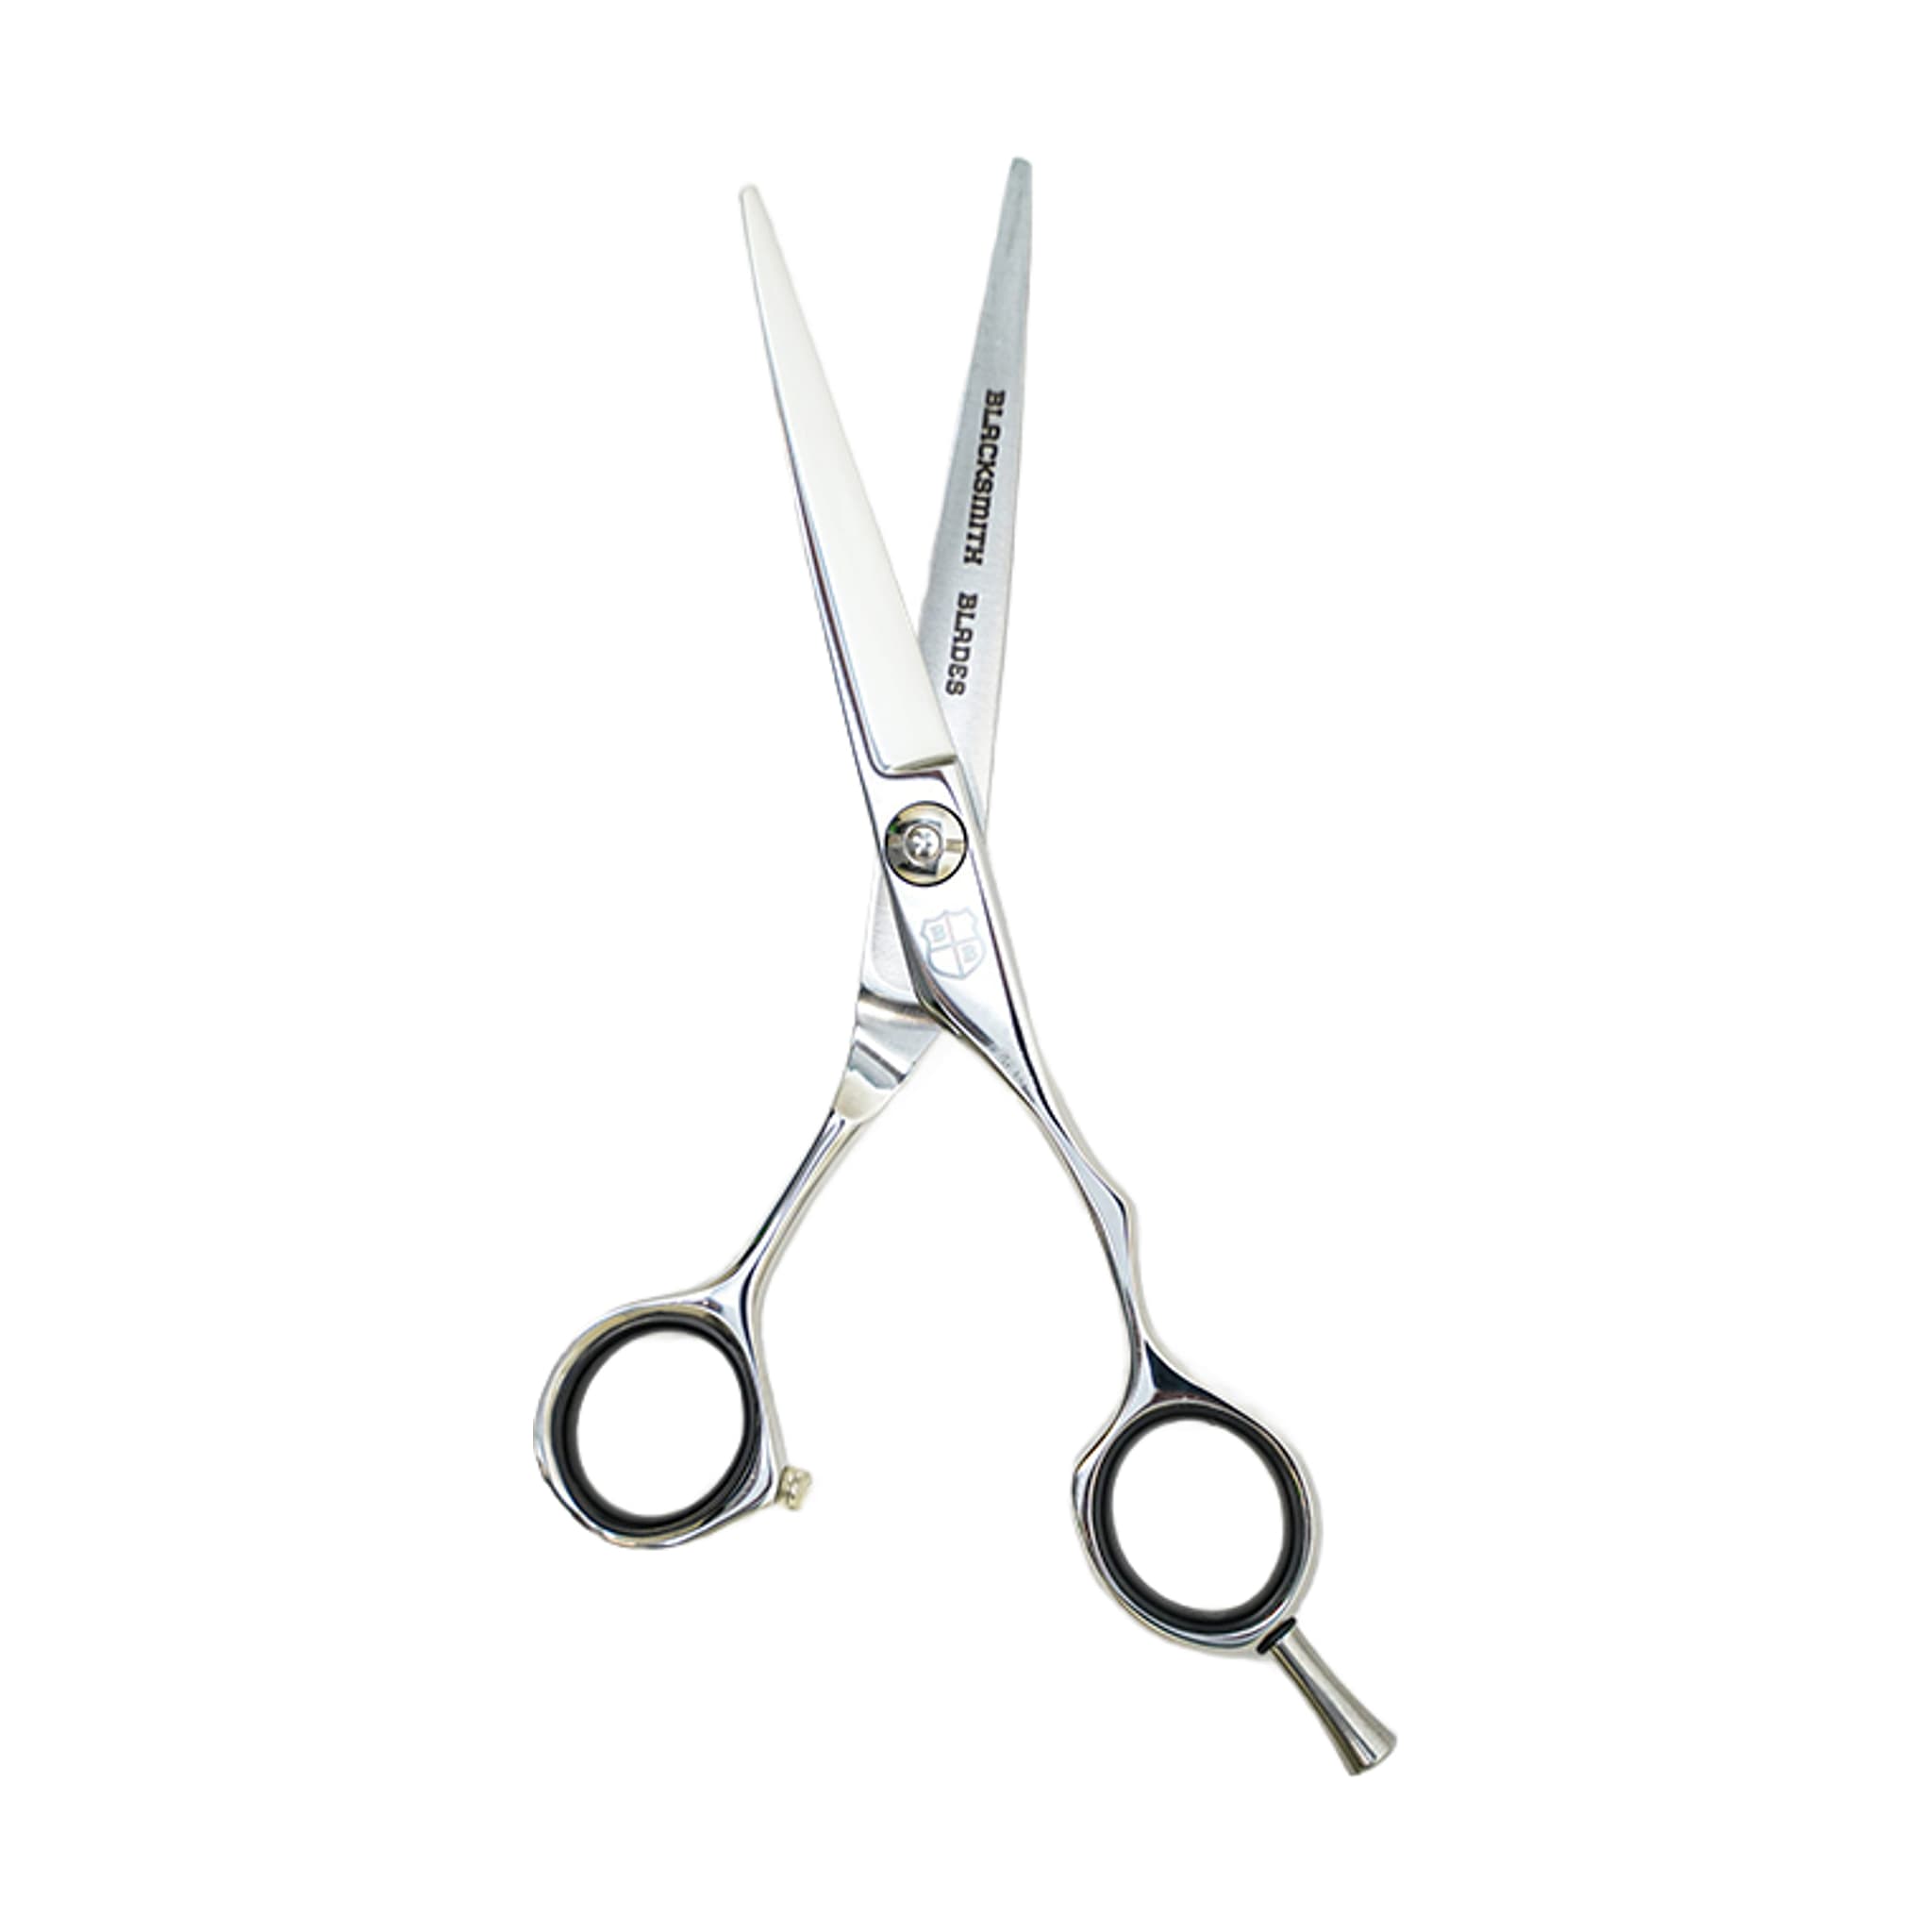
Your kit includes four items: a professional cutting shear in your choice of 5.75, 6.5, or 7 inches; a 32T professional thinning shear; a hand/feather razor; and a shear wallet to keep everything together between sessions. Each tool has a distinct role, and understanding those roles before you start cutting is what separates deliberate work from guesswork.
- Cutting shear: establishes the shape of the haircut
- 32T thinning shear: helps soften a heavy line
- Hand/feather razor: offers a different texturizing technique
- Shear wallet: keeps all three tools protected and together
The kit is built around 9CR steel and is designed to be accessible for students in academy training while remaining practical for working professionals. Your cutting shear size choice should reflect the work you do most — a shorter blade for close detail work and a longer one for larger sections.
Assign a Role to Each Tool Before You Cut
Before you reach for any tool in the kit, identify what you are trying to accomplish. The cutting shear builds the shape. The 32T thinning shear refines it. The hand/feather razor offers a separate texturizing path. These tools are not interchangeable, and picking one up without a clear purpose is where most problems begin.
When you are deciding whether to reach for the thinning shear, clarify your goal first — whether that is reducing density, softening a line, blending a transition, or adding movement. Each of those goals points to a specific placement strategy, and some may call for a different tool altogether. When the purpose is not clear, the right move is to set the shear down and assess the haircut before continuing.
Using the Thinning Shear: Placement, Section Control and Restraint
A higher tooth count positions the thinning shear toward soft blending on the spectrum of texturizing tools. Lower tooth-count options — texturizers and chunkers — create stronger separation and take out more hair per pass. Knowing where your thinning shear sits on that range helps you set realistic expectations before the blade closes.
Section your work cleanly. Defined sections give you control over where the shear is going and help you stay aware of which areas have already been worked. After each pass, comb the section out and look at the shape before deciding whether another cut is needed — the hair often reads differently once it falls back into place.
Keep the shear away from the scalp unless you have a deliberate reason to be there. Thinning near the root can leave short interior pieces that push the surrounding hair outward or contribute to frizz. Controlled thinning generally belongs through the mid-lengths and in specific weight areas rather than scattered across the root zone.
Professional texturizing is often slow and deliberate. The best results frequently look like very little was done. If your client can see chunks, holes, or weak ends, the thinning shear was likely overused. Your goal is movement and balance, not maximum hair removal.
Adjusting Technique for Different Hair Types
Your approach with the thinning shear should shift depending on what is in the chair. The same thinning pattern does not work on every client, and good technique means adapting the tool to the hair rather than applying a fixed routine.
- Fine hair: use restraint — it can look thin quickly with only a few passes
- Curly hair: place carefully, because short interior pieces can expand and contribute to frizz
- Thick, dense hair: may tolerate stronger texture, but still work in deliberate passes — taking out too much weight at the ends can leave the hair appearing weaker
Sometimes the better answer for a client is a cleaner cut or a treatment plan rather than more thinning. Recognizing that limit is part of using your kit well.
Daily Care After Every Session: Wipe, Oil and Store
After each session, wipe your shears down. Hair, product, moisture, and disinfectant residue can collect around the blades and pivot, and wiping after use helps the blades move smoothly and protects the finish.
Add a small amount of oil at the pivot, then open and close the shear to work it through. Oil helps the blades move cleanly, reduces unnecessary friction, and makes tension checks more accurate. Daily working shears benefit from regular pivot oiling, especially after cleaning or disinfecting.
Thinning shears have teeth that trap hair and product residue between them. Left unaddressed, that accumulation can cause the shear to drag or feel inconsistent during use. Cleaning between sessions is especially important for this tool.
Use your shears only on hair. Paper, tags, thread, packaging, and similar materials can dull or damage the edge quickly. Keep that boundary consistent across every tool in your kit.
Using the Shear Wallet to Protect the Kit
The included shear wallet is your first line of defense against contact damage. Preventable edge damage often originates from how tools are stored — a nick from a drawer edge, a countertop, or contact with another tool can alter how a shear cuts. Keeping your tools in the wallet rather than loose in a bag or drawer protects the blades and tips between sessions.
Make placing your shears in the wallet part of your end-of-session routine — after you have wiped and oiled them. That sequence keeps all three tools together and ready for your next session.
Checking and Adjusting Tension
Tension is the pressure that holds the two blades together as they close. When the screw is too loose, hair can bend between the blades rather than being cut. When it is too tight, the shear can feel heavy, rough, or tiring to close. Either condition affects how the shear performs even when the edge itself is still in good shape.
To check tension, open the shear, lift one handle, and allow it to fall closed on its own. A well-set shear will neither slam shut nor hang open. Oil the pivot before forming a final judgment, then make small adjustments and test the feel again before returning to client work.
If tension adjustment does not resolve folding, pushing, pulling, or rough cutting, send the shear for professional service rather than continuing to adjust.
Related resources
Sources
- 3 Piece Haircutting Kit - 9CR with 32T - Blacksmith Blades
- Adjusting Shear Tension - Blacksmith Blades
- Daily Shear Care and Storage - Blacksmith Blades
- How to Use Texturizing and Thinning Shears Like a Professional - Blacksmith Blades