September 28, 2026/4 min read
How to Use the 9CR 6.5 Professional Cutting Shear: Blade Role, Handle Selection, and Daily Care
The 9CR 6.5 Professional Cutting Shear suits larger sections and scissor-over-comb work. Here is how to confirm it fits your task, choose your handle, check tension, and care for it after every session.
What the 9CR 6.5 Professional Cutting Shear Is Built For
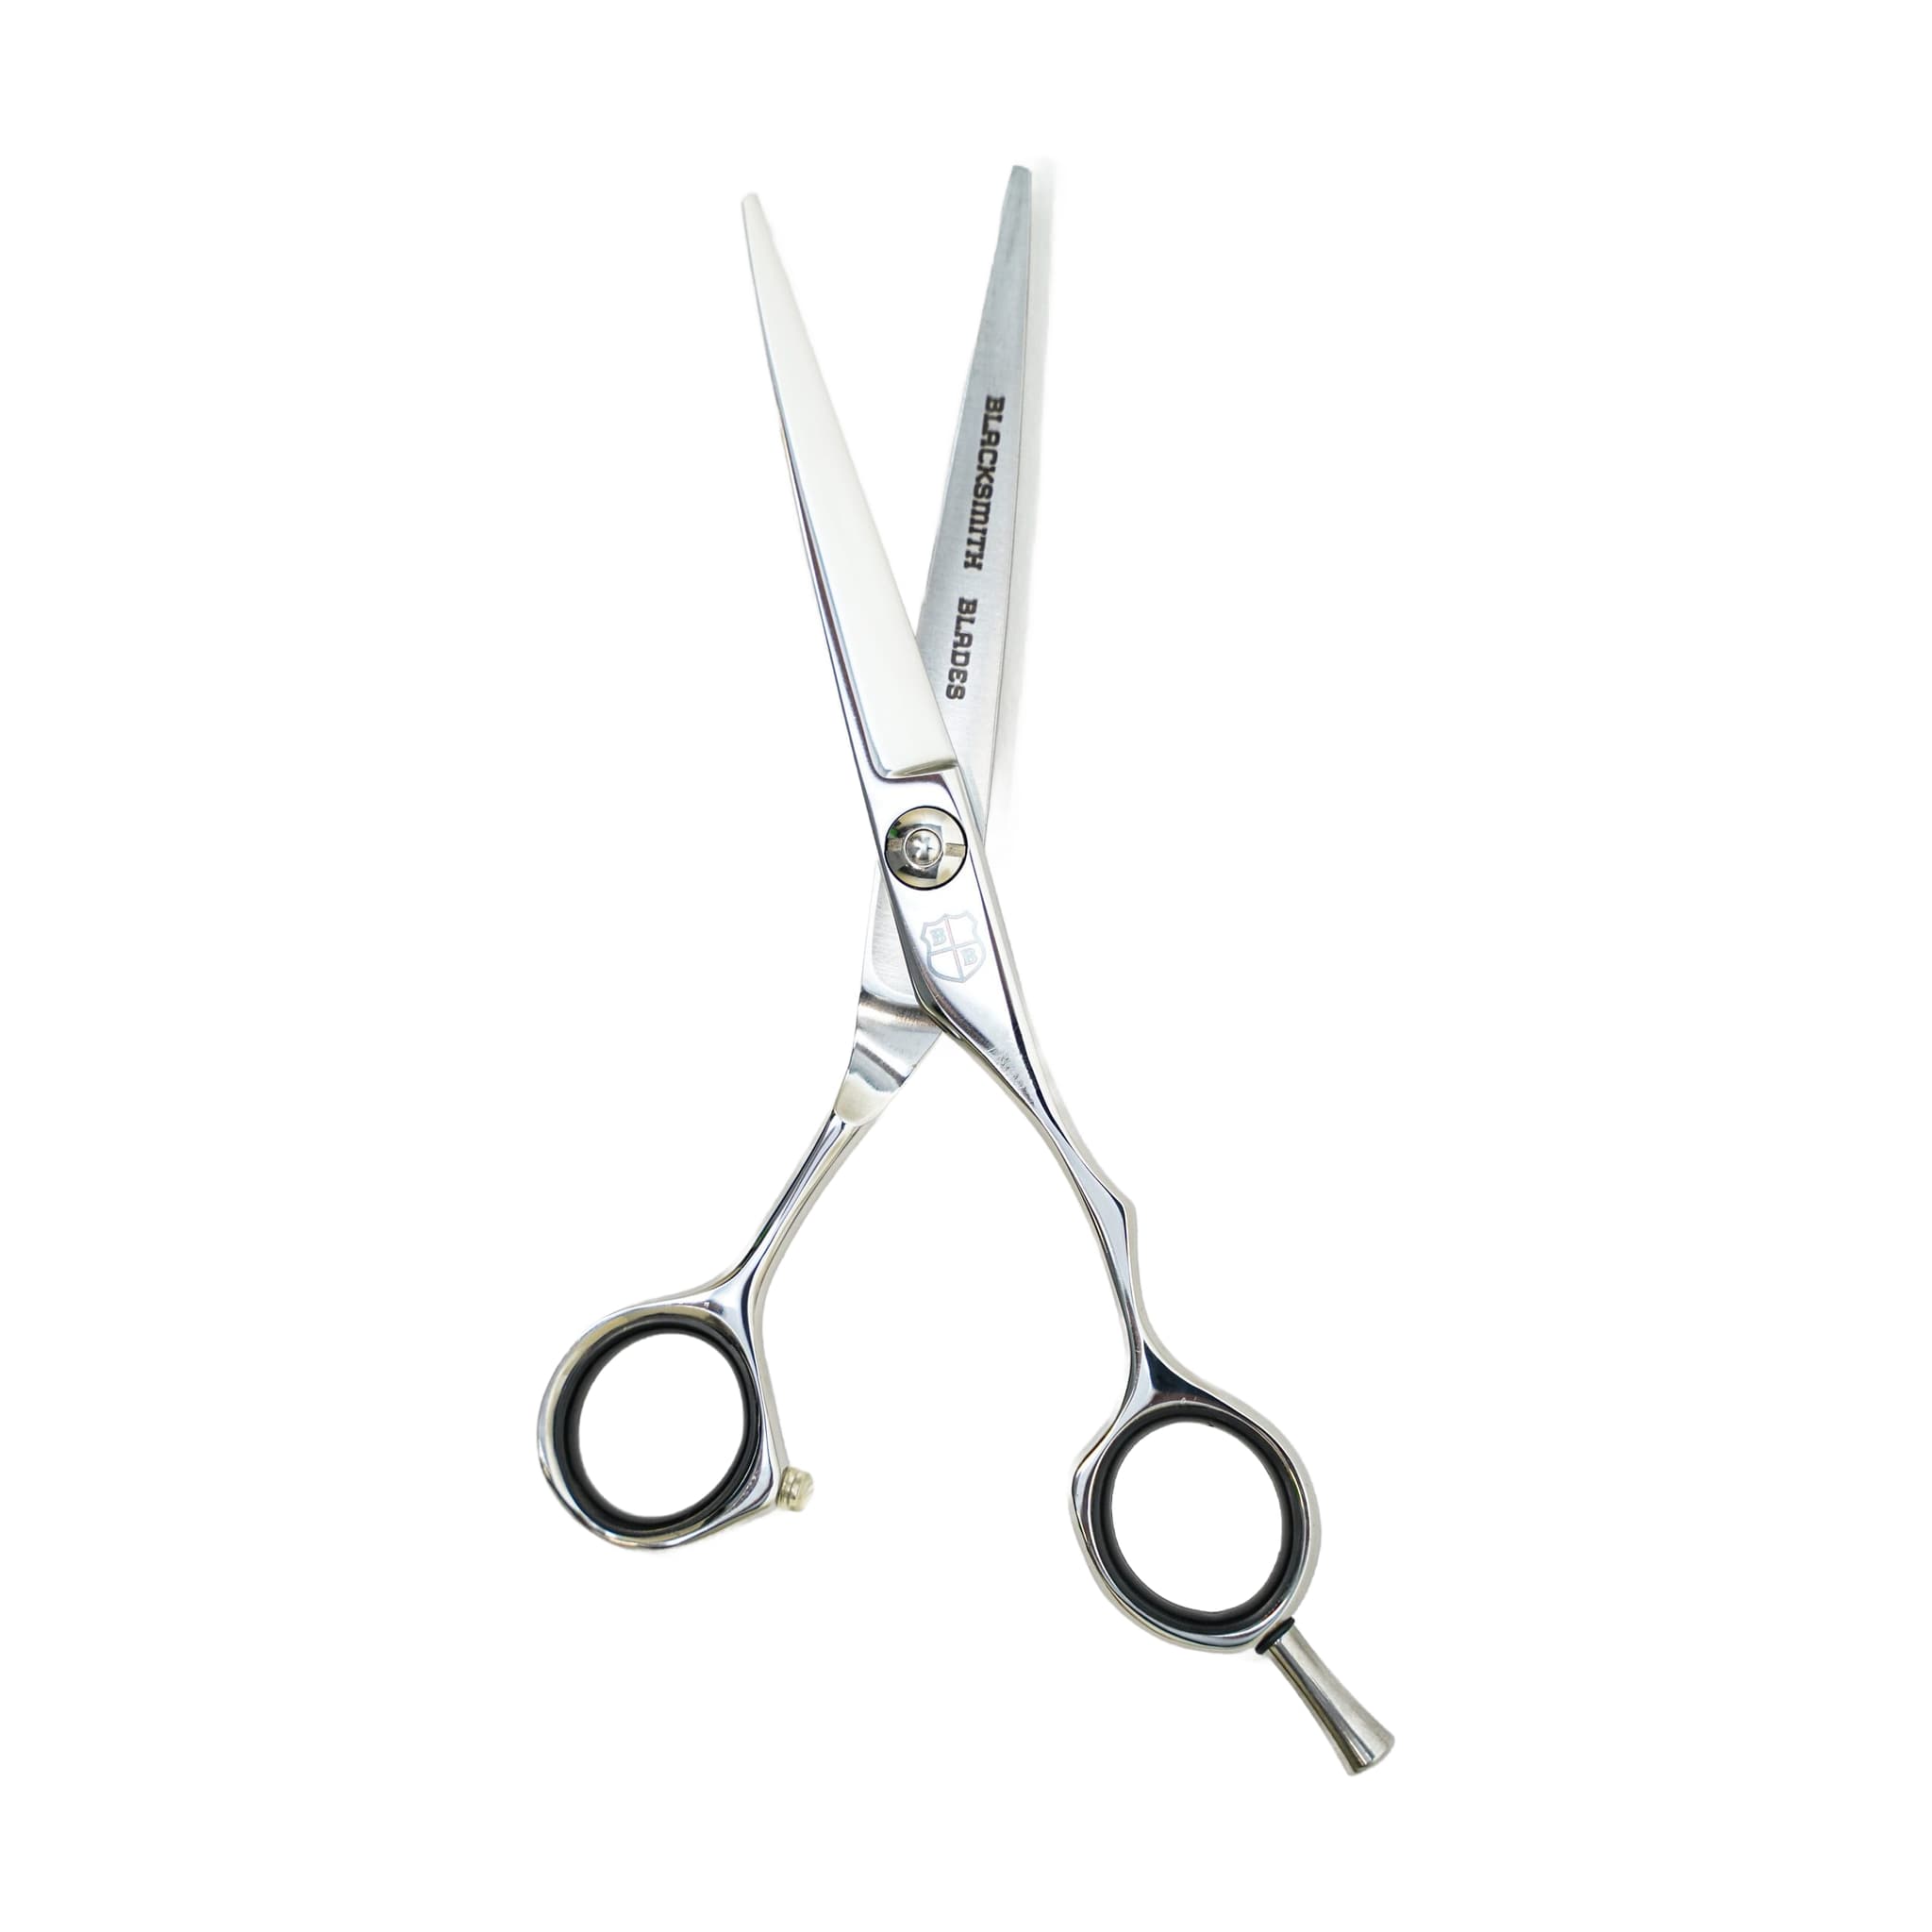
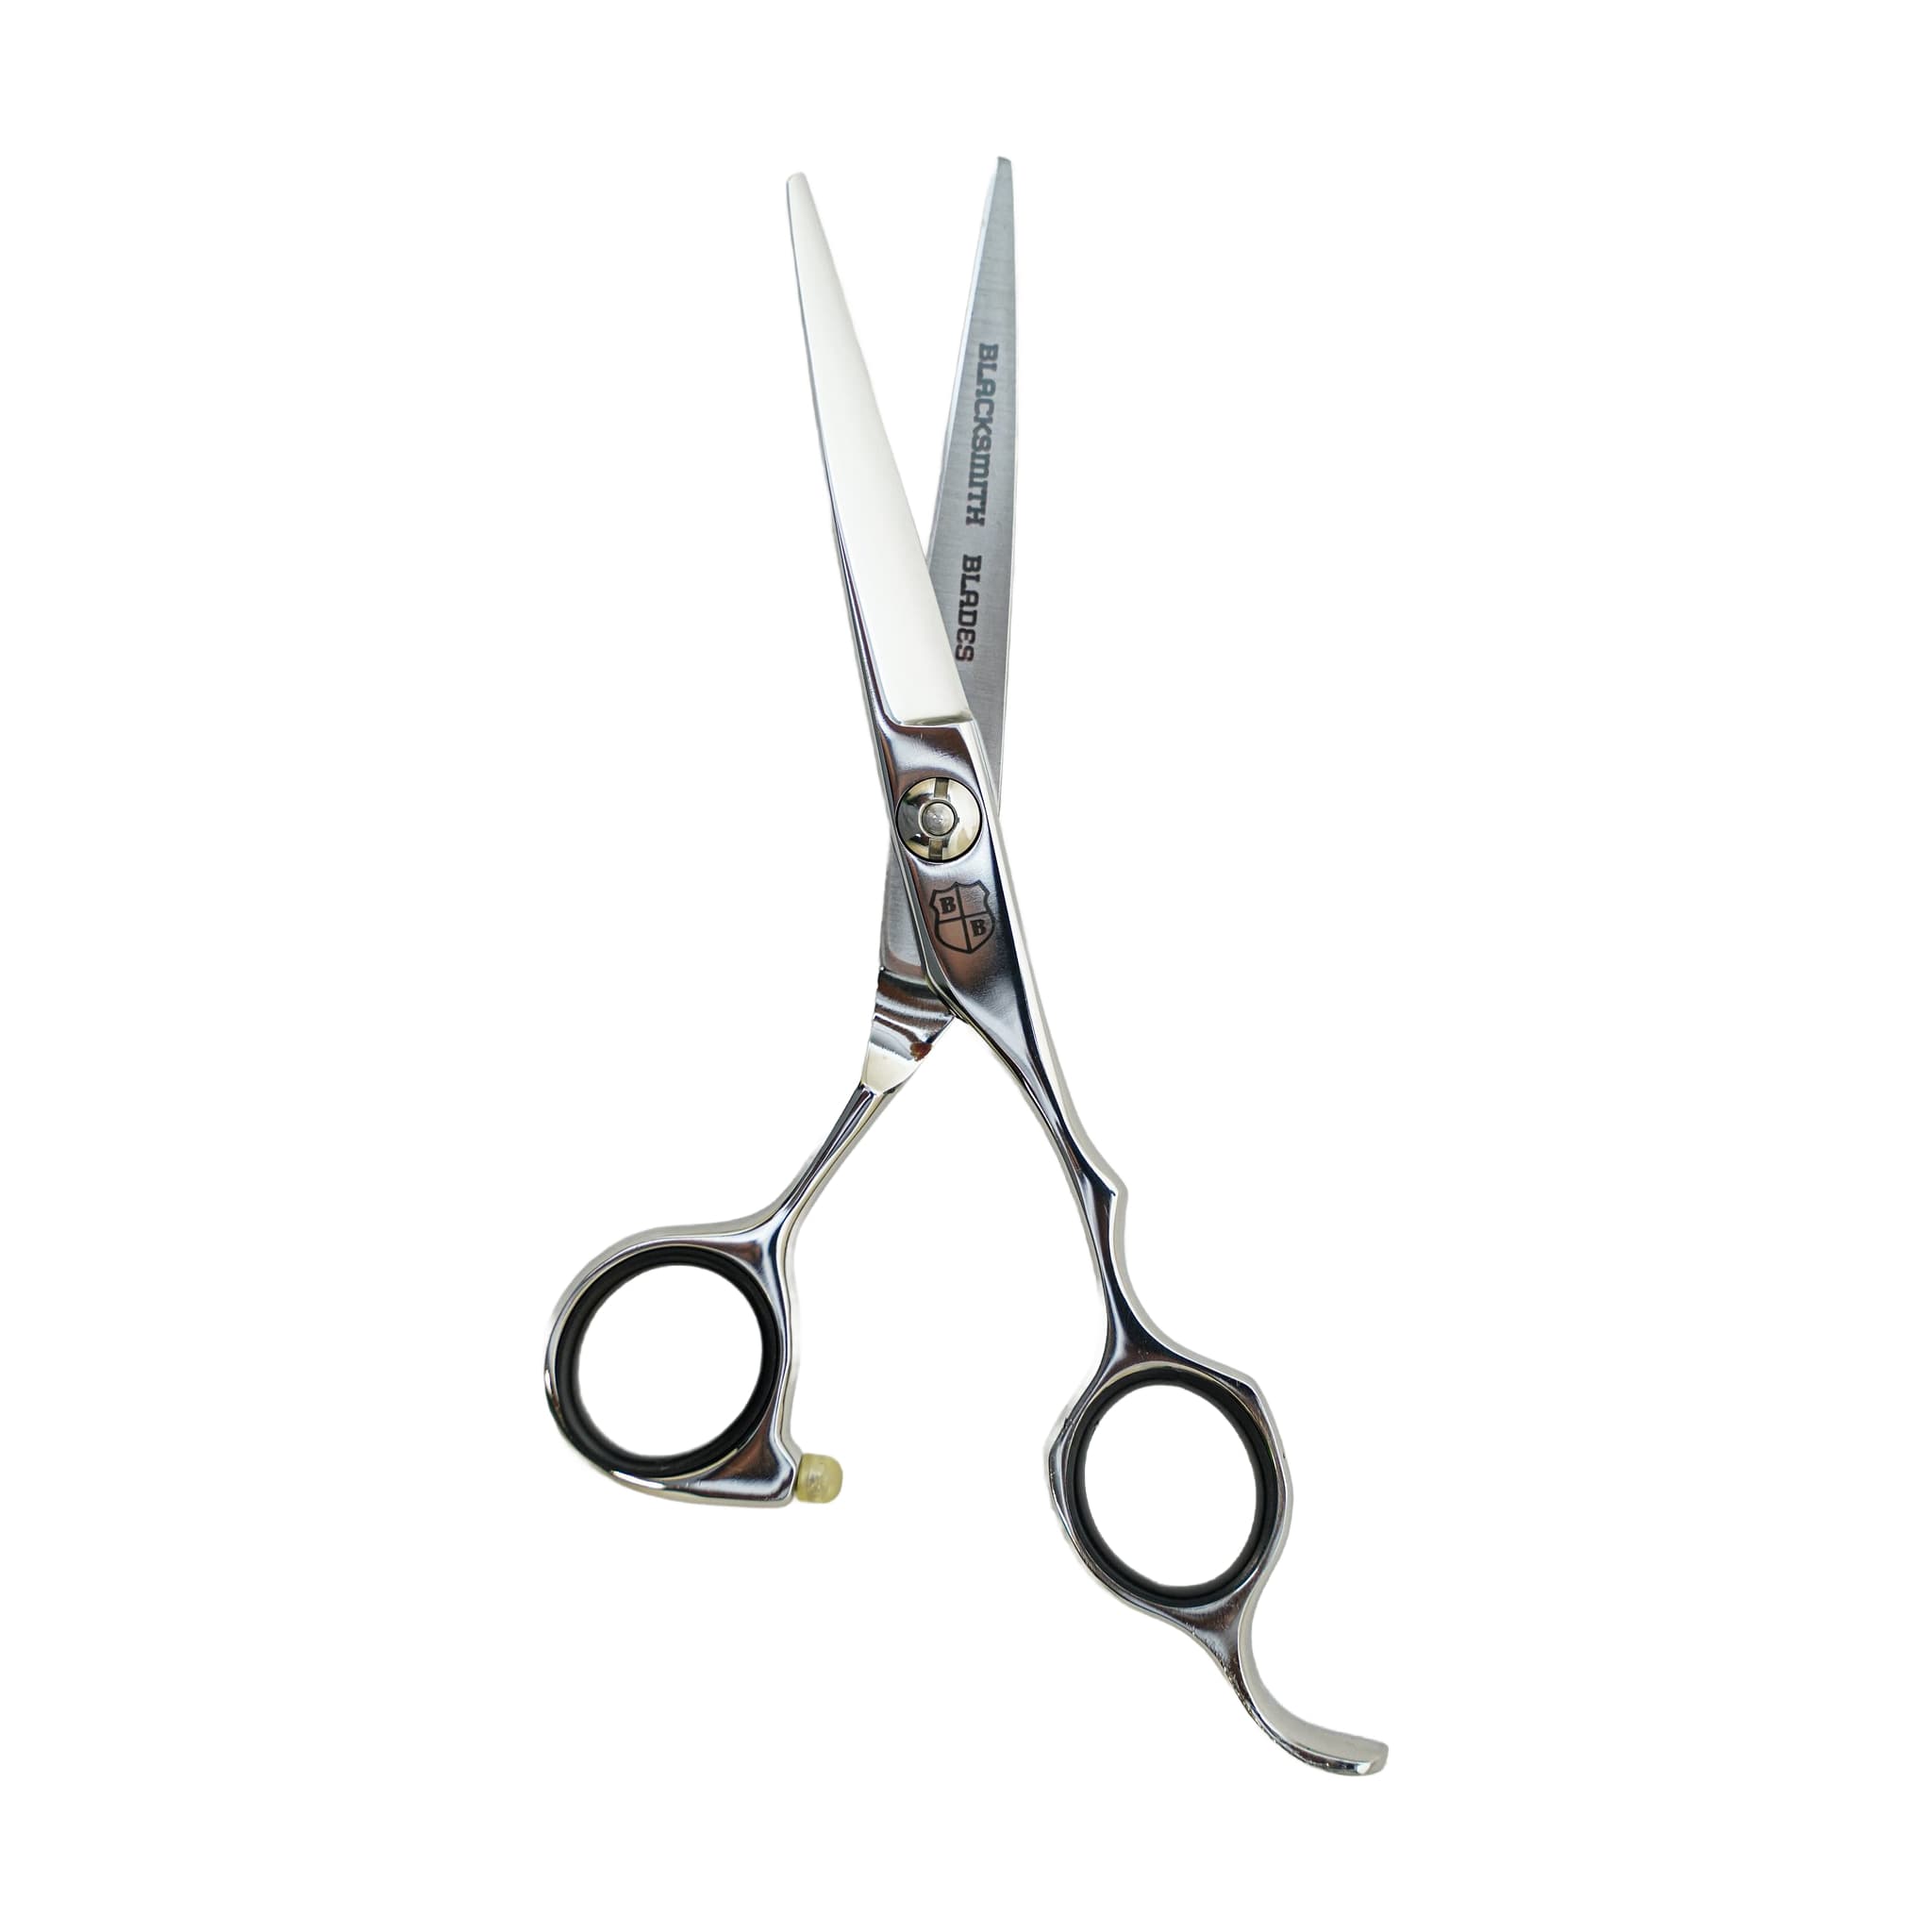
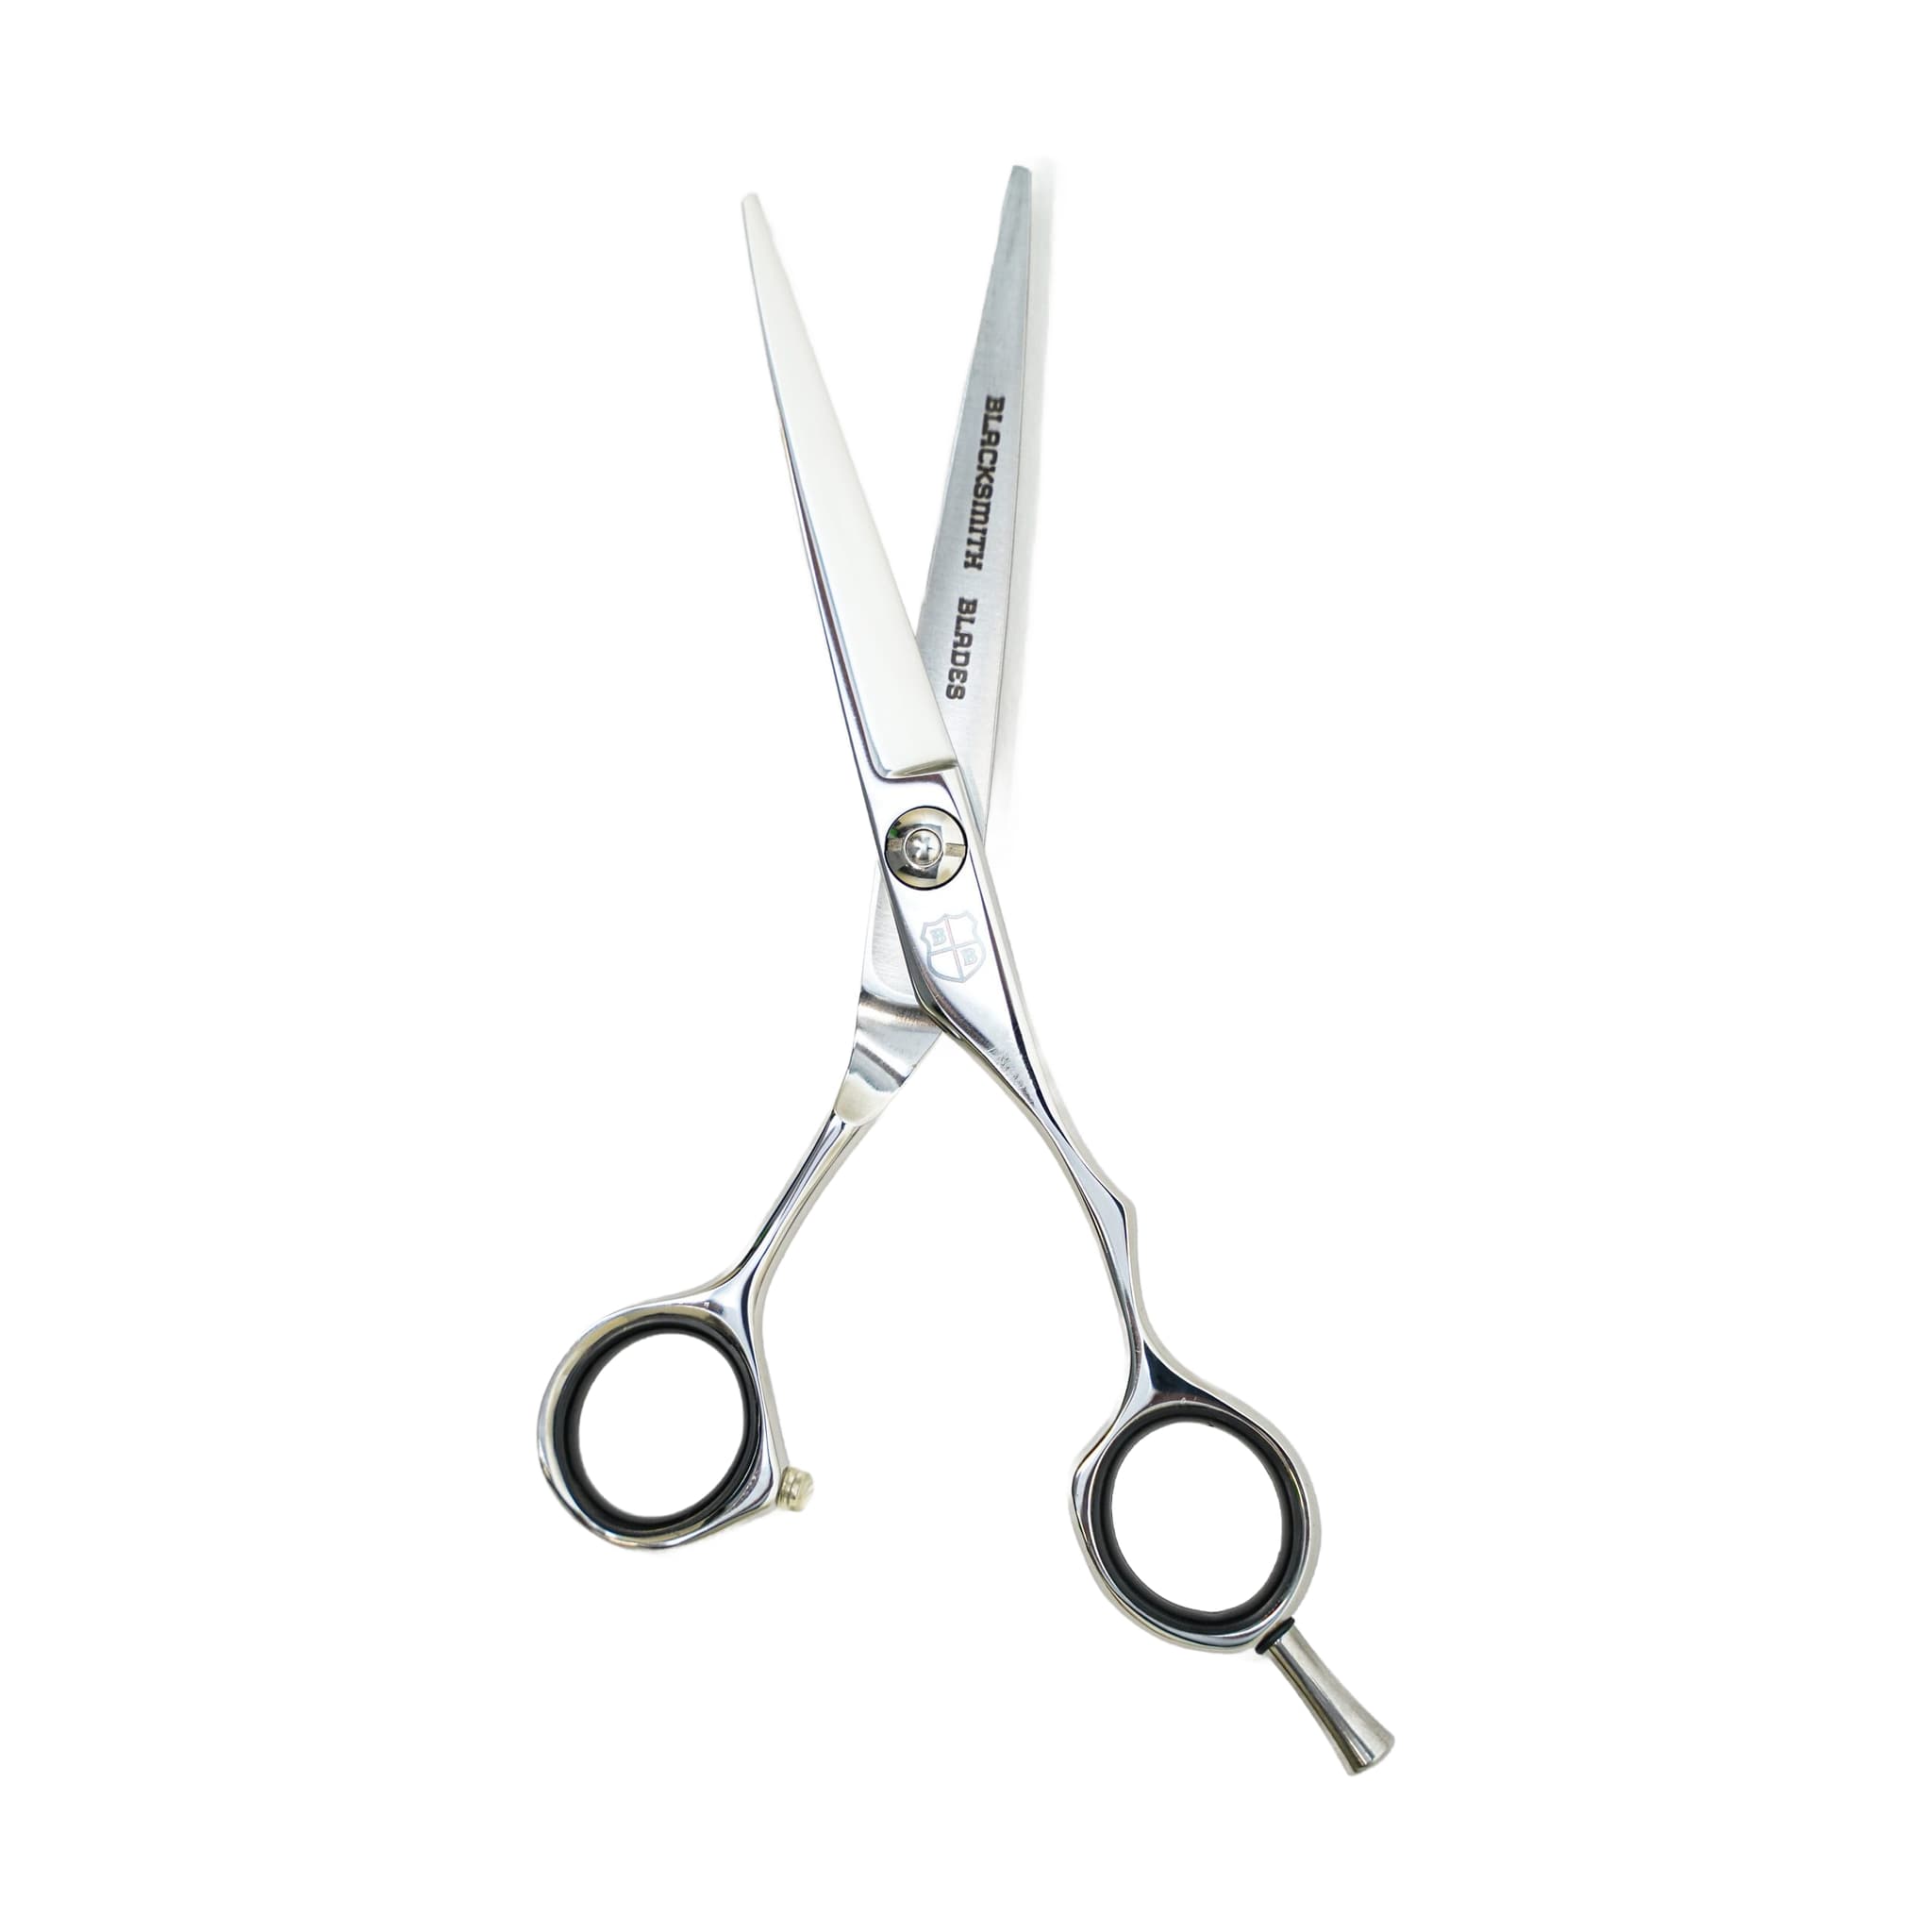
The 9CR 6.5 Professional Cutting Shear is a straight cutting shear designed to work across a range of users, from students in academy training to working professionals. It was designed to deliver quality comparable to higher-end shears while remaining accessible within limited budgets, making it a tool you can start with and continue using as your career develops.
The shear is built around 9CR steel, which sits as a stronger professional middle ground in the steel hierarchy compared to 6CR. That positions it as a practical step up for students ready to move beyond entry-level tools without committing to a premium price point.
Understand the Role of the 6.5-Inch Blade Before You Cut
Before you pick up this shear, it helps to understand where its 6.5-inch blade length fits in the cutting workflow. The blade offers more working length than the 9CR 5.5- and 5.75-inch models in the same line, and that extra reach is what makes it useful for specific tasks.
Longer shears tend to suit scissor-over-comb work, longer sections, and faster cutting across larger panels. If your session involves those tasks, this shear gives you the working length to move efficiently. If your priority is close detail work around the fringe or ears, the shorter sizes in the line are better matched to precision at tight angles.
Knowing your task before you reach for the shear is what keeps your results consistent. A straight cutting shear handles basic cutting, layering, point cutting, and general shaping — confirm that your intended work fits that role before you begin.
Choosing Your Handle: Left-Handed or Right-Handed
The 9CR 6.5 Professional Cutting Shear is available in left-handed and right-handed handle options, so your first step when ordering is to confirm which setup suits you. Getting this right before your first session matters more than it might seem.
A handle that does not fit your hand well can create fatigue and reduce your control during a cut. Look for a handle that lets your hand stay relaxed throughout the session. When it comes to handedness, choosing the correct variation from the start is far simpler than trying to adapt to the wrong one.
Check Tension Before Your First Session
Tension is the amount of pressure holding the two blades together as they close. When it is set correctly, the blades meet cleanly from heel to tip. When it is off, even a sharp shear can fold, push, or pull hair rather than cutting it cleanly.
Before your first session, run a simple check. Hold the shear open, lift one handle, and allow it to fall closed on its own. A well-tensioned shear will close partway and stop — it should neither drop shut immediately nor remain fully open. Oil the pivot before you judge the final feel, then make small adjustments and test again before cutting hair.
Two common problems to watch for: loose tension lets hair deflect between the blades rather than being cut, while tension that is too tight makes the shear feel heavy or tiring to close. Adjust gradually and stop if the shear feels rough or forced. If tension adjustment does not resolve folding, pushing, pulling, or rough cutting, send the shear for professional service rather than continuing to tighten.
Daily Care After Every Session: Wipe, Oil and Store
A consistent end-of-session routine protects your shear between uses. Hair, product, moisture, and disinfectant residue can collect around the blades and pivot during a busy day. Wiping the shear down after each session removes that buildup and helps the blades move smoothly.
After wiping, add a small amount of oil at the pivot. This helps the blades move cleanly, reduces unnecessary friction, and makes your tension checks more accurate the next time you run them. Open and close the shear a few times to work the oil through the pivot.
- Wipe the blades clean after every session to remove hair, product, and moisture.
- Oil the pivot after cleaning or disinfecting, then open and close the shear to distribute it.
- Store the shear in a case or protected holder — do not toss it loose into a drawer or bag.
- Use the shear only on hair; paper, tags, thread, and packaging can dull or damage the edge quickly.
- Contact with hard surfaces or other tools during storage can affect how the shear cuts, so protected storage is part of protecting the edge.
Related resources
Sources
- 9CR 6.5 Professional Cutting Shear - Blacksmith Blades
- Adjusting Shear Tension - Blacksmith Blades
- Daily Shear Care and Storage - Blacksmith Blades
- Different Types of Haircutting Shears and How to Choose the Right Pair - Blacksmith Blades