October 2, 2026/5 min read
How to Use the VG10 Master Series Matte Black Cutting/Thinning Set: Sequencing Two Tools in a Haircut
The VG10 Master Series Matte Black Cutting/Thinning Set pairs a straight cutting shear with a matching thinning shear. Here is how to sequence both tools and care for them after every session.
What the VG10 Master Series Matte Black Cutting/Thinning Set Includes
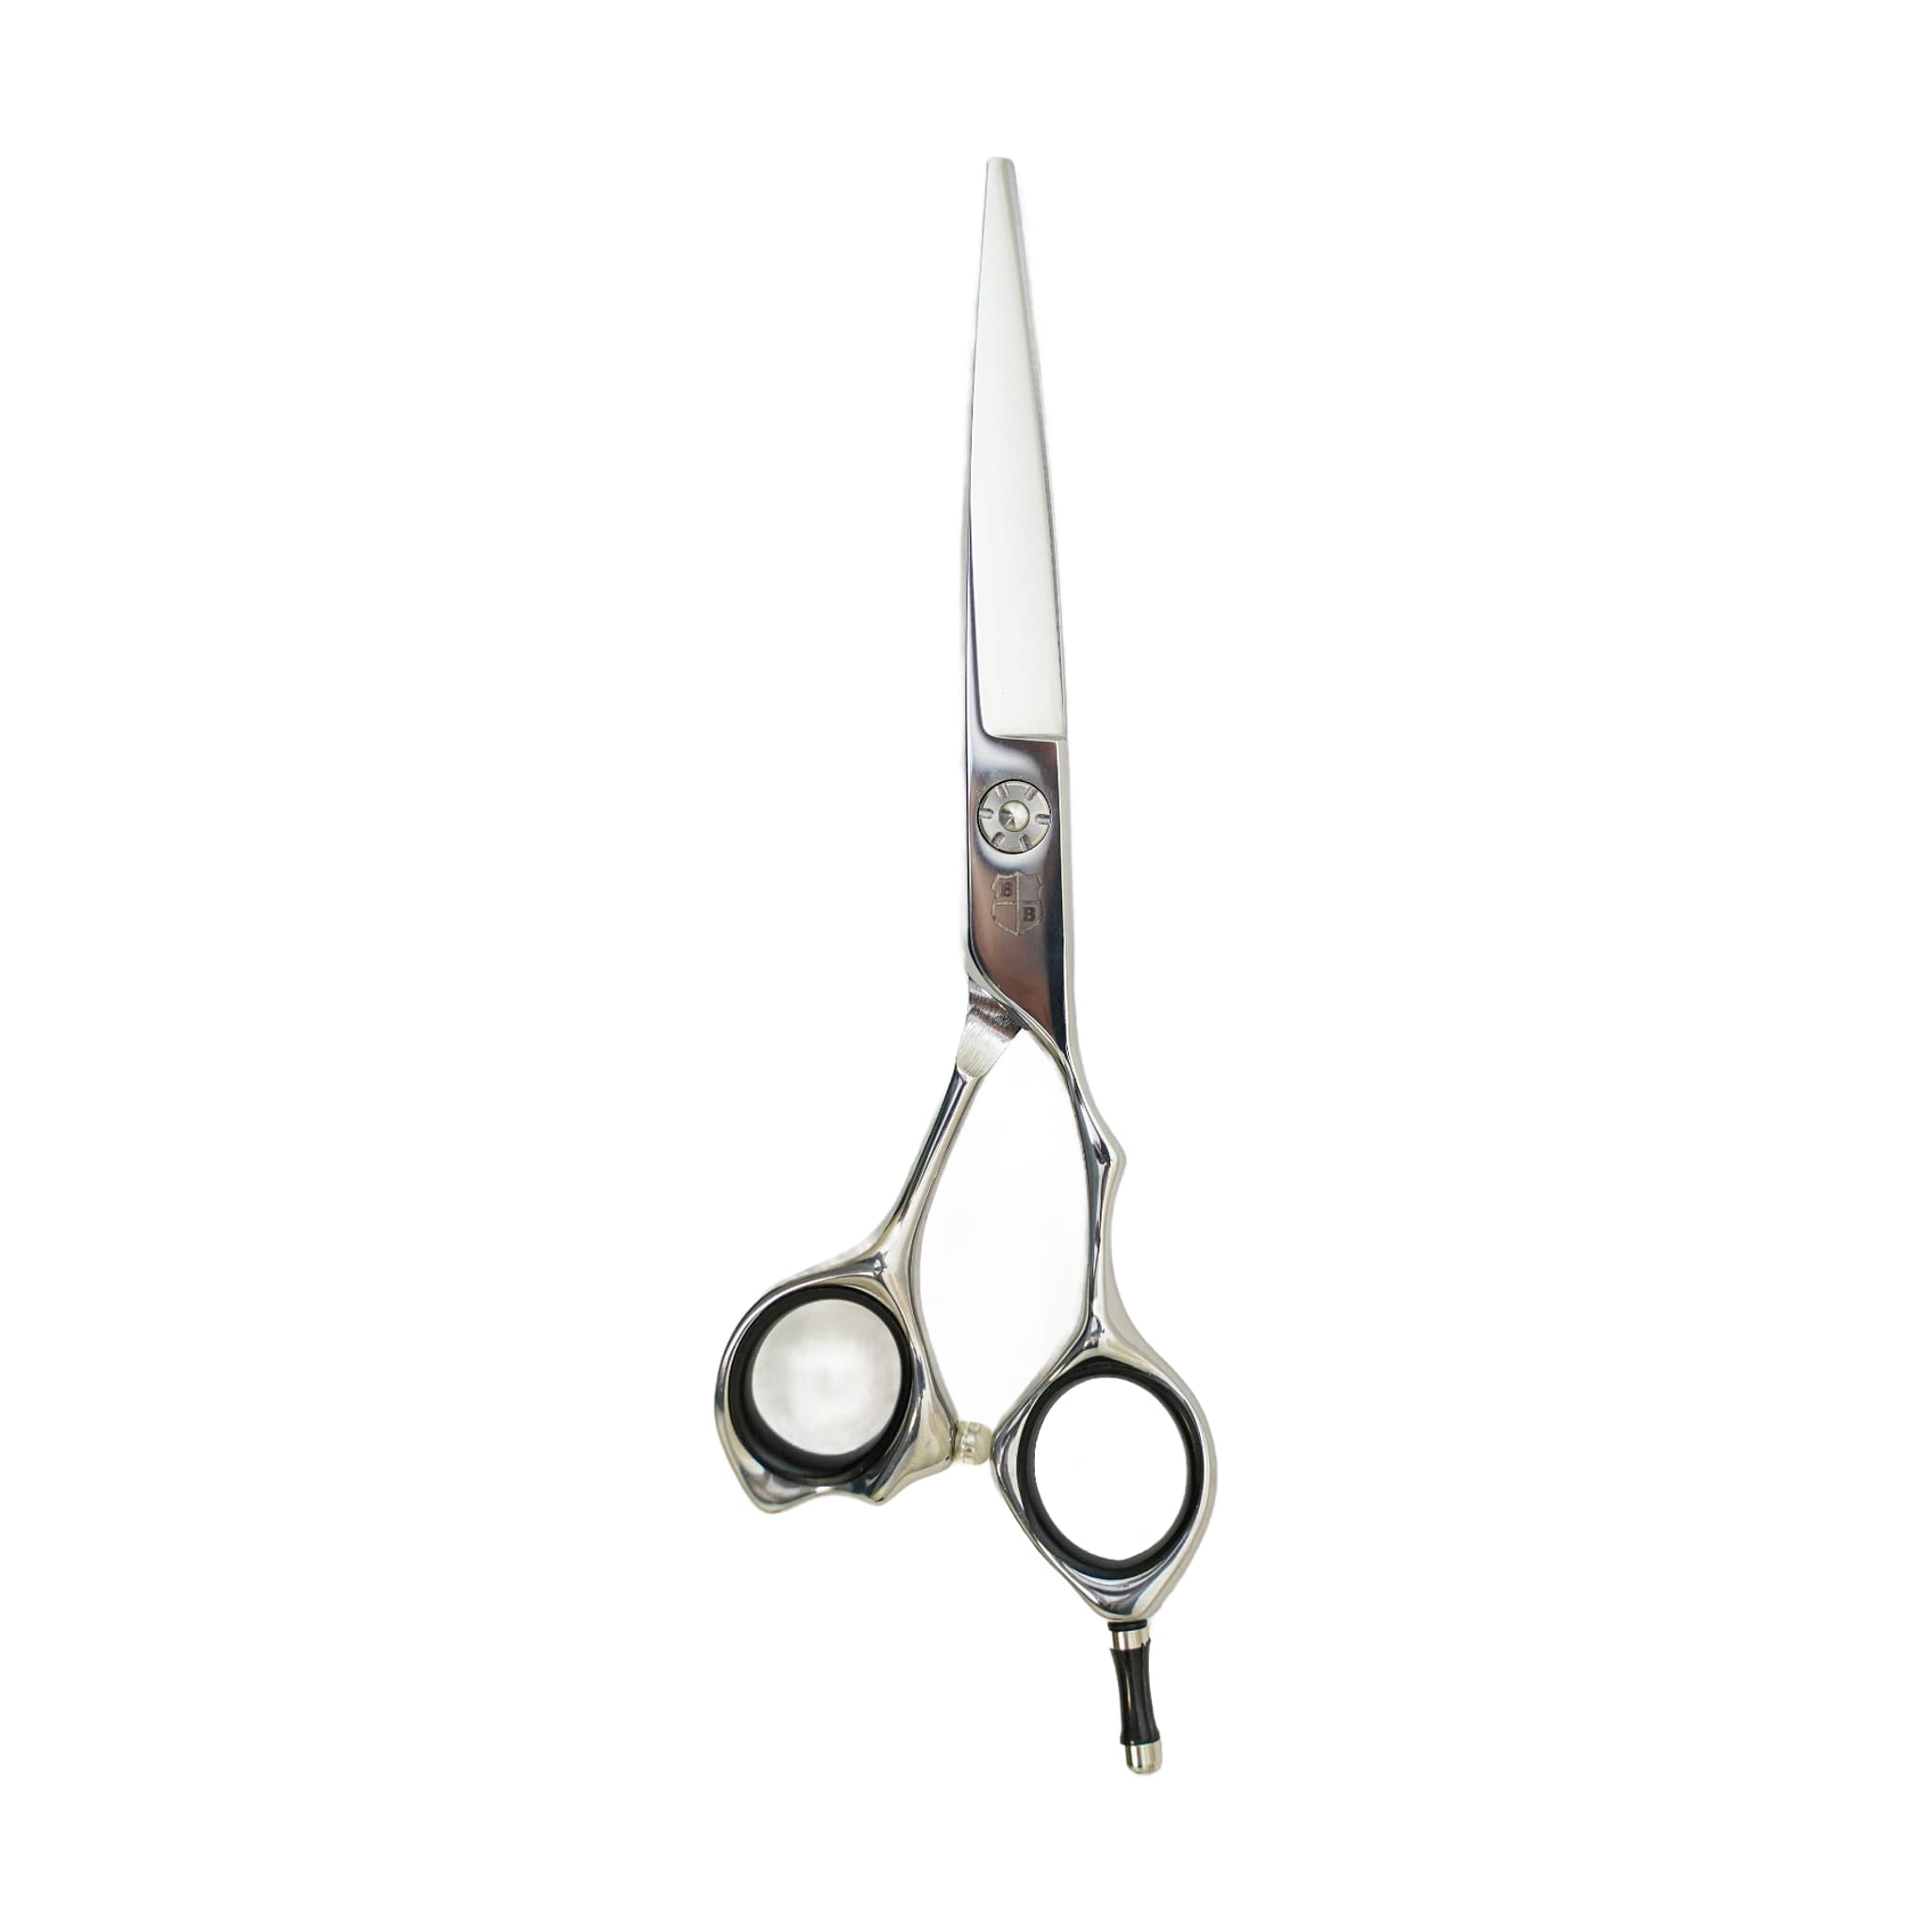
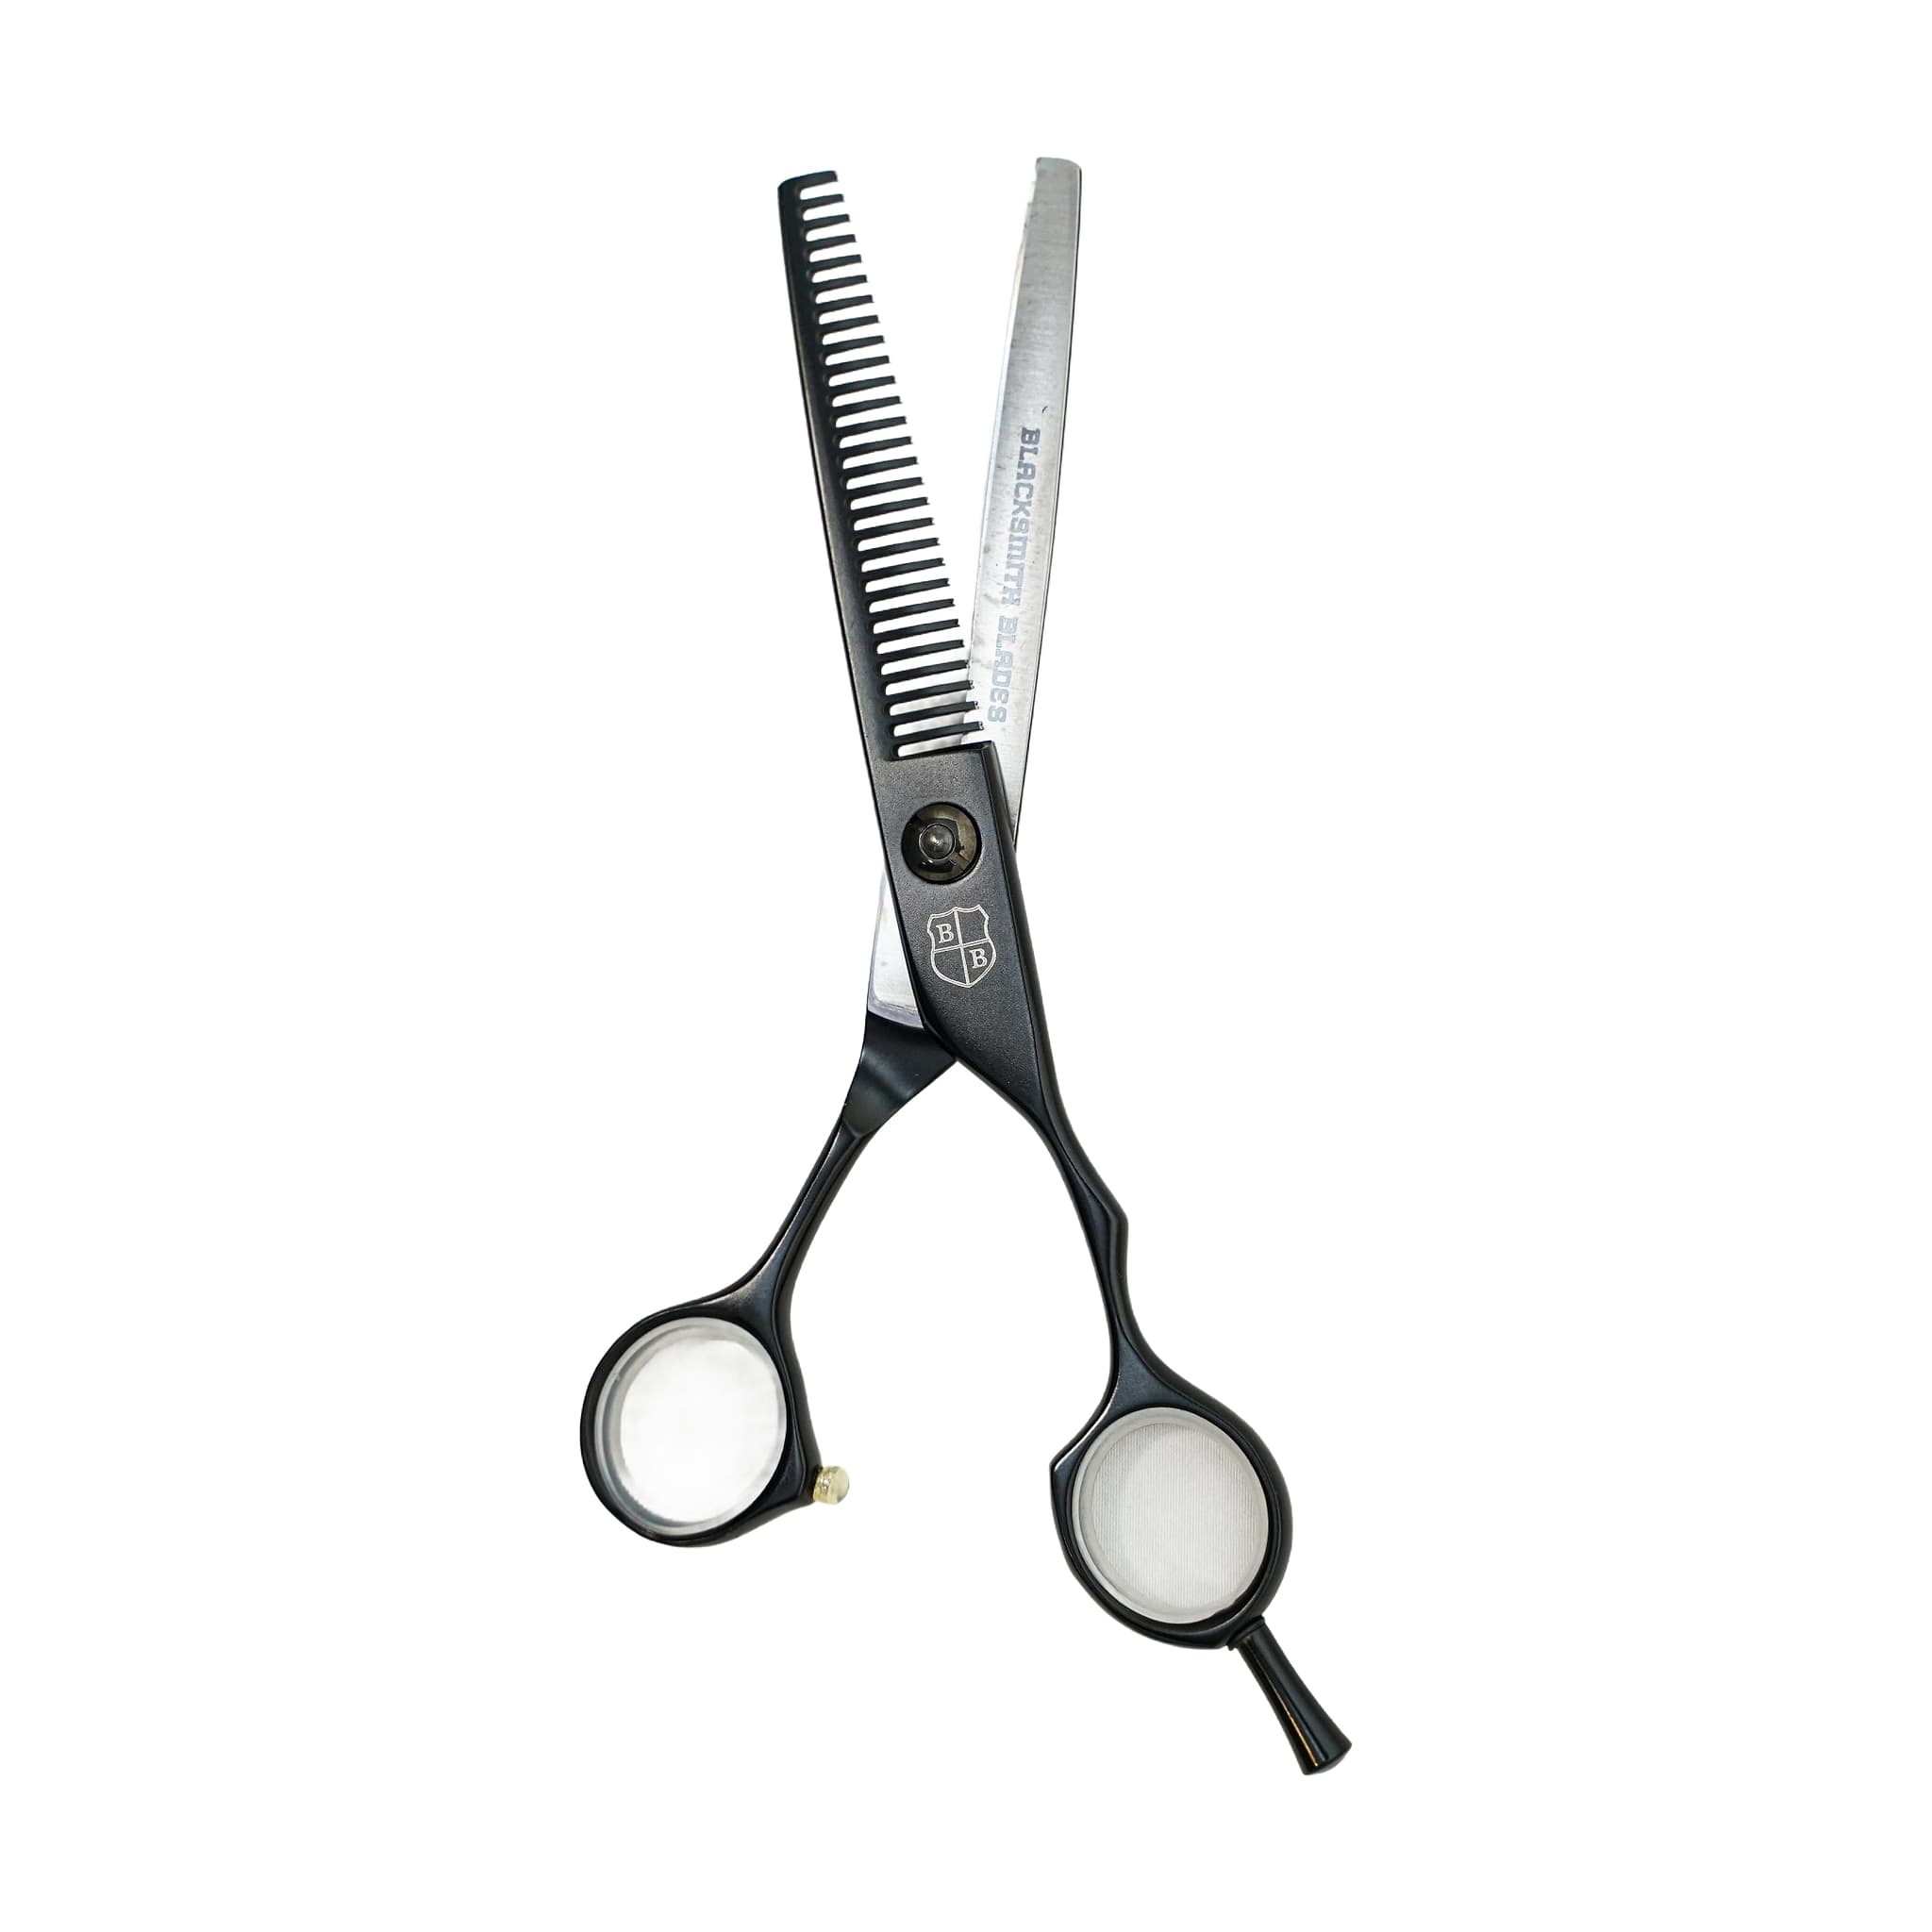
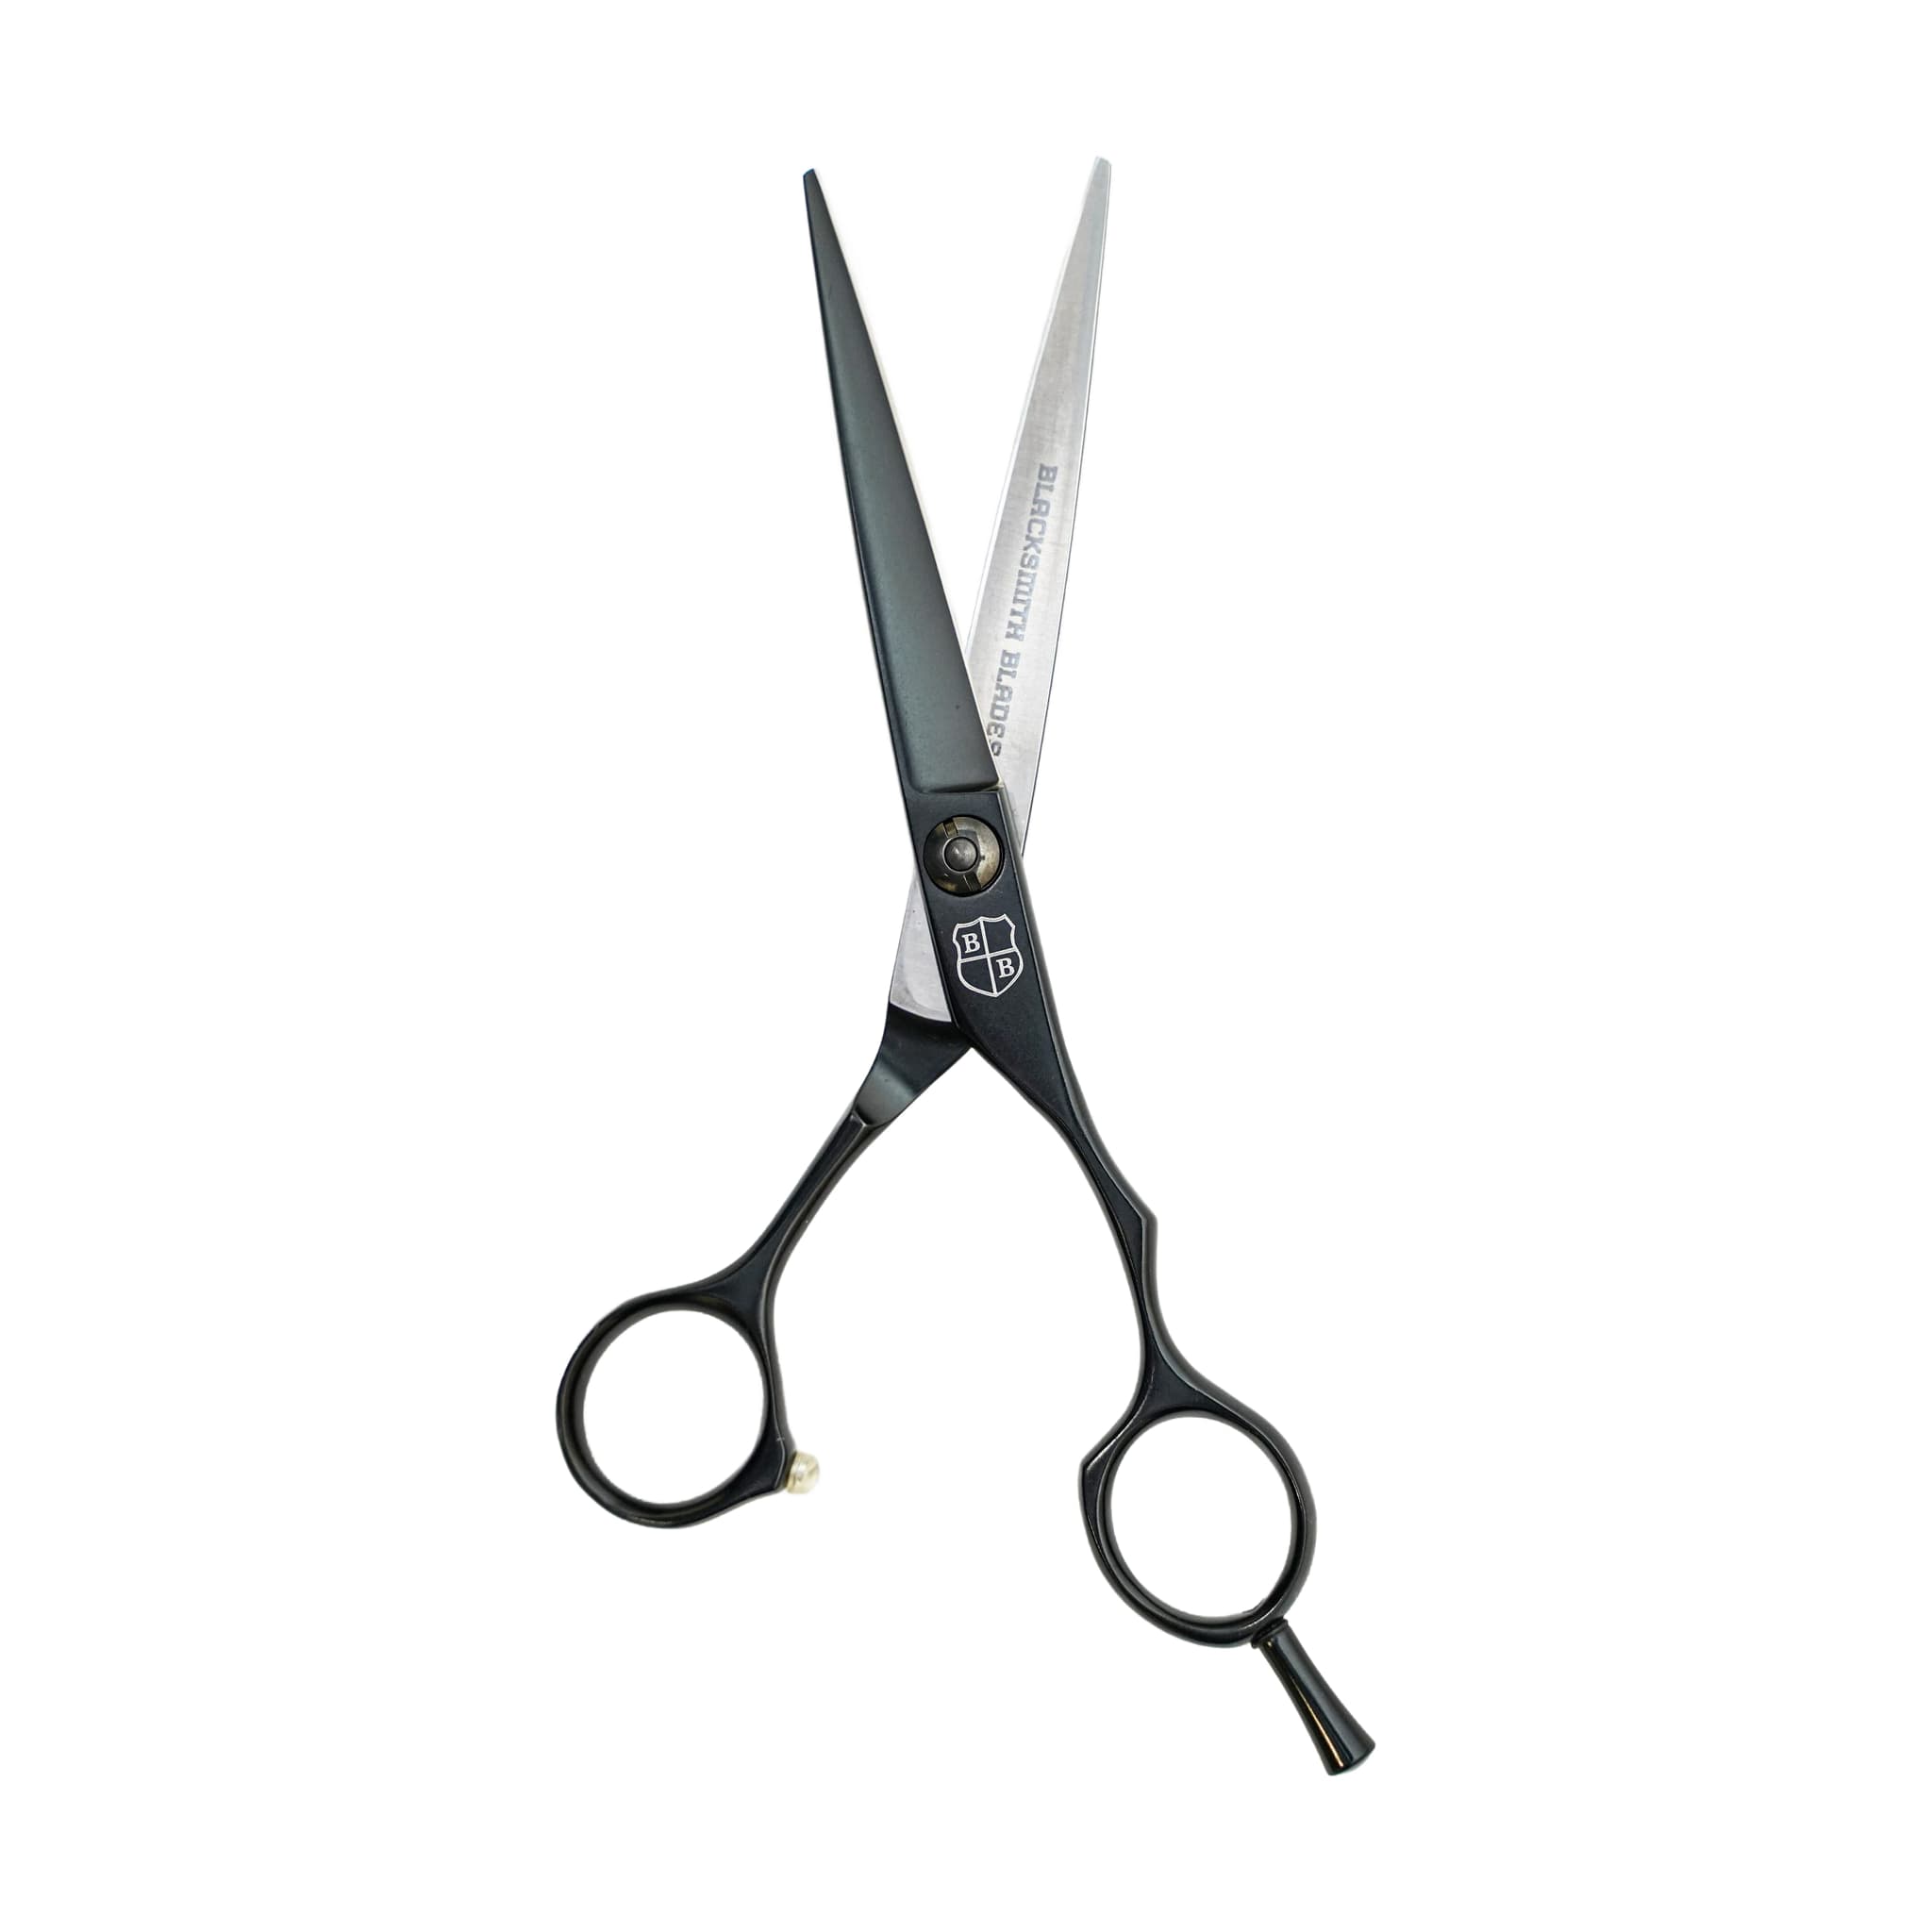
The VG10 Master Series Matte Black Cutting/Thinning Set gives you two coordinated tools: a straight cutting shear and a matching thinning shear, both finished in matte black and made from VG10 stainless steel. The set is designed around a two-step workflow — you build the haircut's structure with the cutting shear, then use the thinning shear selectively to soften a line or reduce weight. Before your first session, you will choose a cutting blade length and a handle orientation to match your technique and dominant hand.
Understand the Role of Each Tool Before You Cut
The two shears in this set are not interchangeable. Your cutting shear is the structural tool — it establishes the shape, length, and lines of the haircut. Your thinning shear is the refinement tool, used after the shape is built to reduce density, soften a line, blend a transition, or create movement. Reaching for the thinning shear before the structure is solid will not fix an unfinished shape; texturizing cannot correct a poorly built cut.
Before you pick up the thinning shear, identify exactly what you are trying to accomplish. Are you reducing density in a heavy section, softening a perimeter line, blending a transition, or adding movement? Each goal calls for different placement. If the purpose is not clear, set the shear down and evaluate the haircut before cutting more.
Choosing Your Blade Length and Handle Orientation
The set offers a choice of cutting blade lengths. A shorter blade gives you closer control around fringe and fine detail work. A longer blade suits larger sections and scissor-over-comb technique. Choose the length that matches the cutting tasks you perform most often, since both shears in the set are designed to work together as a coordinated pair.
You will also choose between a left-handed and right-handed handle orientation. Select the variation that matches your dominant hand. Using the wrong orientation adds unnecessary strain and reduces your control over both tools throughout the session.
Check Tension Before Your First Session
Tension is the amount of pressure holding the two blades together as they close. When it is off, even a sharp shear can fold, push, or pull hair rather than cut it cleanly. If the screw is too loose, hair bends between the blades instead of being cut. If it is too tight, the shear can feel heavy or tiring in your hand — and tight tension can make the shear feel dull even when the edge is still usable. Check tension on both shears before you cut hair for the first time.
For the tension check itself, hold the shear with one blade elevated and release it, watching how the blades respond as they come together. A well-set shear closes with controlled movement — neither dropping shut immediately nor hanging open. Oil the pivot before you judge the final feel, then make small adjustments and test again before returning to client work. If tension adjustment does not stop folding, pushing, pulling, or rough cutting, send the shear for professional service rather than continuing to adjust.
Sequencing the Two Shears: Build First, Then Refine
Start every haircut with the cutting shear. Use it to establish the shape, length, and any lines the style requires. Once the structure is solid, set the cutting shear down and assess the haircut before reaching for the thinning shear. Look at the overall shape from a distance and identify where the weight is heavy, where a transition needs blending, or where the hair needs movement. That assessment tells you where to place the thinning shear — and just as importantly, where to leave the hair alone.
When you move to the thinning shear, work with clean sections. Take a single pass, then comb the section through and give the hair a moment to settle before deciding whether another cut is needed — the shape you see mid-cut can shift once the hair falls back into place. Controlled thinning is most effective through mid-lengths and selected weight areas rather than applied broadly near the root. Cutting too close to the scalp with a thinning shear can create short interior pieces that push hair outward or cause frizz, which is one of the most common mistakes with this type of tool.
Use the thinning shear only where it improves the shape — through the interior, around a bulky transition, or in a dense area that needs movement. Stop when the shape improves. Do not keep cutting simply because the tool is in your hand; the best thinning work is often the least visible.
Daily Care After Every Session: Wipe, Oil, and Store
Both shears in your set need the same end-of-session routine. Hair, product, moisture, and disinfectant residue collect around the blades and pivot during use. Wipe both shears down after every session to remove that buildup and protect the finish.
Your thinning shear deserves particular attention here. Its teeth create more places for hair and product to collect than a straight blade does. If that buildup is ignored, the shear can start to drag or feel inconsistent, so cleaning between uses is especially important for this tool.
- Apply a small amount of oil at the pivot of each shear, then open and close the shear to work it through. This helps the blades move cleanly, reduces friction, and makes tension checks more accurate.
- Store both shears in a case or protected holder. A small nick from a drawer, counter, or dropped tool can change how a shear cuts.
- Never toss either shear loose into a drawer or bag.
- Use both shears only on hair. Paper, tags, thread, packaging, and fabric can dull or damage the edge quickly.
Related resources
Sources
- Adjusting Shear Tension - Blacksmith Blades
- Daily Shear Care and Storage - Blacksmith Blades
- How to Use Texturizing and Thinning Shears Like a Professional - Blacksmith Blades
- VG10 Master Series Matte Black Cutting/Thinning Set - Blacksmith Blades