October 4, 2026/5 min read
How to Use the 440C Ergonomic Cutting/Thinning Set: Sequencing Two Tools and Caring for Both
The 440C Ergonomic Cutting/Thinning Set pairs a straight cutting shear with a thinning shear. Here is how to choose your size, sequence both tools, and care for them after every session.
What the 440C Ergonomic Cutting/Thinning Set Includes
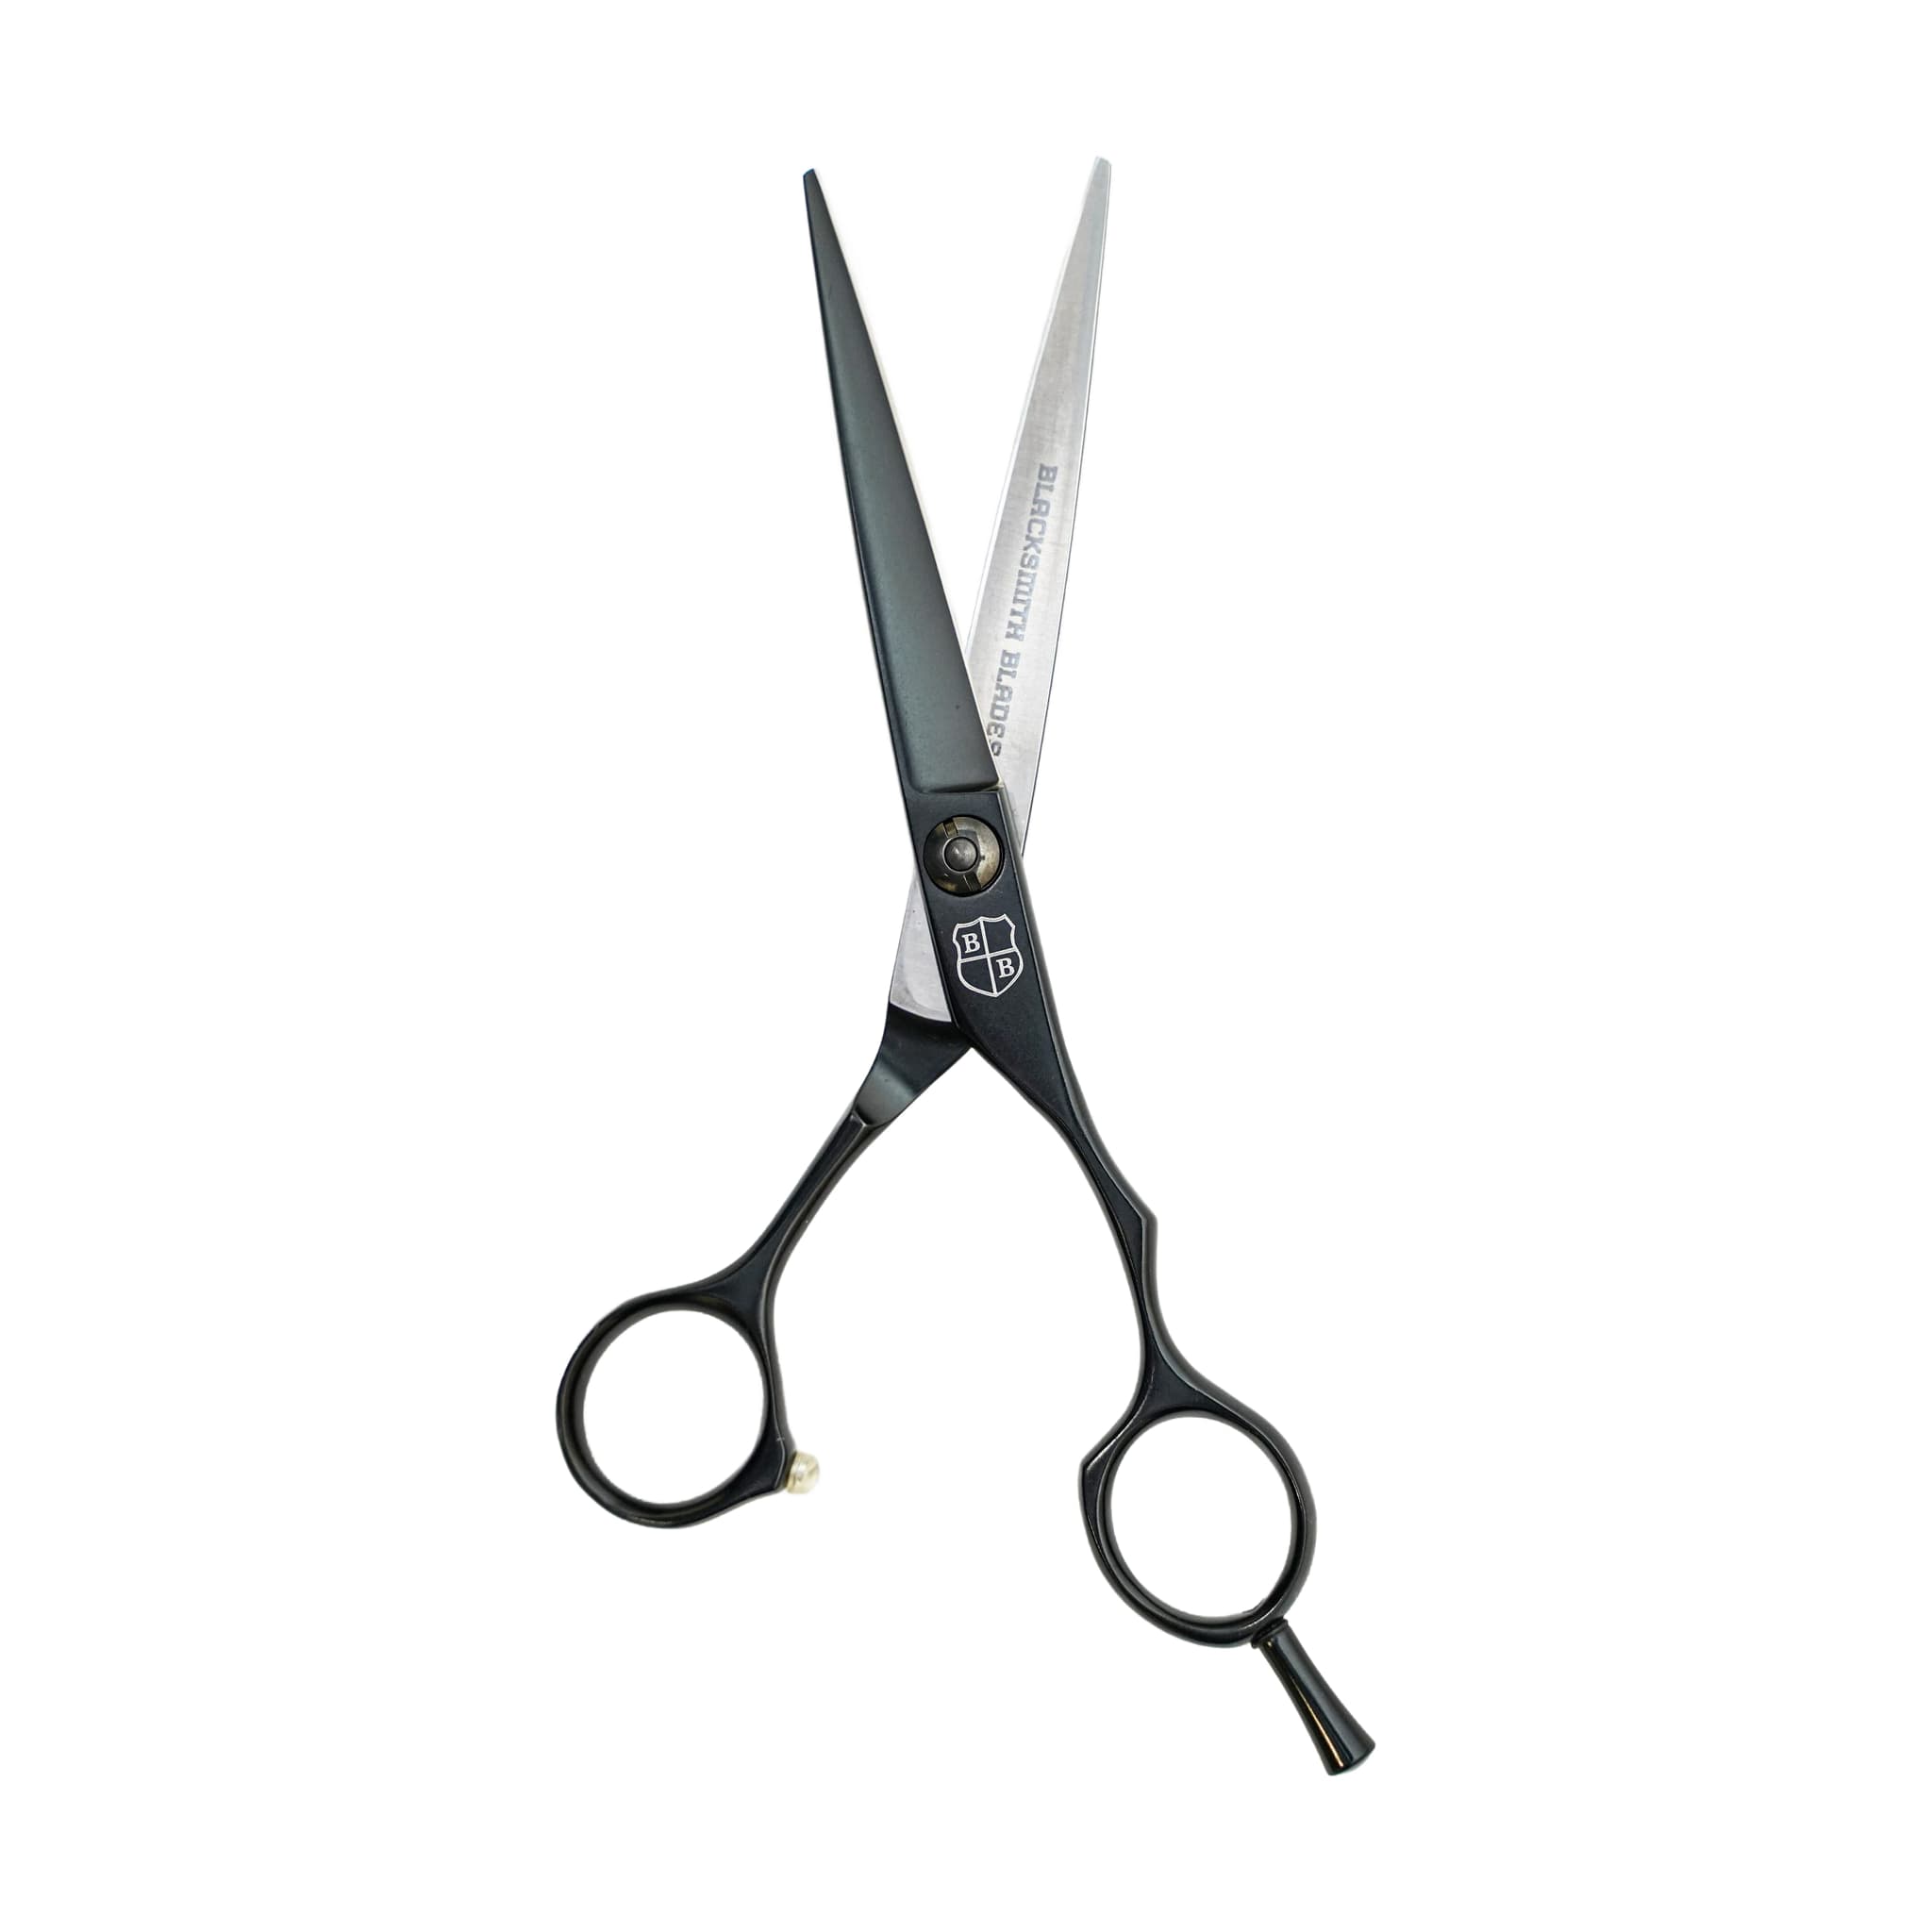
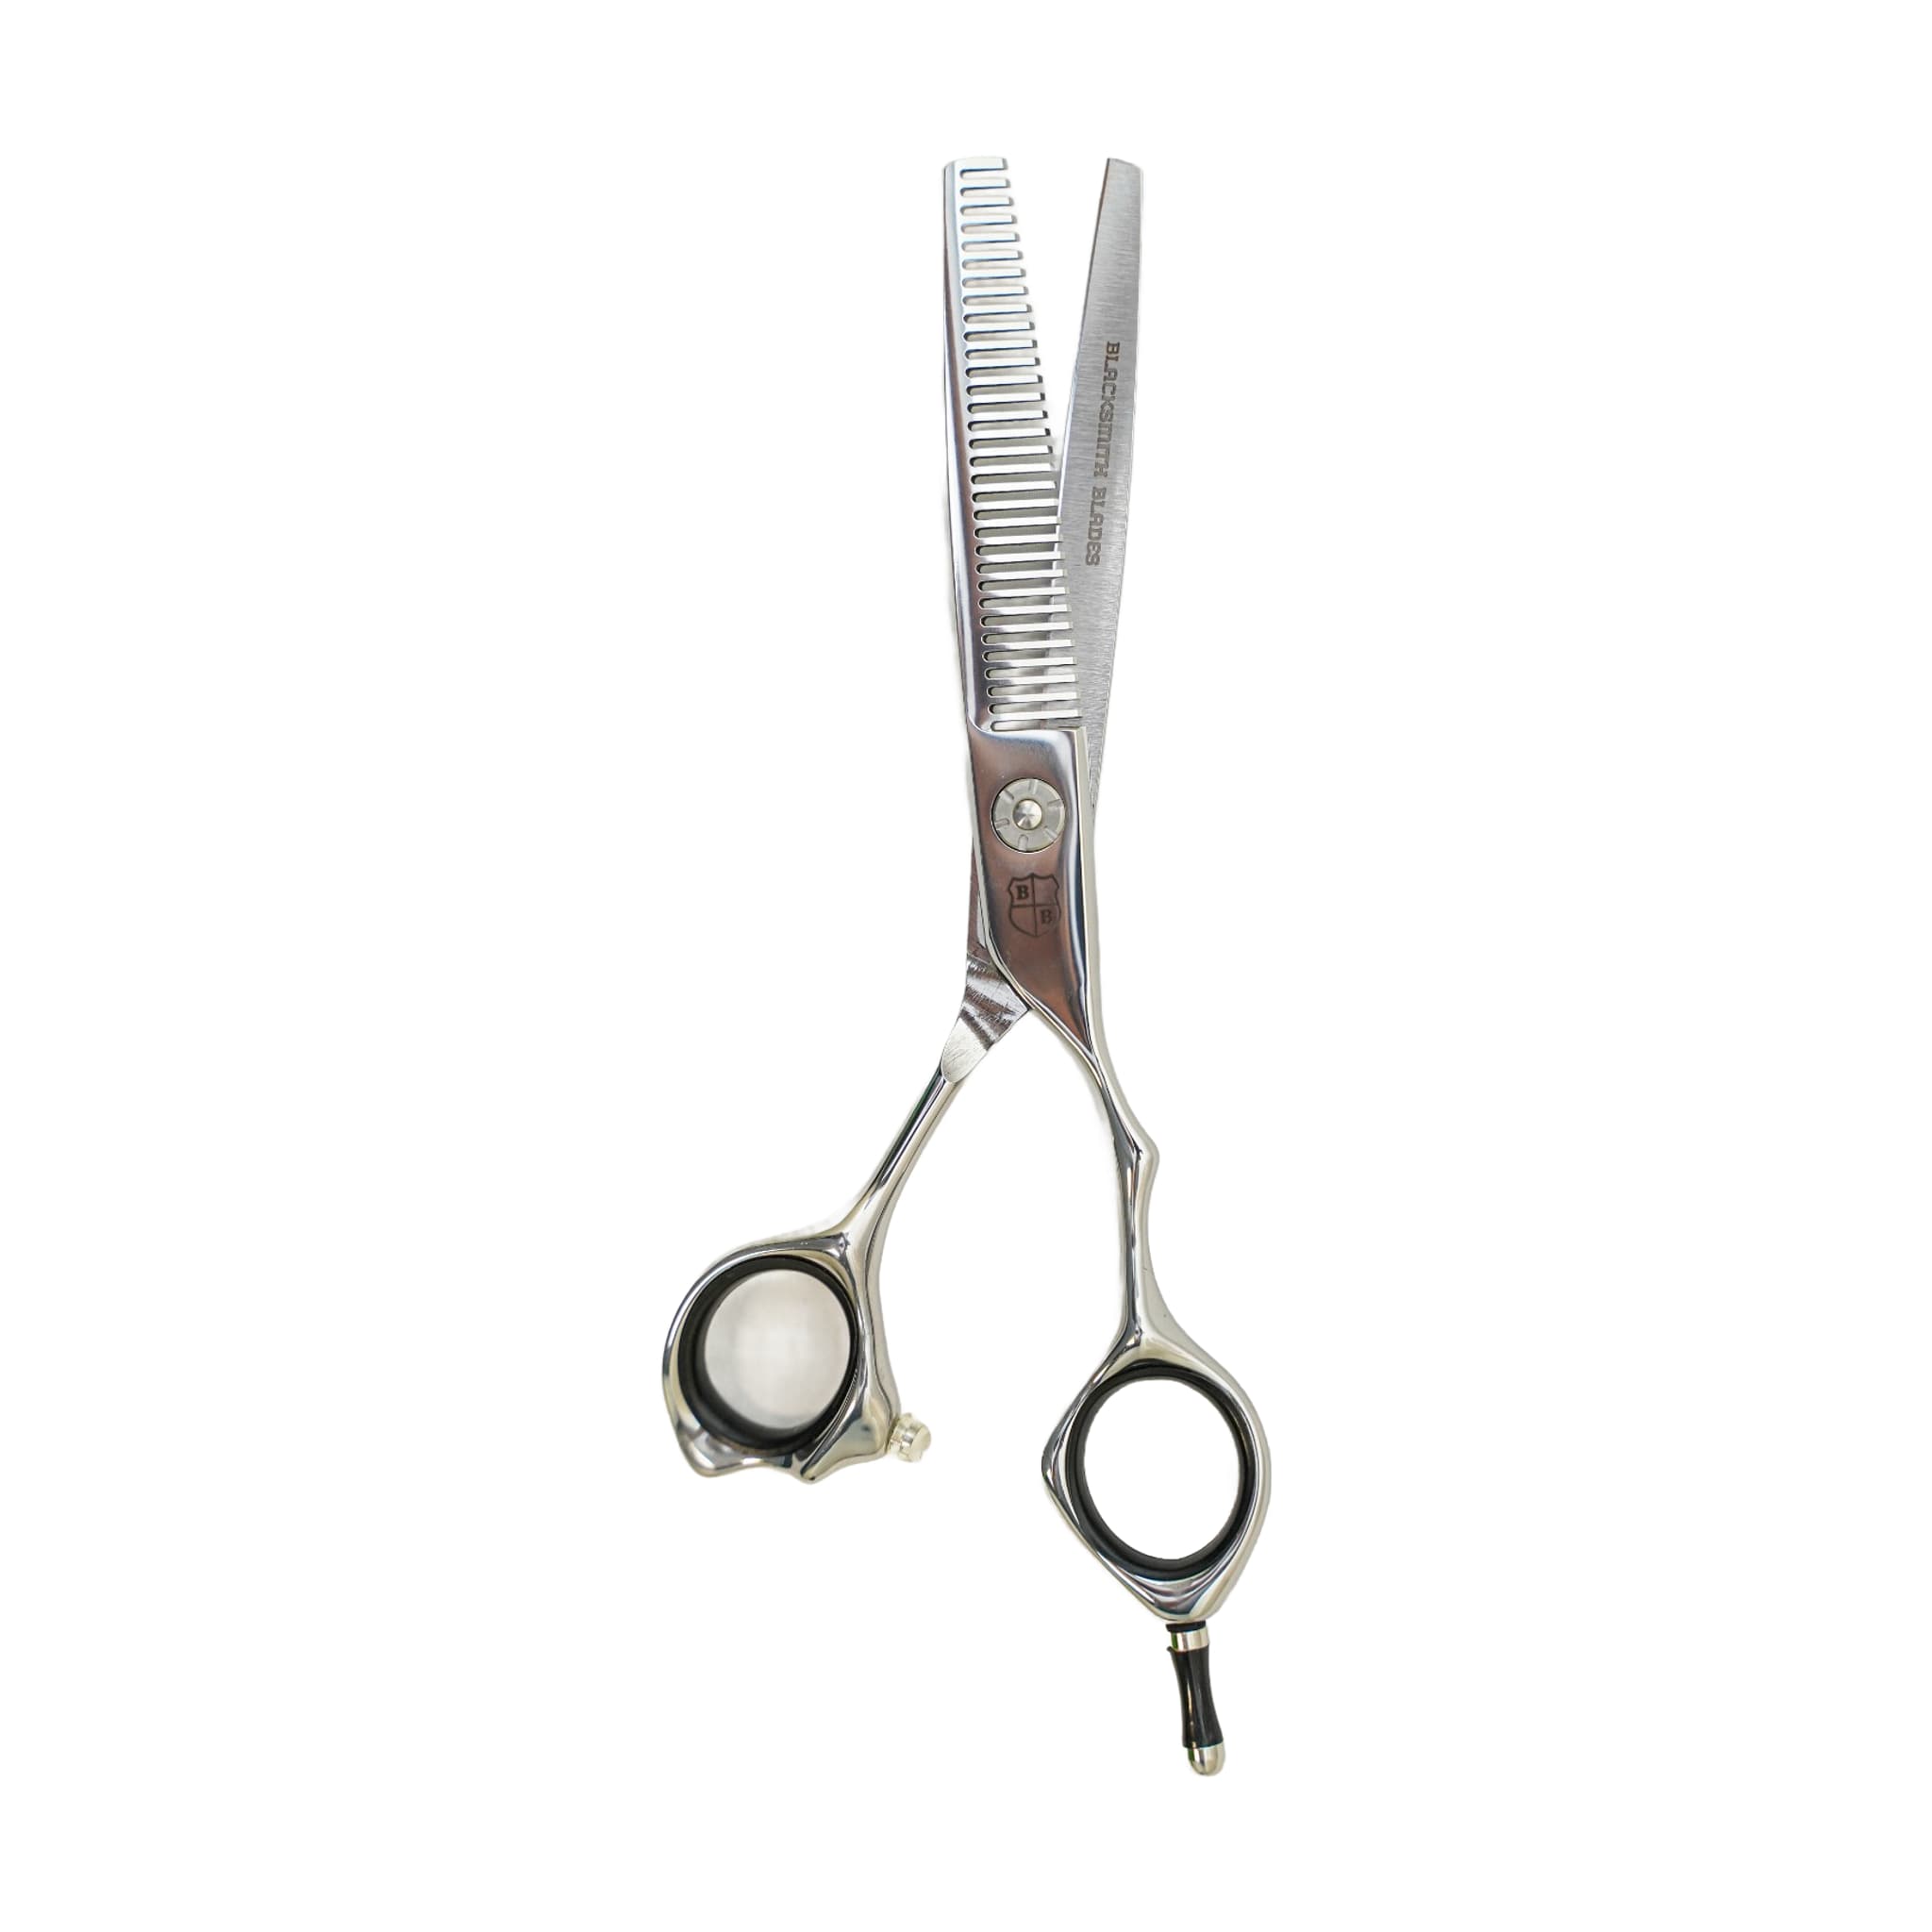
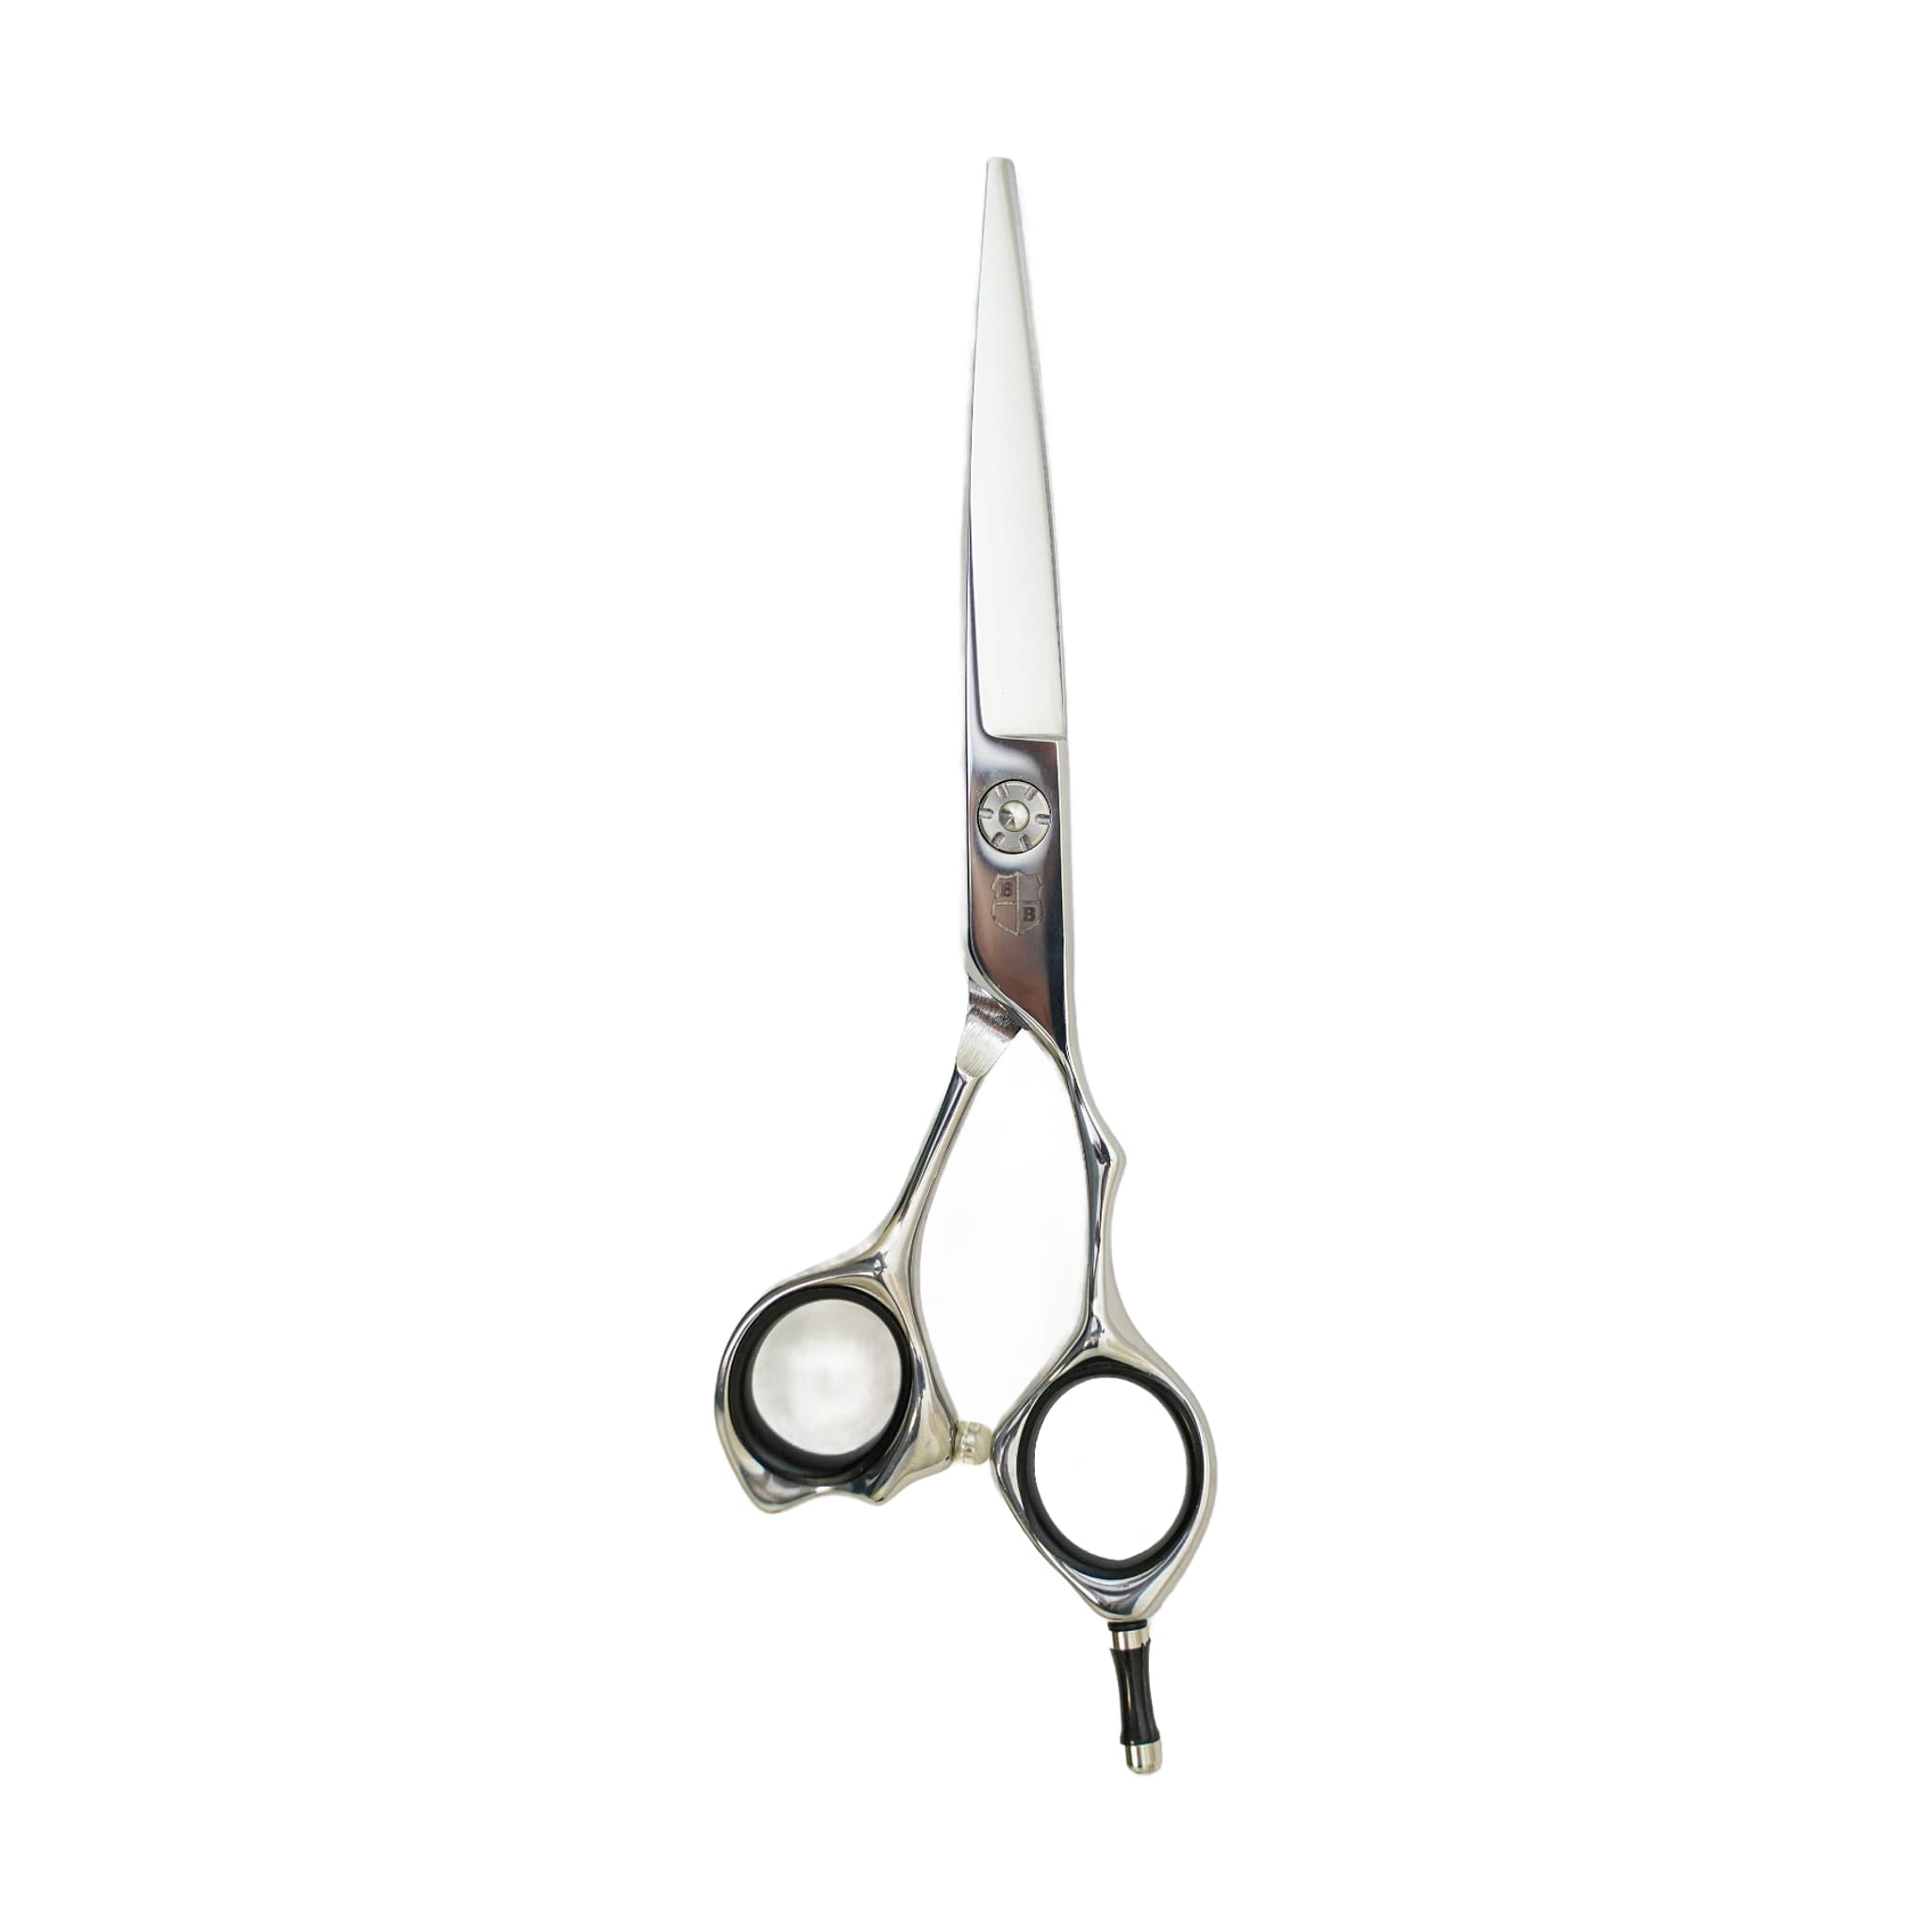
The 440C Ergonomic Cutting/Thinning Set gives you two tools with two distinct jobs. The straight cutting shear is designed to set the shape of the haircut, while the thinning shear follows to soften a line or reduce weight after the shape is established. A Blacksmith Blades shear wallet is included to keep both tools together and protected between sessions.
Understanding that division of labor before your first session is the foundation of getting consistent results from the set. The cutting shear and the thinning shear are not interchangeable — each one enters the haircut at a different stage and serves a different purpose.
Choosing Your Blade Length and Handle Orientation
Before your first session, you need to make two decisions: blade length and handle orientation. The set is available in 5.5, 6, and 6.5 inches, and you can choose a left- or right-handed handle for both shears.
- 5.5 inches: suited for closer detail work where you want more control over smaller sections.
- 6 or 6.5 inches: suited for broader sections where a longer blade covers more hair in each pass.
- Handle orientation: choose left- or right-handed to match your cutting hand before the set arrives, so you are not adjusting mid-session.
Both the cutting shear and the thinning shear in the set share the same size and handle orientation, so your choice applies to the pair together.
Check Tension Before Your First Session
Tension is the amount of pressure holding the two blades together as they close. When it is off in either direction, even a sharp shear can produce inconsistent results. Too little tension allows hair to fold or push away from the edge rather than being cut, while too much tension makes the shear feel heavy or rough and can tire your hand during a session. Run this check on both the cutting shear and the thinning shear before you cut hair for the first time.
To check tension, hold the shear open, lift one handle, and release it to see how the blade falls. A well-set shear closes partway and stops — it neither drops shut immediately nor hangs fully open. Before you judge the final feel, oil the pivot and work it through by opening and closing the shear a few times. Then make small adjustments and test again before cutting hair.
If tension adjustment does not resolve folding, pushing, pulling, or rough cutting on either shear, send it for professional service rather than continuing to adjust. Stop immediately if the screw, ride line, or blade feels damaged.
Sequencing the Two Shears: Build the Shape First, Then Refine
The cutting shear goes first. Use it to establish the shape of the haircut — the length, the layers, the perimeter. The thinning shear enters only after that structure is in place. Its job is to soften a line, blend a transition, or reduce weight in areas where the shape is already correct but the density or texture needs adjustment.
Before you pick up the thinning shear, identify exactly what you are trying to do. Decide whether your goal is to reduce density, soften a line, blend a transition, or create movement — because each of those goals requires different placement. If the purpose is not clear, step back and evaluate the haircut before cutting more.
Work with clean sections. After each pass with the thinning shear, comb through and take a moment to read the shape before making another cut. Hair settles differently once it falls back into place, and deliberate pacing is what separates controlled thinning from overworked results.
Keep the thinning shear away from the scalp unless you have a specific reason and a clear plan. Cutting too close to the root with a thinning shear can create short interior pieces that push hair outward or contribute to frizz. Most controlled thinning happens through the mid-lengths and selected weight areas, not at the root.
Restraint is a core principle here. The best thinning work often looks like very little was done. If your client can see chunks, holes, or weak ends, the thinning shear was likely overused.
Adapting the Thinning Shear for Different Hair Types
Your approach with the thinning shear should shift depending on the hair in front of you. The same placement and number of passes that works on thick, dense hair can quickly overthin fine or curly hair.
- Fine hair: use restraint. Fine hair can look thin quickly, so fewer passes and conservative placement protect the overall density.
- Curly hair: be deliberate about placement. Short interior pieces created by thinning near the root can expand and contribute to frizz once the hair dries.
- Thick, dense hair: may tolerate stronger texture work, but still requires controlled passes. Removing too much weight from fragile ends can make the hair look weaker, and sometimes a cleaner cut is the better answer rather than more thinning.
Daily Care After Every Session: Wipe, Oil, and Store
Both shears need attention at the end of every session. Hair, product, moisture, and disinfectant residue can collect around the blades and pivot. Wiping each shear down after use protects the finish and helps the blades move smoothly.
Pay particular attention to the thinning shear. Its teeth create more places for hair and product to collect, and buildup between uses can cause the shear to drag or feel inconsistent. A nicked tooth can also change the way the tool performs and may cause pulling, so inspect the teeth when you clean.
After wiping, apply a small amount of oil at the pivot of each shear and open and close it to work the oil through. This reduces friction and also makes your tension checks more accurate the next time you run them.
- Store both shears in the included wallet so the blades and tips do not contact other tools or surfaces.
- Do not toss either shear loose into a drawer or bag — a small nick from a drawer or counter can change how a shear cuts.
- Use both shears only on hair. Paper, tags, thread, packaging, and fabric can dull or damage the edge quickly.
- If either shear begins to pull, snag, or drag after your care routine, it may need professional sharpening.
Related resources
Sources
- 440C Ergonomic Cutting/Thinning Set - Blacksmith Blades
- Adjusting Shear Tension - Blacksmith Blades
- Daily Shear Care and Storage - Blacksmith Blades
- How to Use Texturizing and Thinning Shears Like a Professional - Blacksmith Blades