August 31, 2026/5 min read
Four Checkpoints for Getting the Most From Your 440C Ergonomic Blade Thinning Shears
A practical four-checkpoint workflow for stylists using the 440C Ergonomic Blade Thinning Shears — covering hair-type assessment, placement, purpose, and post-session care.
Start With the Hair in Front of You: Assessing Texture Before You Cut
Before you pick up the shears, take a moment to read the hair. The way you work through fine hair is not the same as the way you work through thick, dense hair, and curly hair calls for its own set of decisions. Matching your approach to the texture in front of you is one of the clearest marks of a skilled stylist.
Fine hair responds quickly. A few passes can shift the look noticeably, so restraint is the default. Work conservatively, evaluate often, and resist the urge to keep going just because the shear is already in your hand.
Curly hair requires careful placement. Short interior pieces created by thinning shears can expand once they are free of the surrounding hair, and that expansion can introduce frizz. Think about where those cut pieces will end up before you close the blade.
Thick, dense hair may tolerate a more confident approach, but controlled passes are still the right method regardless of how much hair is present. Working in deliberate sections keeps you from removing more than you intended.
When ends feel fragile or damaged, more thinning is rarely the answer. Removing additional weight from already-compromised ends can make the hair look weaker. In those situations, a cleaner cut or a treatment plan may serve the client better than another pass with the shear.
Define Your Goal Before the Blade Closes
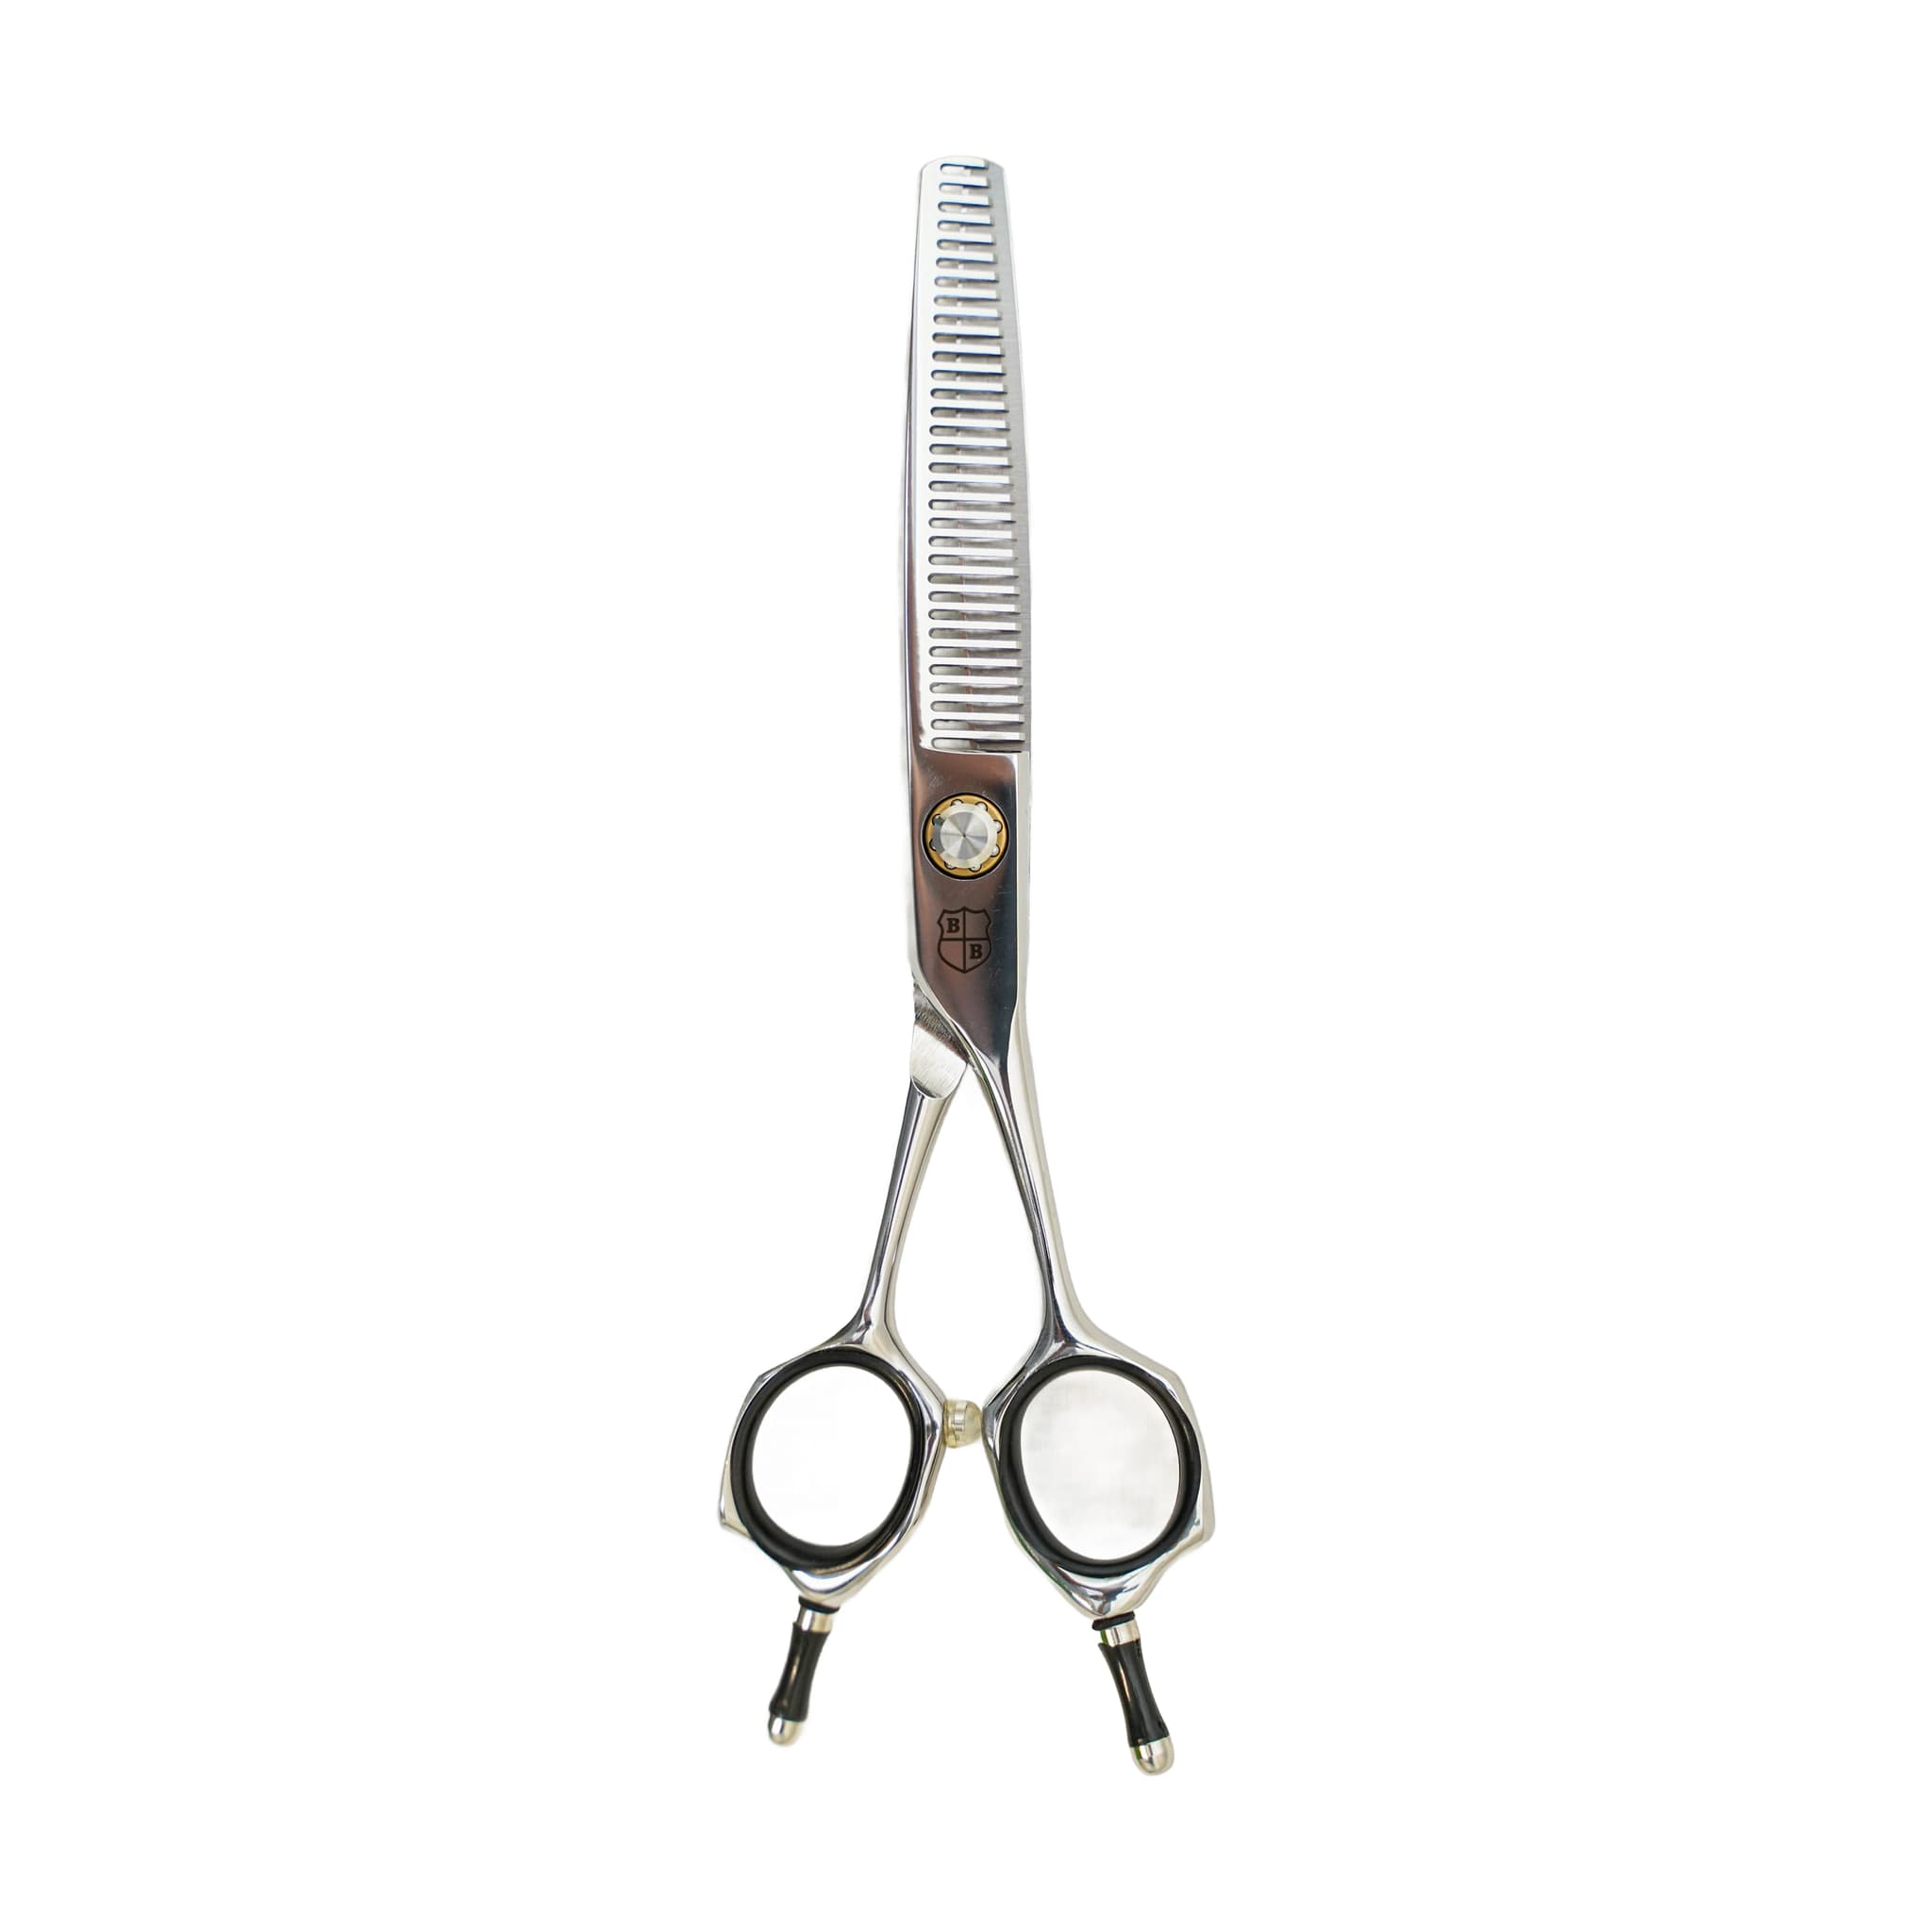
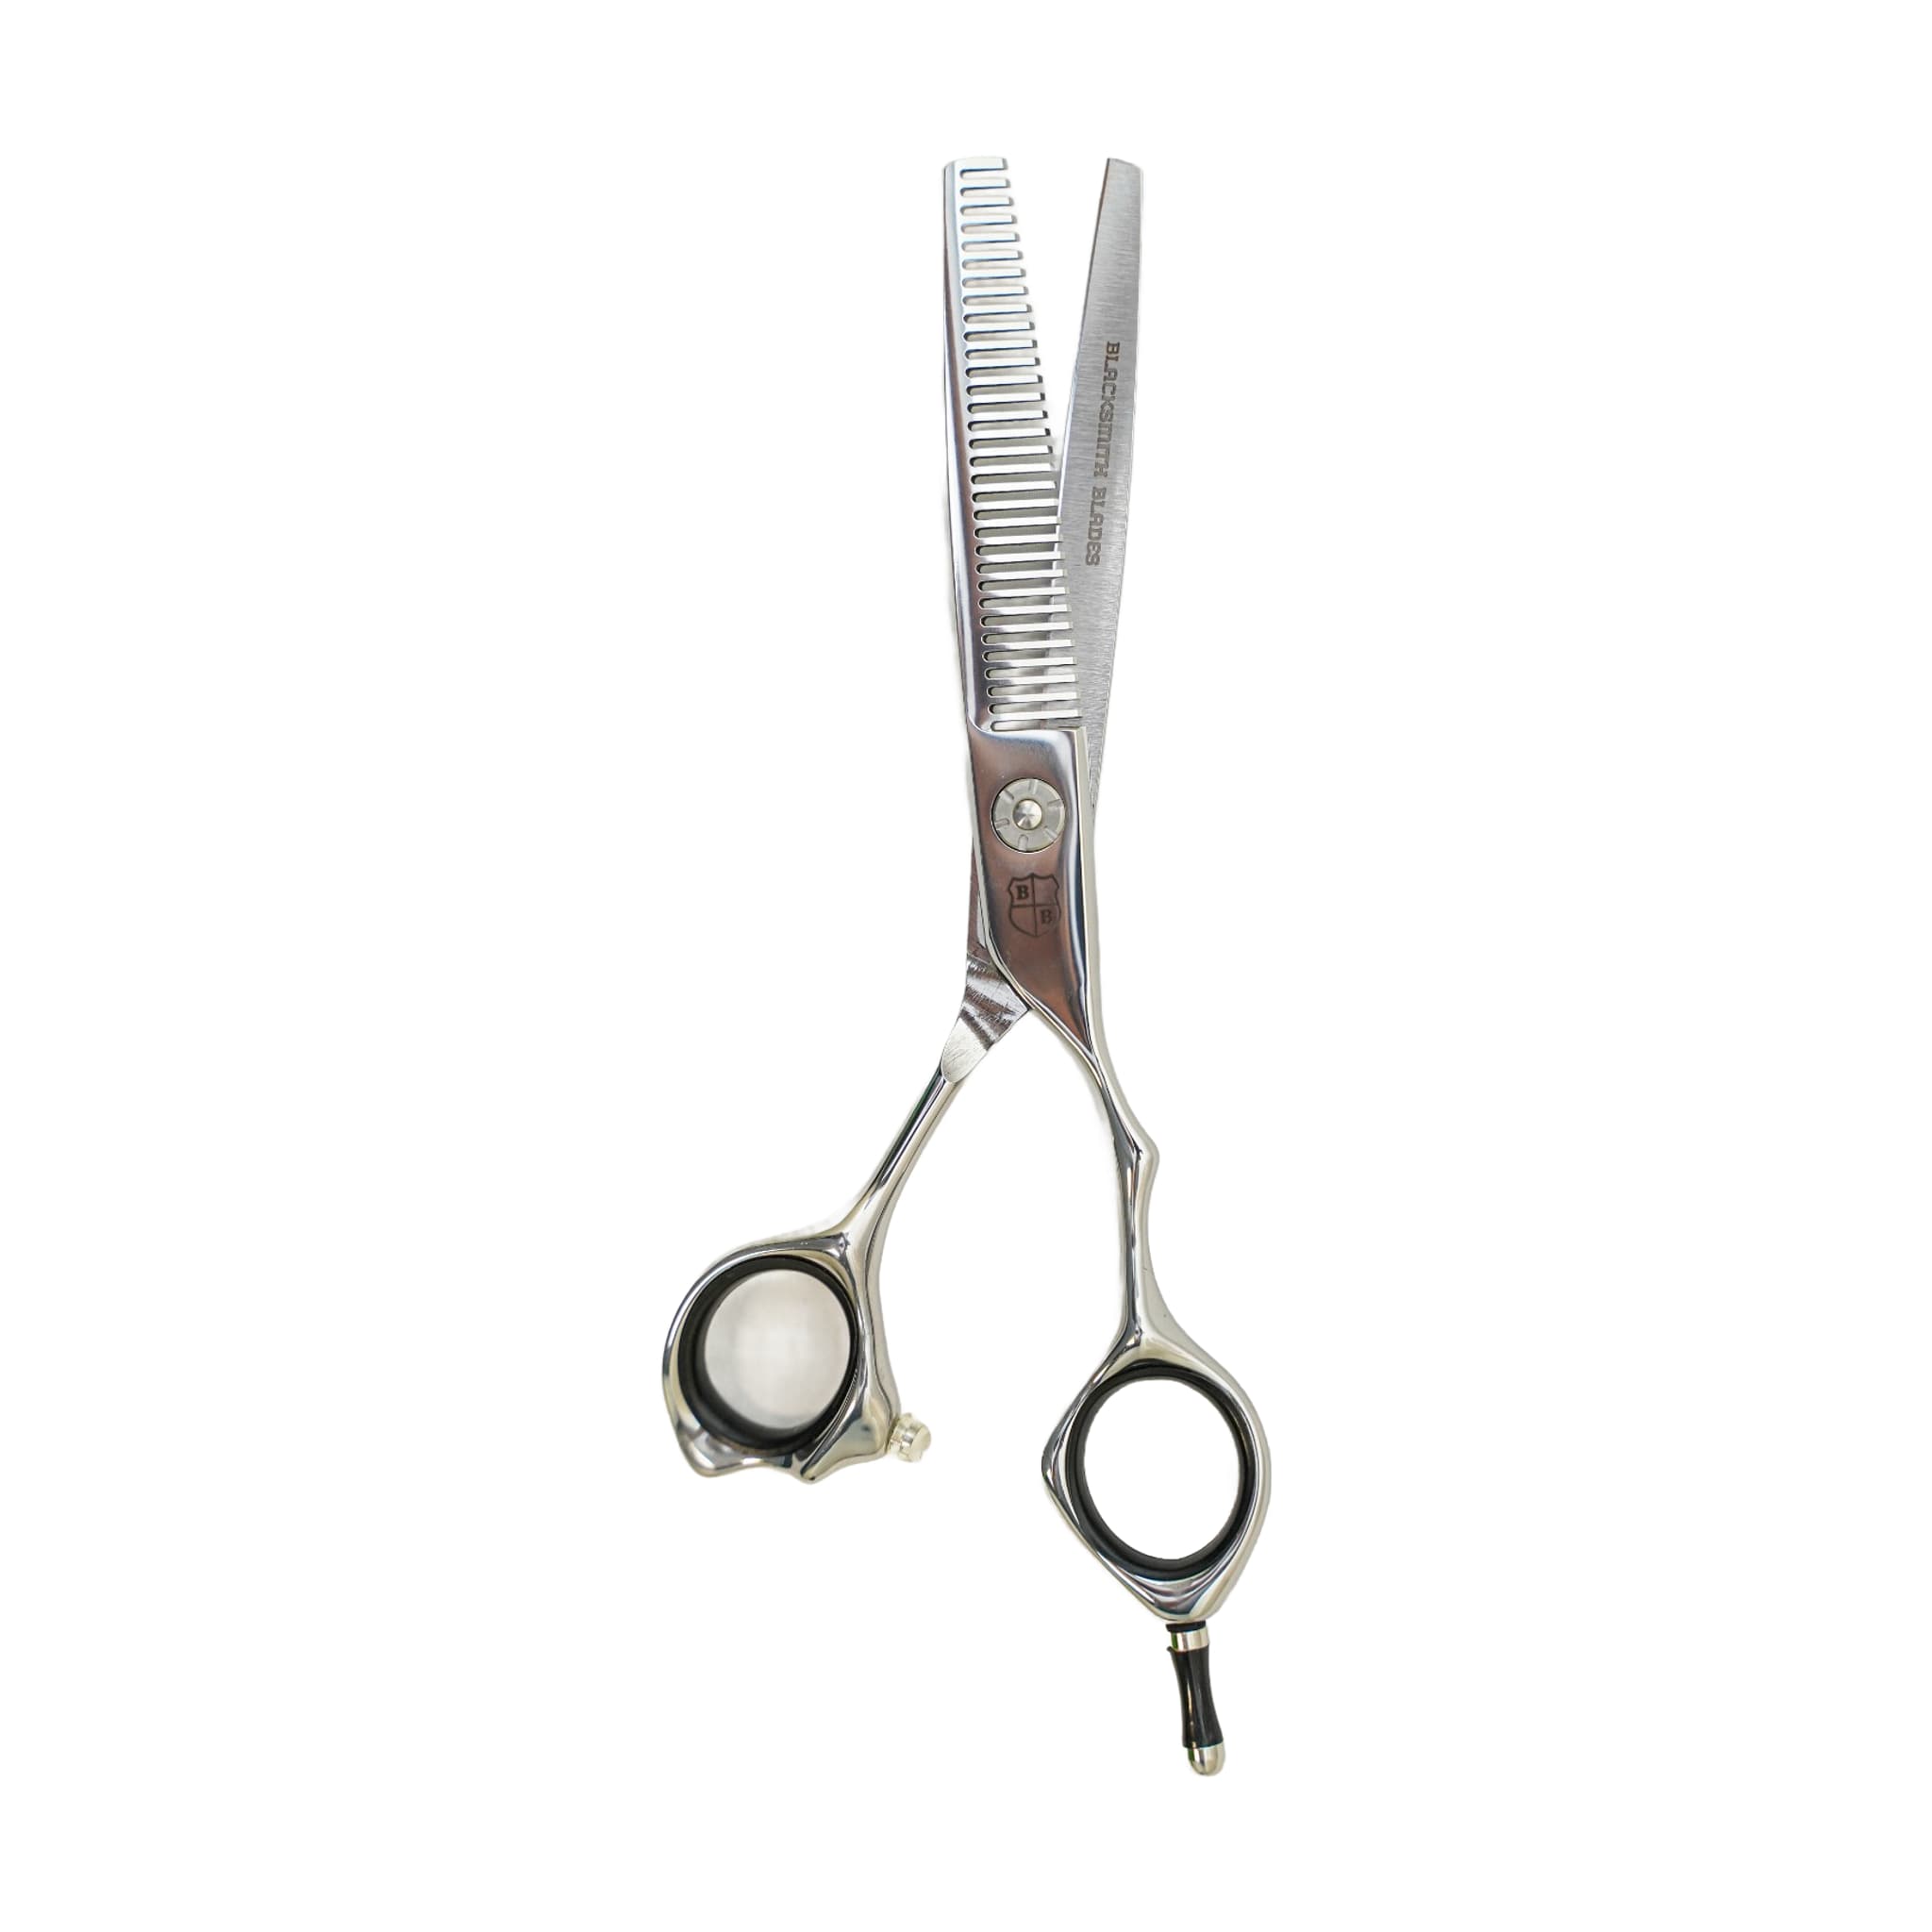
Thinning shears are easy to close and genuinely difficult to undo. That asymmetry is why every pass should begin with a clear intention rather than a general sense that the haircut feels heavy. The 440C Ergonomic Blade Thinning Shears carry 32 teeth and are built from stainless steel — a configuration that positions them as a soft-blending tool rather than an aggressive weight-remover.
Before you cut, name the specific outcome you are working toward. The most common purposes are:
- Reducing overall density in a section that feels too heavy
- Softening a hard line so the transition reads as gradual rather than abrupt
- Blending a weight area into the surrounding hair
- Adding movement to a section that sits flat or stiff
Understanding tooth count helps you choose the right tool for each goal. A higher tooth count, like the 32 teeth on this shear, favors soft blending. A lower tooth count — found on texturizers and chunkers — creates stronger separation and removes more hair per pass. When the goal is a subtle, invisible finish, the 440C is well matched to the task.
If you cannot name a clear purpose before cutting, that is a signal to step back and evaluate the haircut rather than reach for the shear. Cutting without a defined goal is one of the most reliable ways to remove more than you intended.
Placement and Control: Where to Work and Where to Hold Back
Most controlled thinning happens through the mid-lengths and selected weight areas. The root zone is a different matter — working too close to the scalp can create short interior pieces that push the surrounding hair outward or contribute to frizz. That outcome is one of the most commonly reported mistakes with thinning shears, and it is worth keeping in mind every time you position the blade.
The offset handle and finger rest on the 440C are designed to support a natural hand position during a session. Use that ergonomic advantage to stay deliberate — a comfortable grip makes it easier to pause and evaluate rather than rushing through a section.
Clean sectioning is the foundation of controlled placement. When you work from clearly defined sections, you know exactly where the shear has already been, which prevents you from cutting the same area repeatedly without realizing it.
After each pass, comb through the section and let the hair settle back into position before deciding whether to cut again. Hair can look different once it falls naturally, and evaluating the shape at that point gives you an accurate read before you commit to another pass.
The best thinning work tends to be invisible in the finished cut. The client sees a better shape and softer movement — not obvious gaps or chunks removed from the haircut. That standard is worth holding onto as a guide for when to stop.
Post-Session Care: Cleaning, Oiling, and Storing the Shear
Hair and product residue collect between the teeth of a thinning shear during use. If that buildup is left in place, the shear can begin to drag or feel inconsistent — making post-session cleaning especially important for this type of tool.
Wiping the shear down after each session protects the finish and helps the blades move smoothly. Hair, product, moisture, and disinfectant residue can all collect around the blades and at the pivot, so a thorough wipe covers more than just the visible surfaces.
A small amount of oil applied at the pivot reduces friction, helps the blades move cleanly, and makes your tension checks more accurate. After applying oil, open and close the shear several times to work it through the pivot. For shears in daily use, oiling after cleaning or disinfecting is a sound habit.
- Use the shear only on hair — paper, tags, thread, and packaging can dull or damage the edge quickly
- Store the shear in a case or protected holder rather than loose in a drawer or bag, where contact with other tools or surfaces causes preventable damage
- A small nick from a counter, drawer, or dropped tool can change how the shear cuts, so protected storage matters every time
When the shear begins to snag, pull, or feel rough during use, that is the signal to seek professional sharpening rather than continuing to work through the resistance. A nicked tooth can change the way the tool performs, and routine care cannot substitute for professional service once that point is reached.
Related resources
Sources
- 440C Ergonomic Blade Thinning Shears - Blacksmith Blades
- Daily Shear Care and Storage - Blacksmith Blades
- How to Use Texturizing and Thinning Shears Like a Professional - Blacksmith Blades