September 21, 2026/3 min read
How to Use the 440C Orchid Blade Thinning Shears: Placement, Technique, and Daily Care
A practical before-during-after workflow for using the 440C Orchid Blade Thinning Shears — covering purpose, placement, hair-type adjustments, and daily care to keep the tool performing consistently.
About the 440C Orchid Blade Thinning Shears
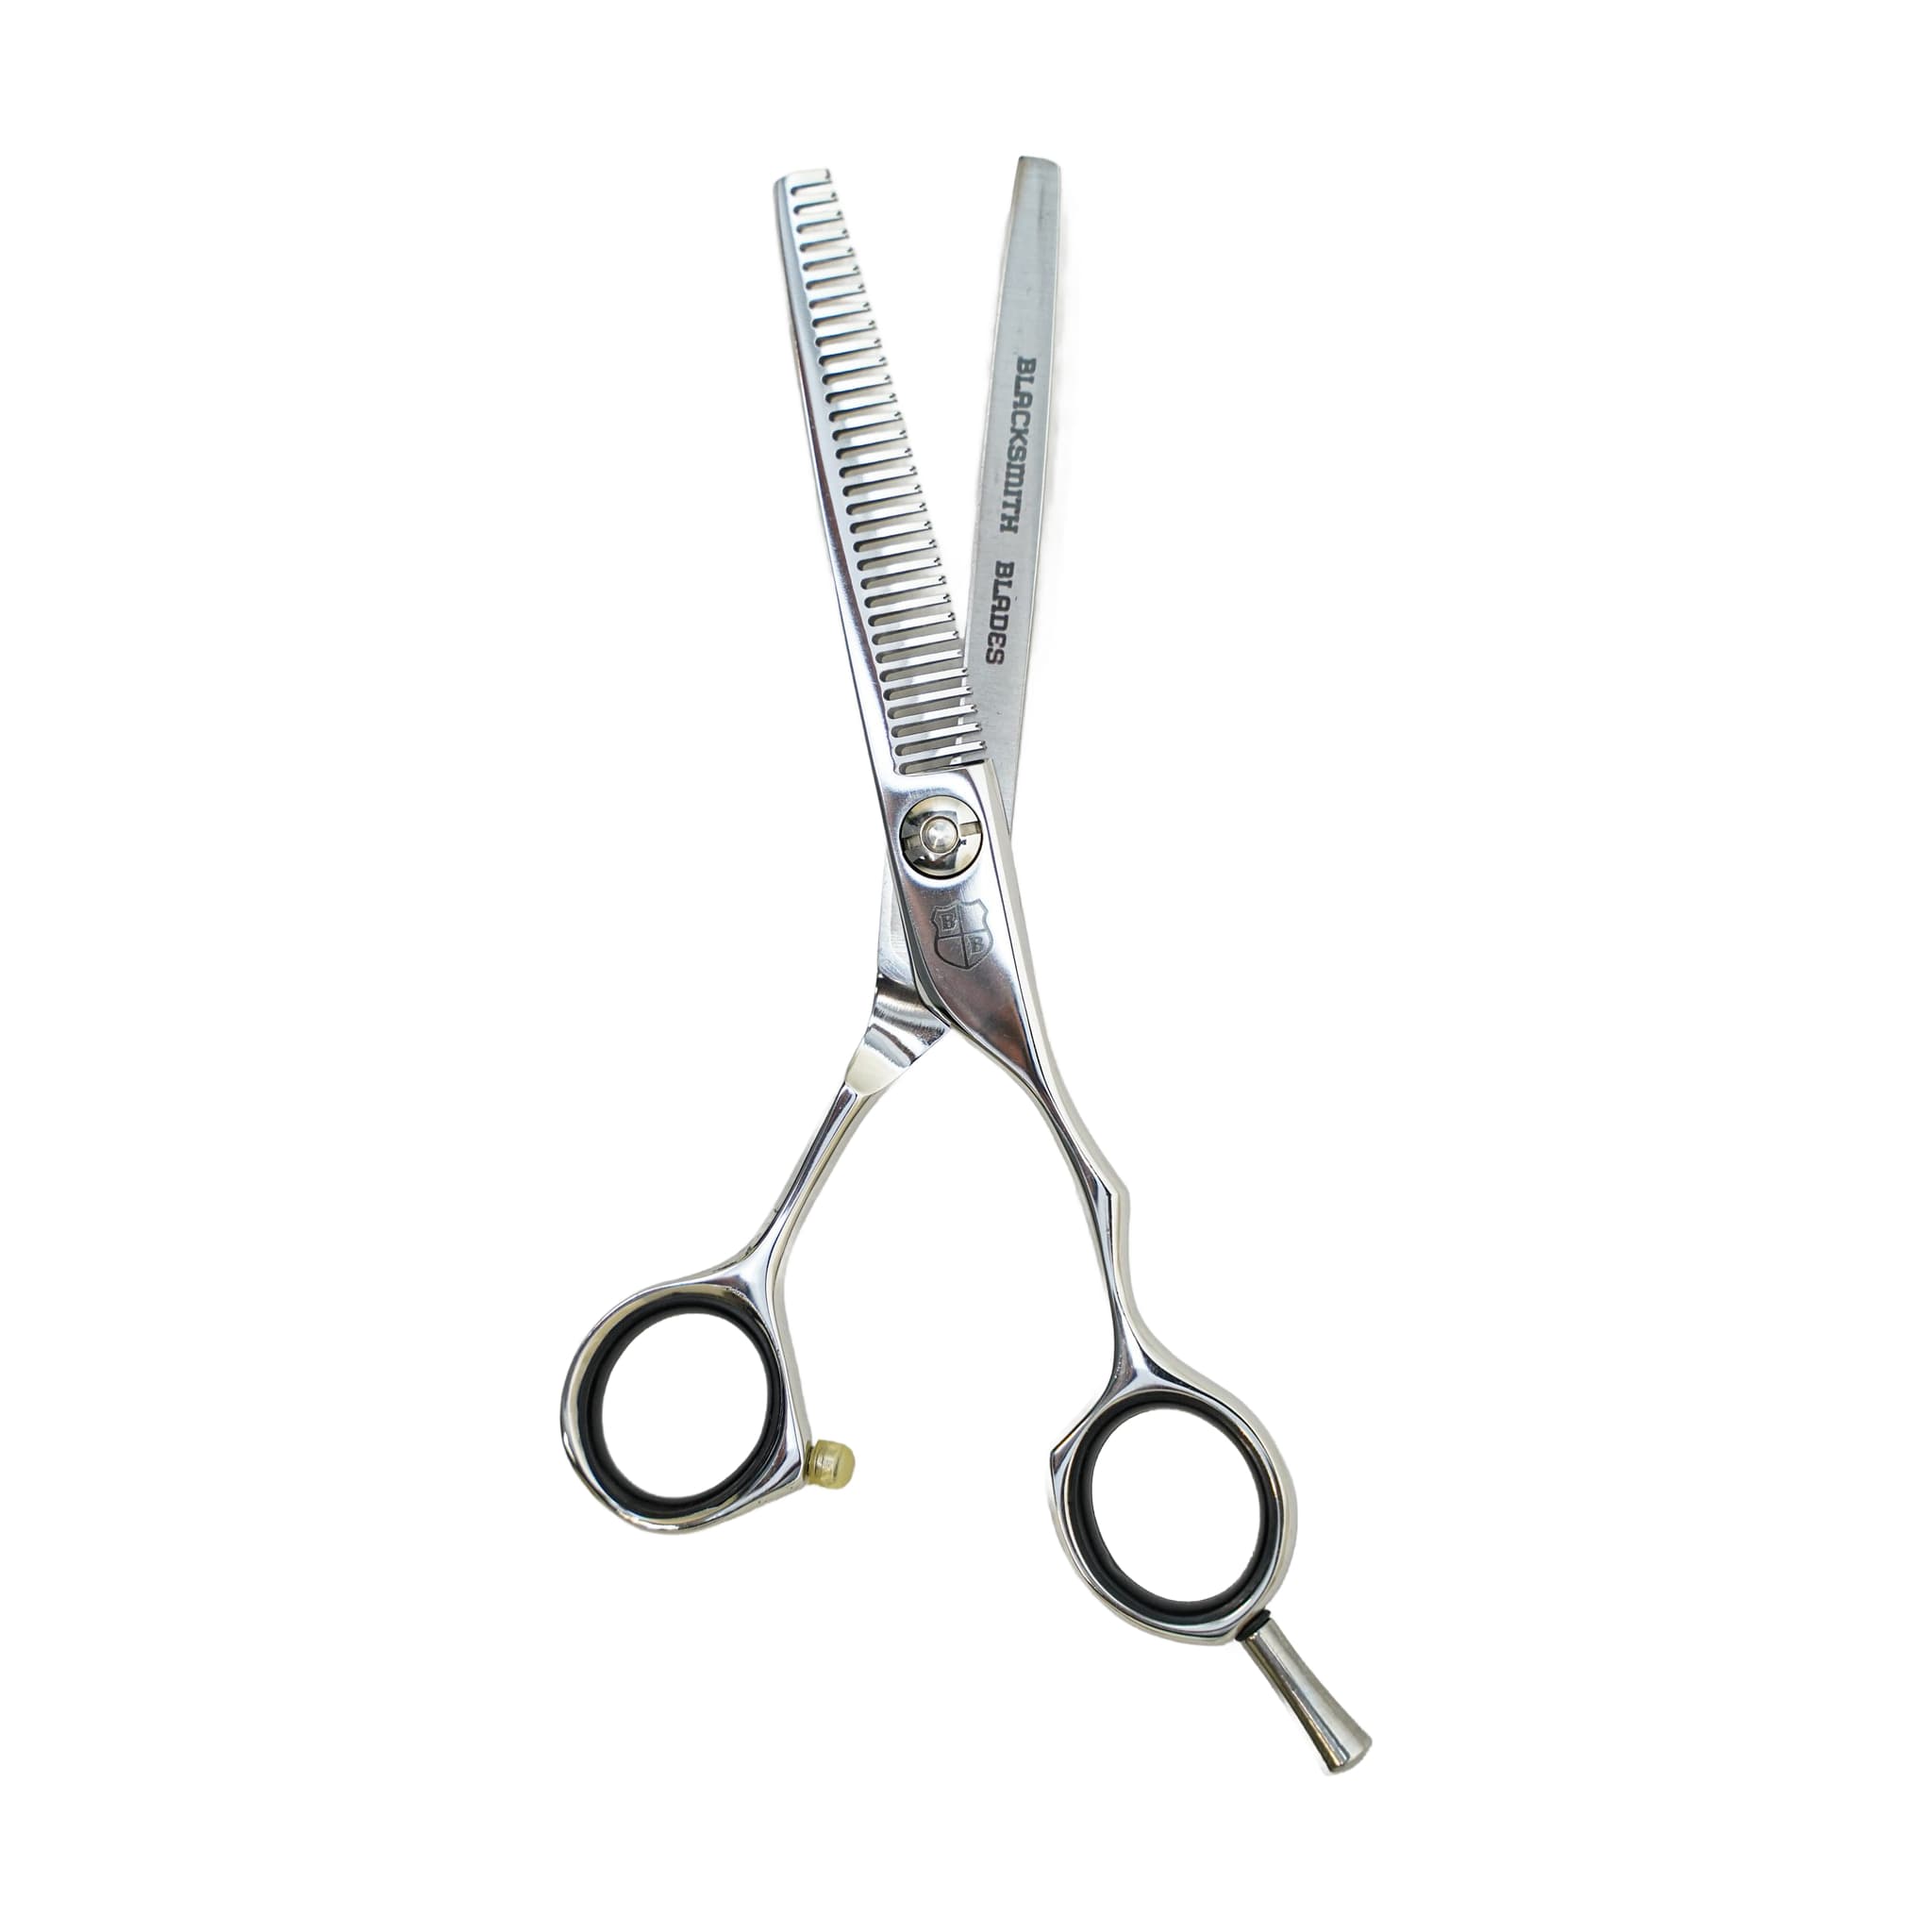
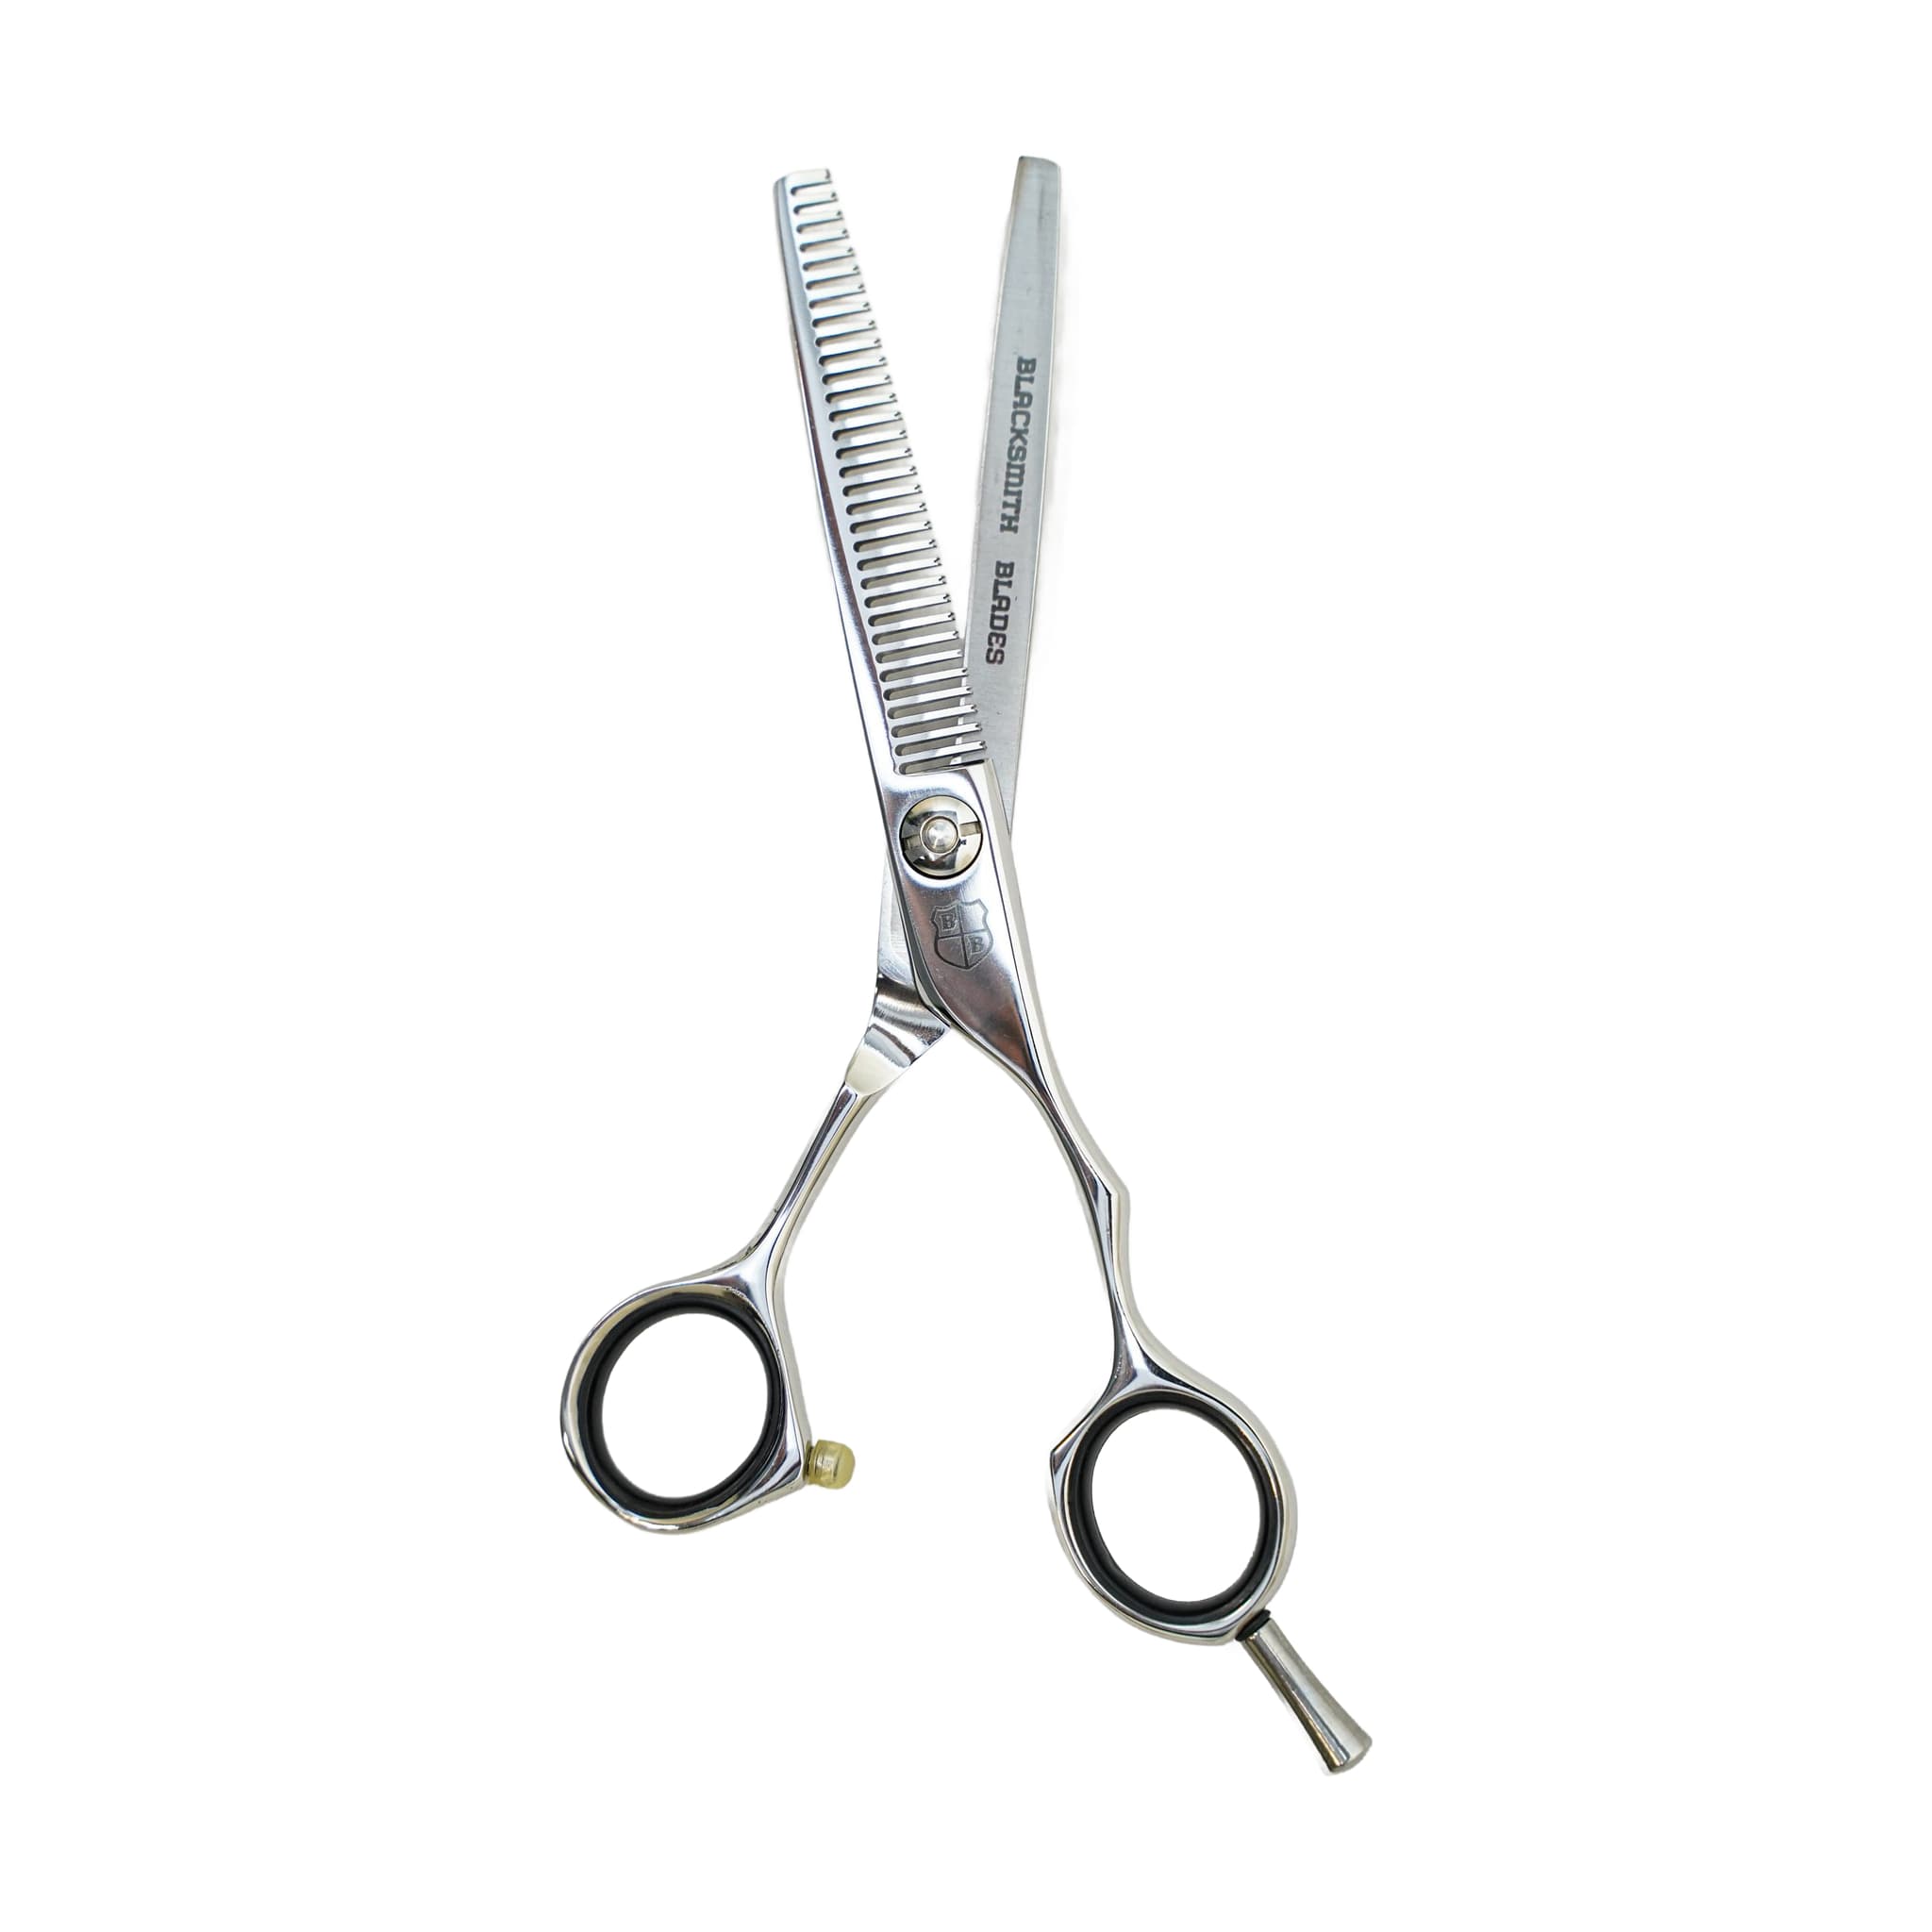
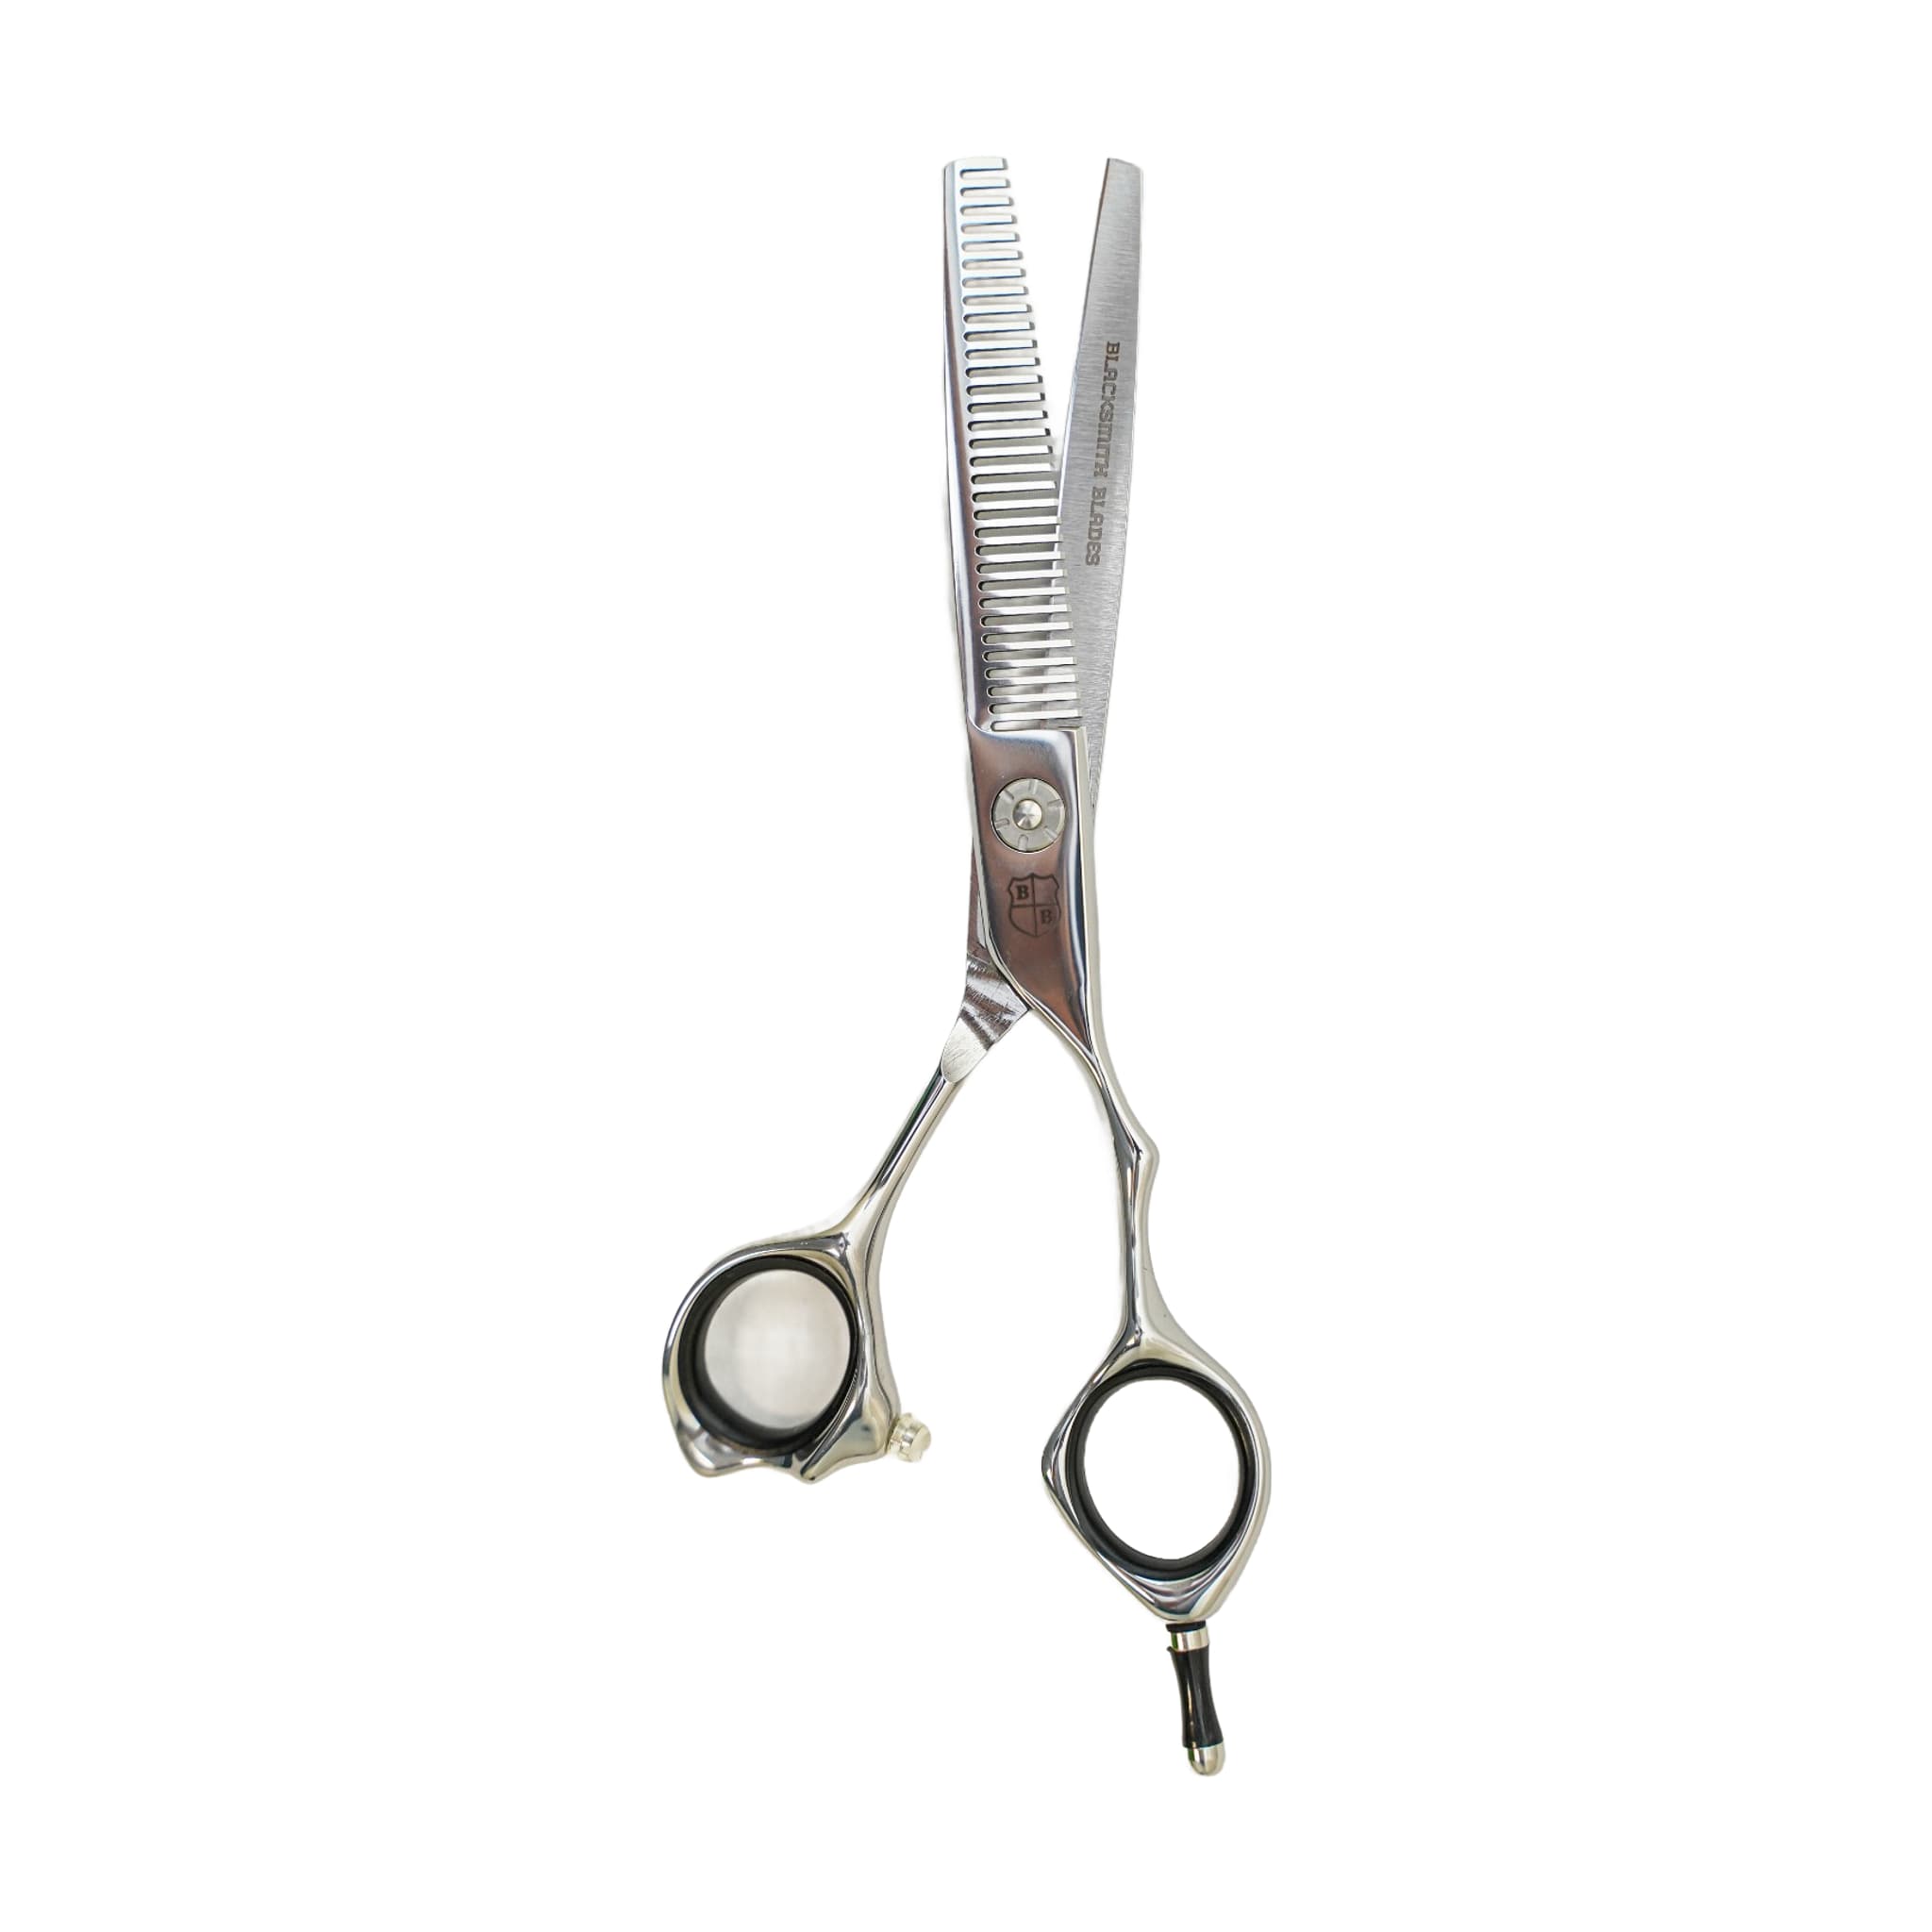
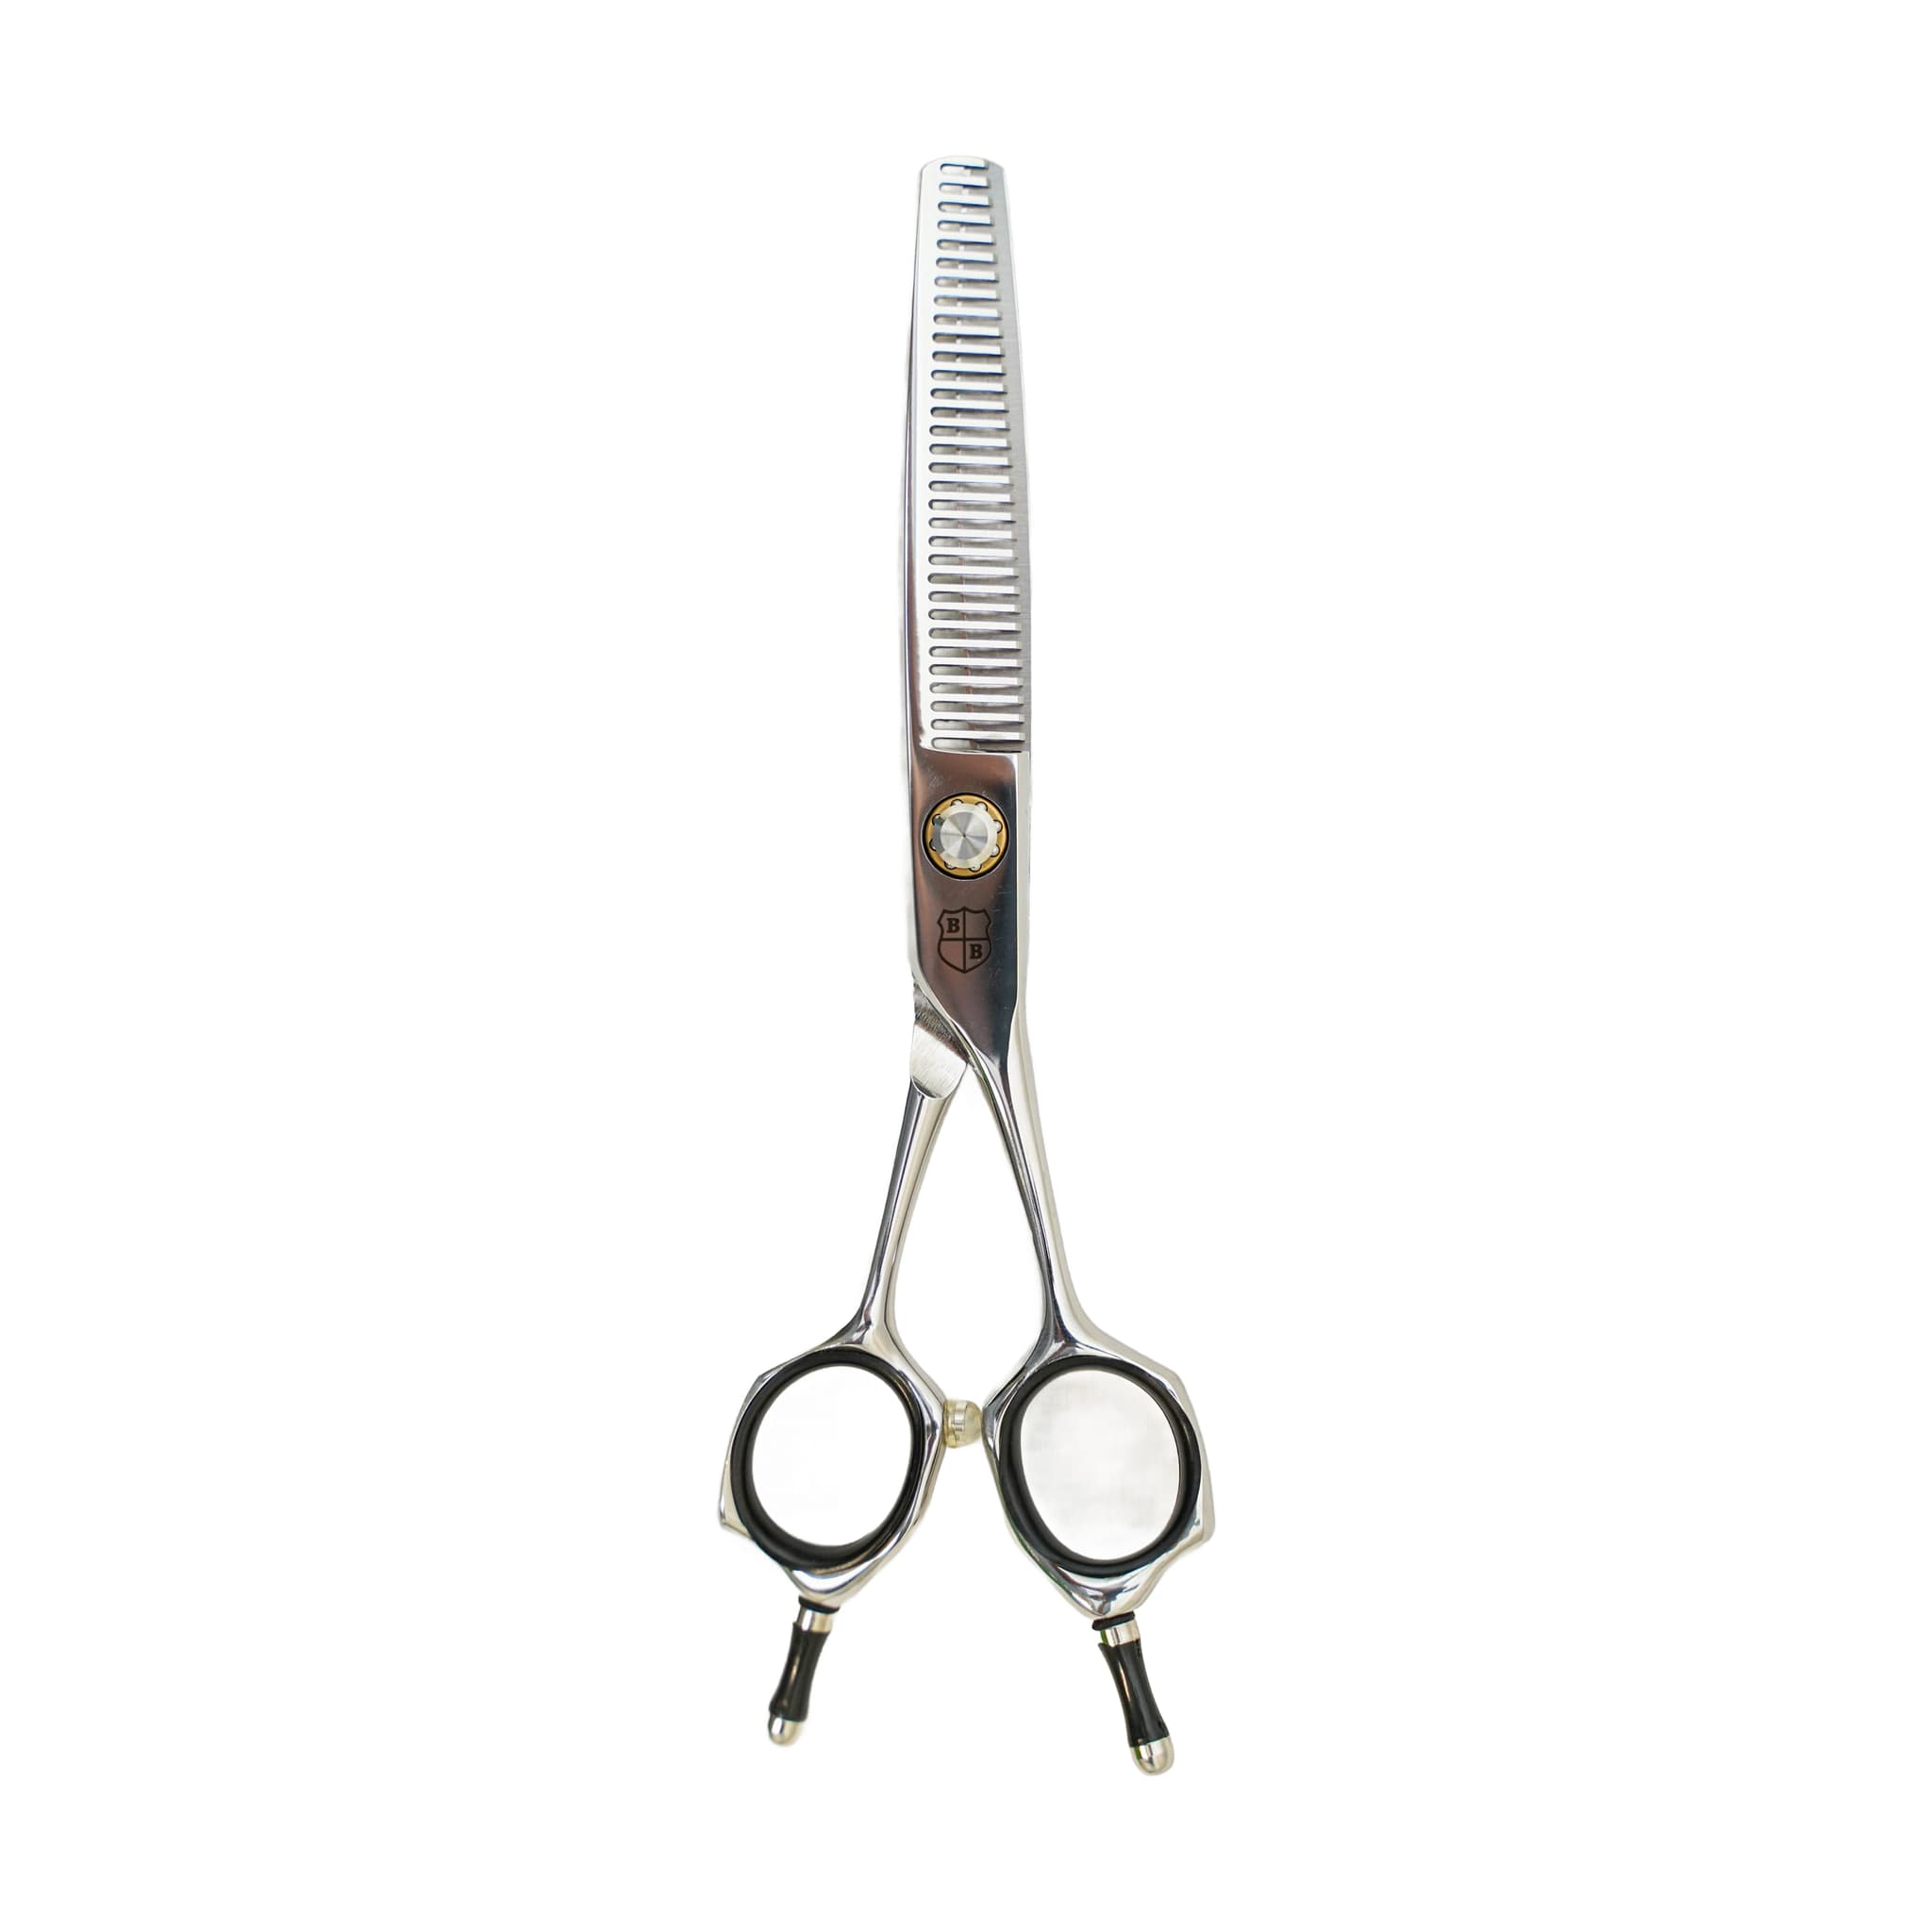
The 440C Orchid Blade Thinning Shears are built from 440C steel and feature a lightweight, ergonomic design. The shear is available in both left- and right-handed handle options, making it a useful option for young professionals advancing in their careers and those seeking salon-quality results.
Define Your Goal Before the Blade Closes
Thinning shears are easy to close and hard to undo. That is why every pass with the Orchid Blade Thinning Shears should begin with a clear purpose — not just a feeling that the haircut is heavy. Before you pick up the shear, identify exactly what you are trying to accomplish.
- Reducing density in a heavy area
- Softening a line or perimeter
- Blending a transition between sections
- Creating movement through the interior
Each of those goals points to a different placement and sometimes a different tool entirely. If you are not sure which one applies, step back and look at the haircut from a distance before cutting more. The best thinning work is often invisible — the client sees a better shape, not obvious chunks missing from the cut.
Placement and Section Control During the Cut
Working with defined sections keeps your thinning deliberate. Sectioning lets you track where the shear has been, which helps you work through the haircut with intention rather than revisiting areas by accident. After each pass, comb through and assess the shape before closing the shear again — hair can look different once it settles back into position, and professional texturizing is often slow and deliberate.
Controlled thinning belongs through mid-lengths and targeted weight areas rather than scattered near the root. Cutting too close to the scalp is one of the most common mistakes stylists make with thinning shears — short interior pieces created near the root can push hair outward or contribute to frizz. There are advanced reasons to remove weight closer to the scalp, but those situations require experience and a clear plan before you start.
Where you place the shear also depends on what the hair in front of you can handle. Fine hair can look thin quickly, so restraint matters more with every pass. Curly hair needs careful placement because short interior pieces can expand and amplify frizz. Thick, dense hair may tolerate stronger texture work, but even then you should move through controlled passes rather than removing large amounts at once. When ends are already fragile, removing more weight can make the hair look weaker — sometimes a cleaner cut or a treatment plan is the better answer.
Post-Session Care: Wipe, Oil and Store
Thinning shears collect hair and product between the teeth. If that buildup is left to accumulate, the shear can start to drag or feel inconsistent during the next session. Cleaning between uses is especially important for these tools.
After each session, wipe the blades down to remove hair, product, moisture, and any disinfectant residue that has collected around the blades and pivot. This protects the finish and helps the blades continue to move smoothly. Follow the wipe with a small amount of oil at the pivot — open and close the shear a few times to work the oil through. Oiling reduces unnecessary friction and also helps make tension checks more accurate. Daily working shears benefit from this step regularly, particularly after cleaning or disinfecting.
Storage is where most preventable shear damage happens. A small nick from a drawer edge, a counter drop, or contact with another tool can change the way the shear cuts. Keep the Orchid Blade Thinning Shears in a case or protected holder after every session — never loose in a drawer or bag.
When the shear begins to snag, pull, or feel rough during a cut, that is a signal for professional sharpening. Thinning shears require careful service because the teeth and the cutting edge must work together — this is not a tool to sharpen without the right experience.
Related resources
Sources
- 440C Orchid Blade Thinning Shears - Blacksmith Blades
- Daily Shear Care and Storage - Blacksmith Blades
- How to Use Texturizing and Thinning Shears Like a Professional - Blacksmith Blades