September 22, 2026/5 min read
How to Use the 9CR 42T Professional Thinning Shear: Technique, Placement, and Daily Care
A practical before-during-after workflow for the 9CR 42T Professional Thinning Shear — covering purpose, placement, hair-type adjustments, and daily care to keep the tool performing consistently.
What the 9CR 42T Professional Thinning Shear Is Built For
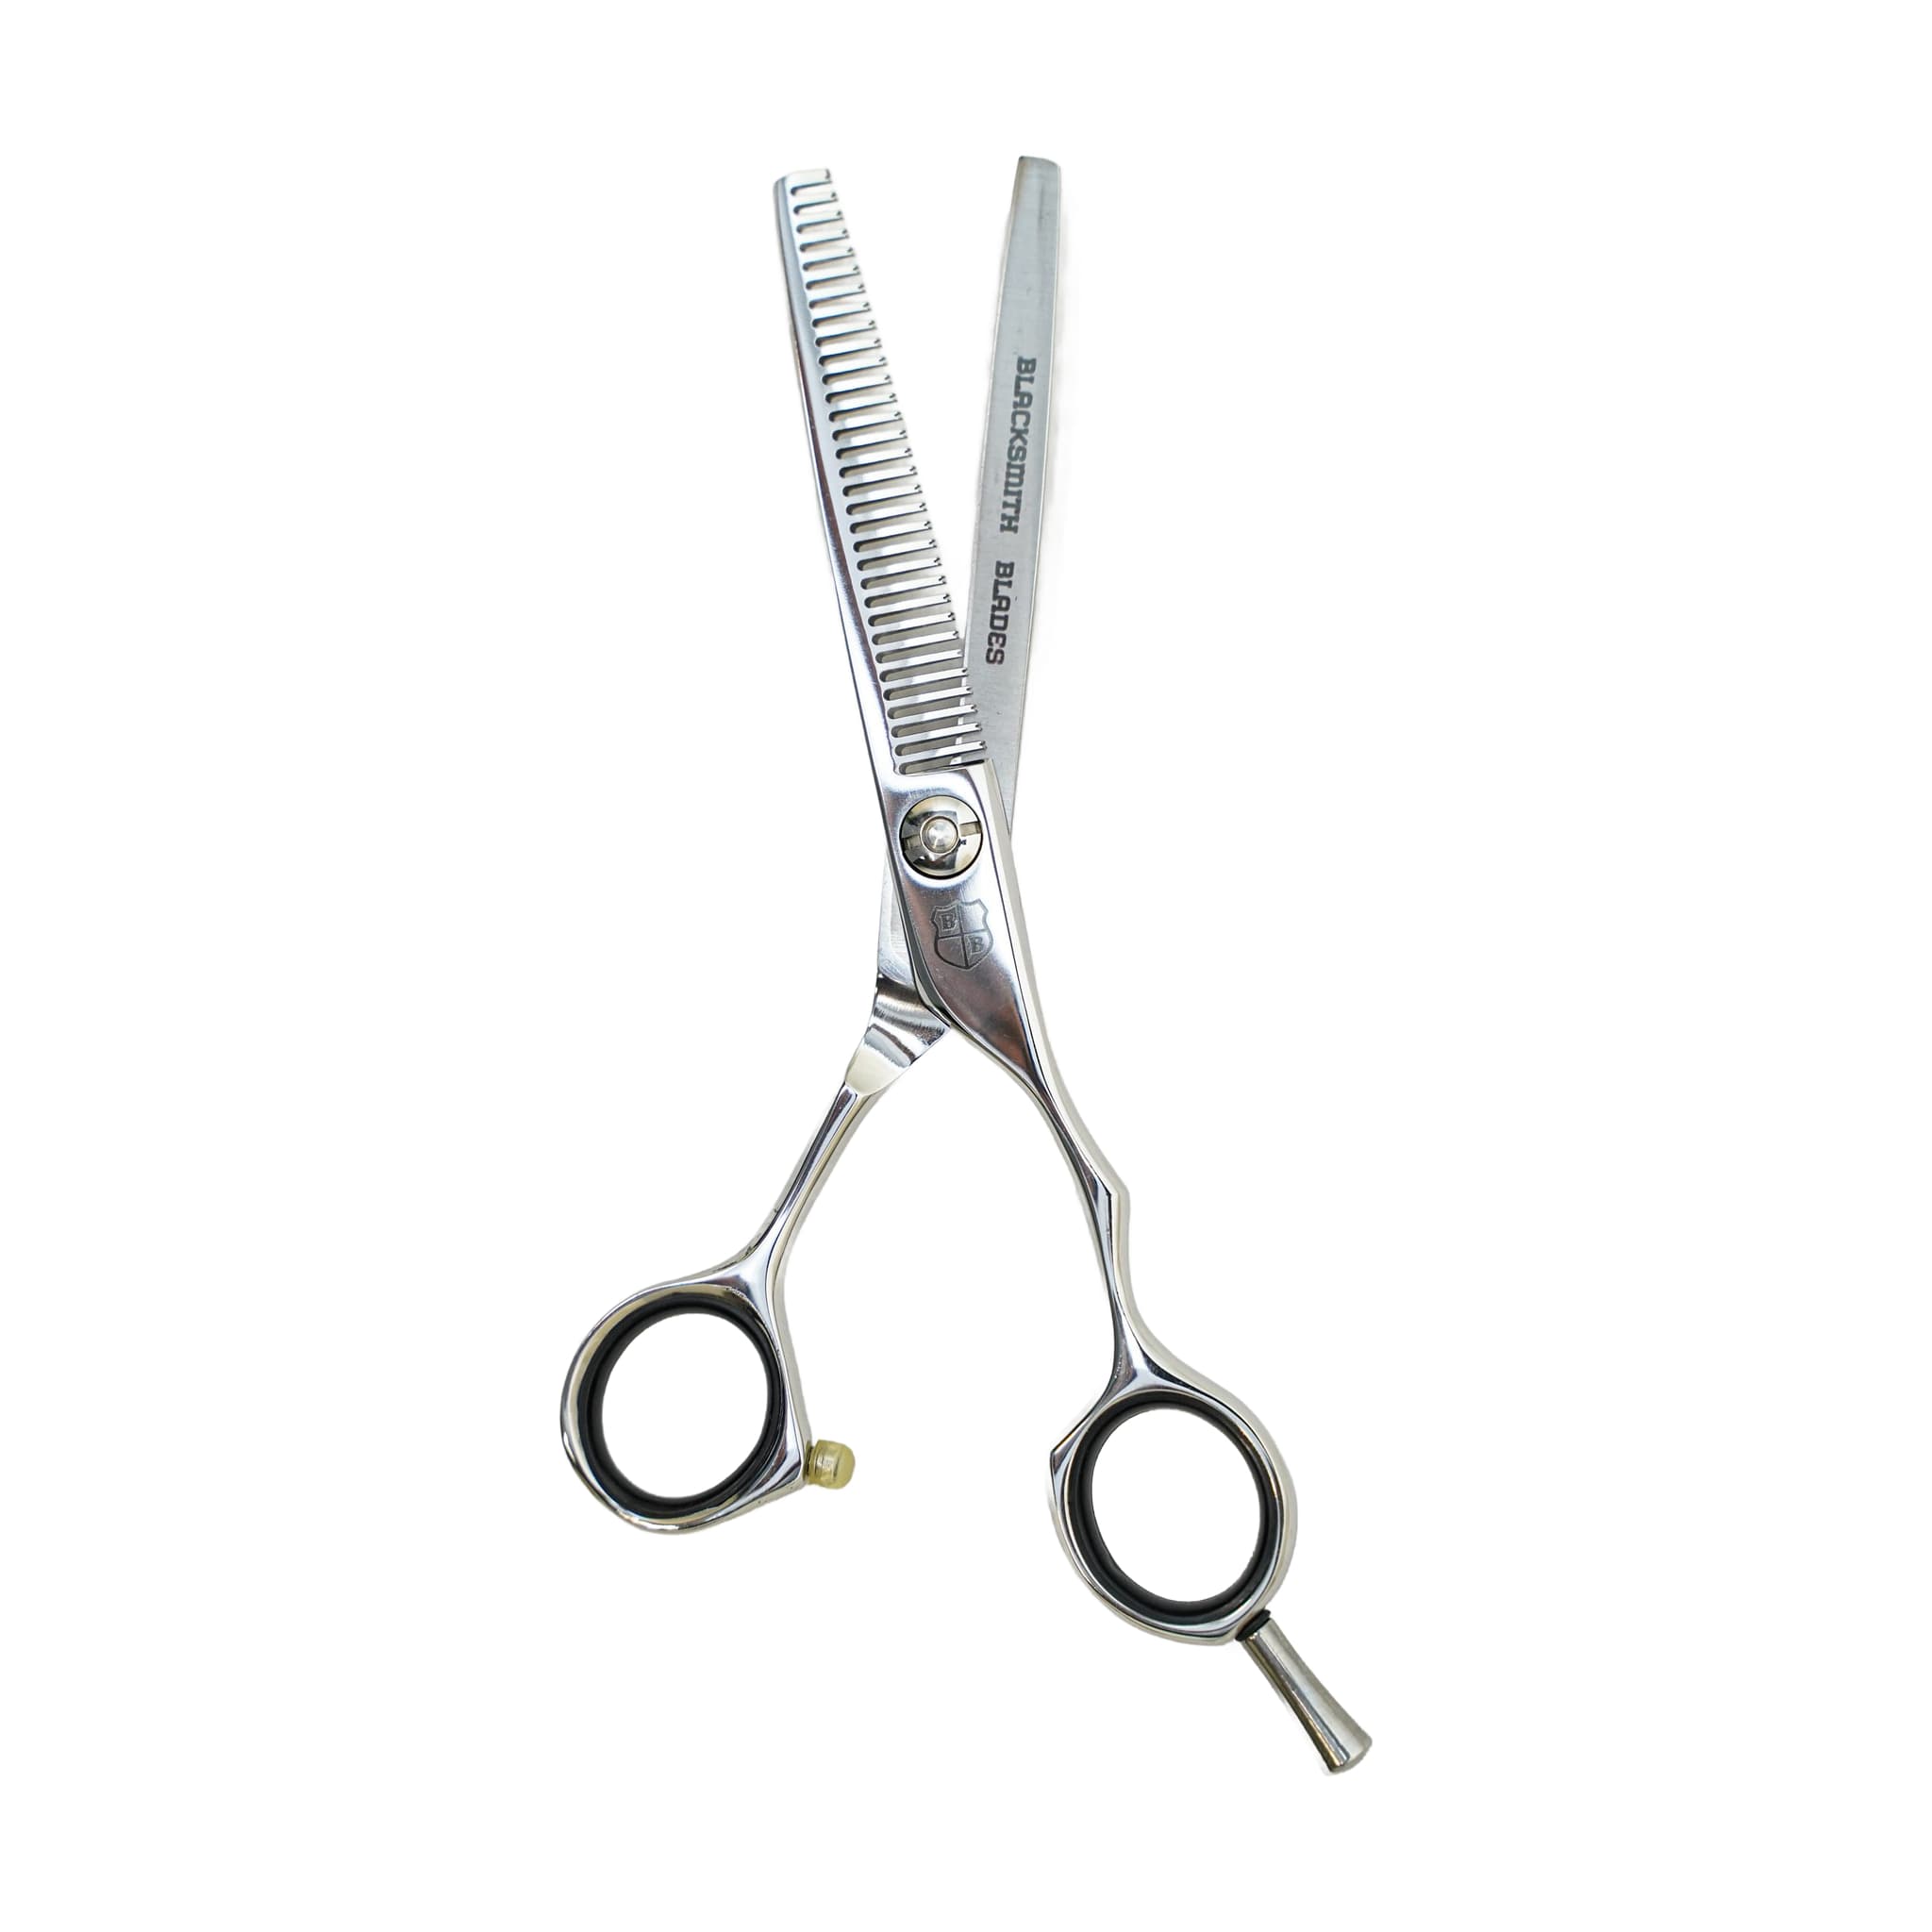
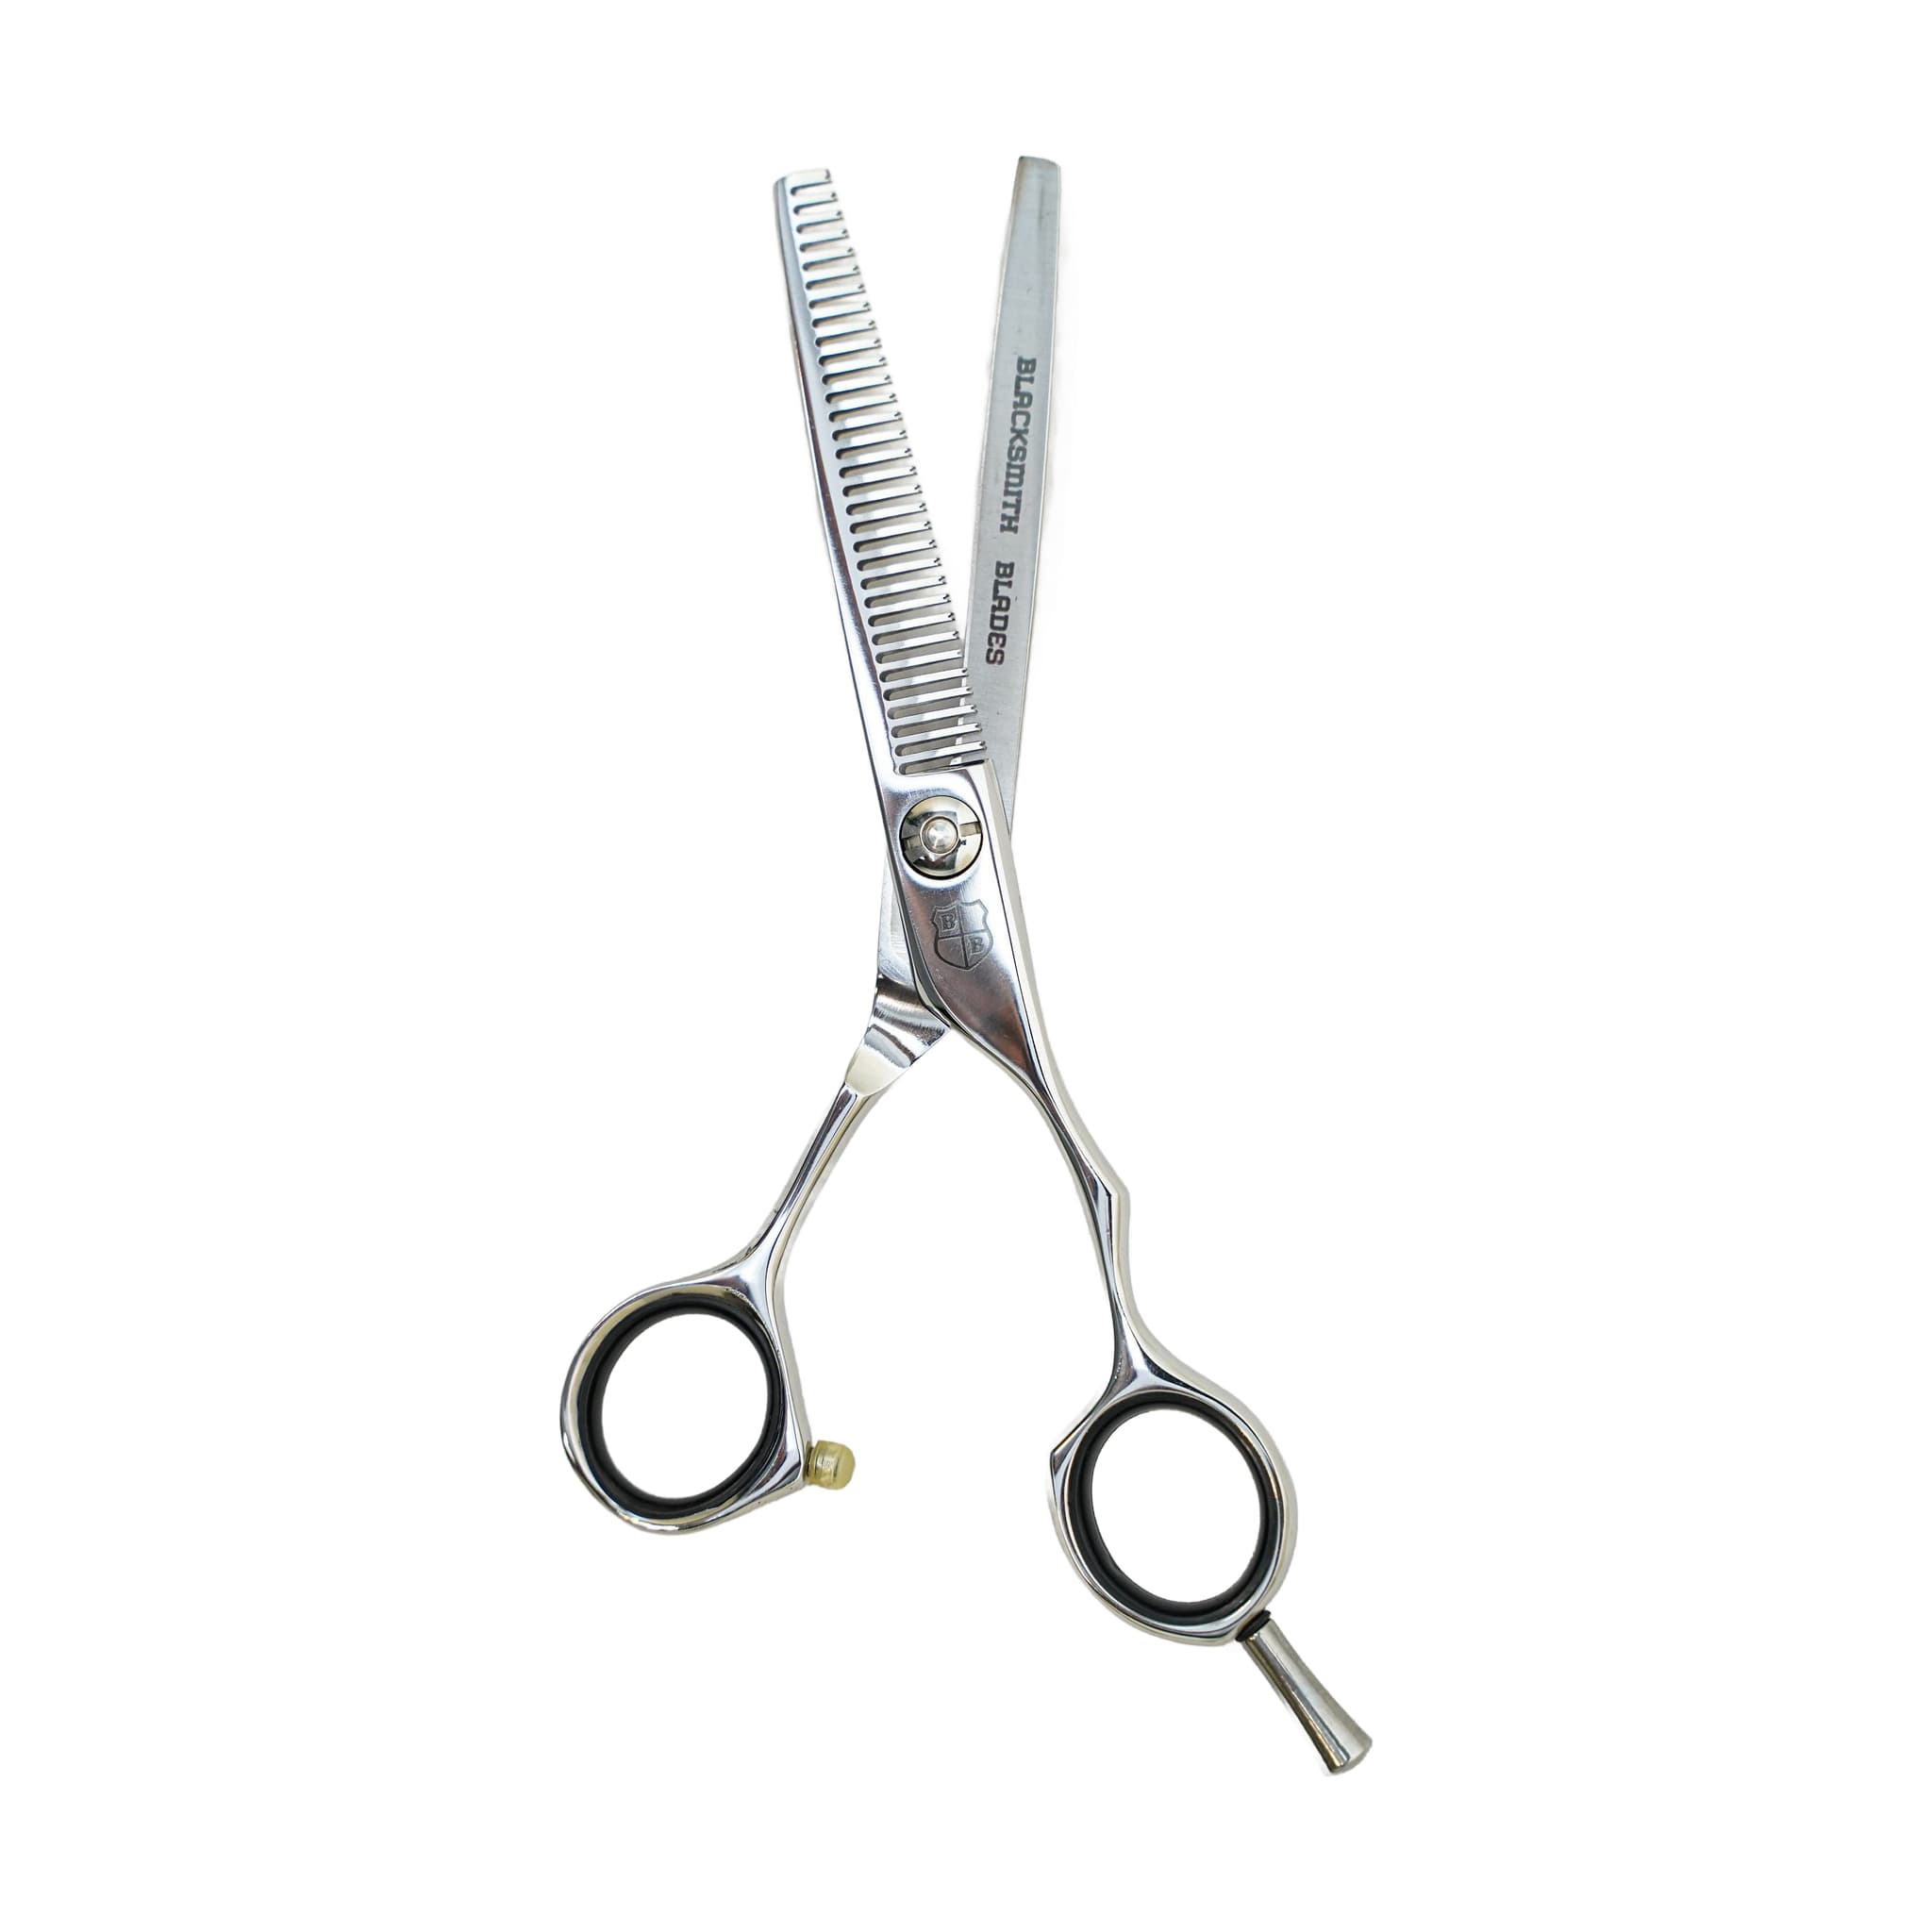
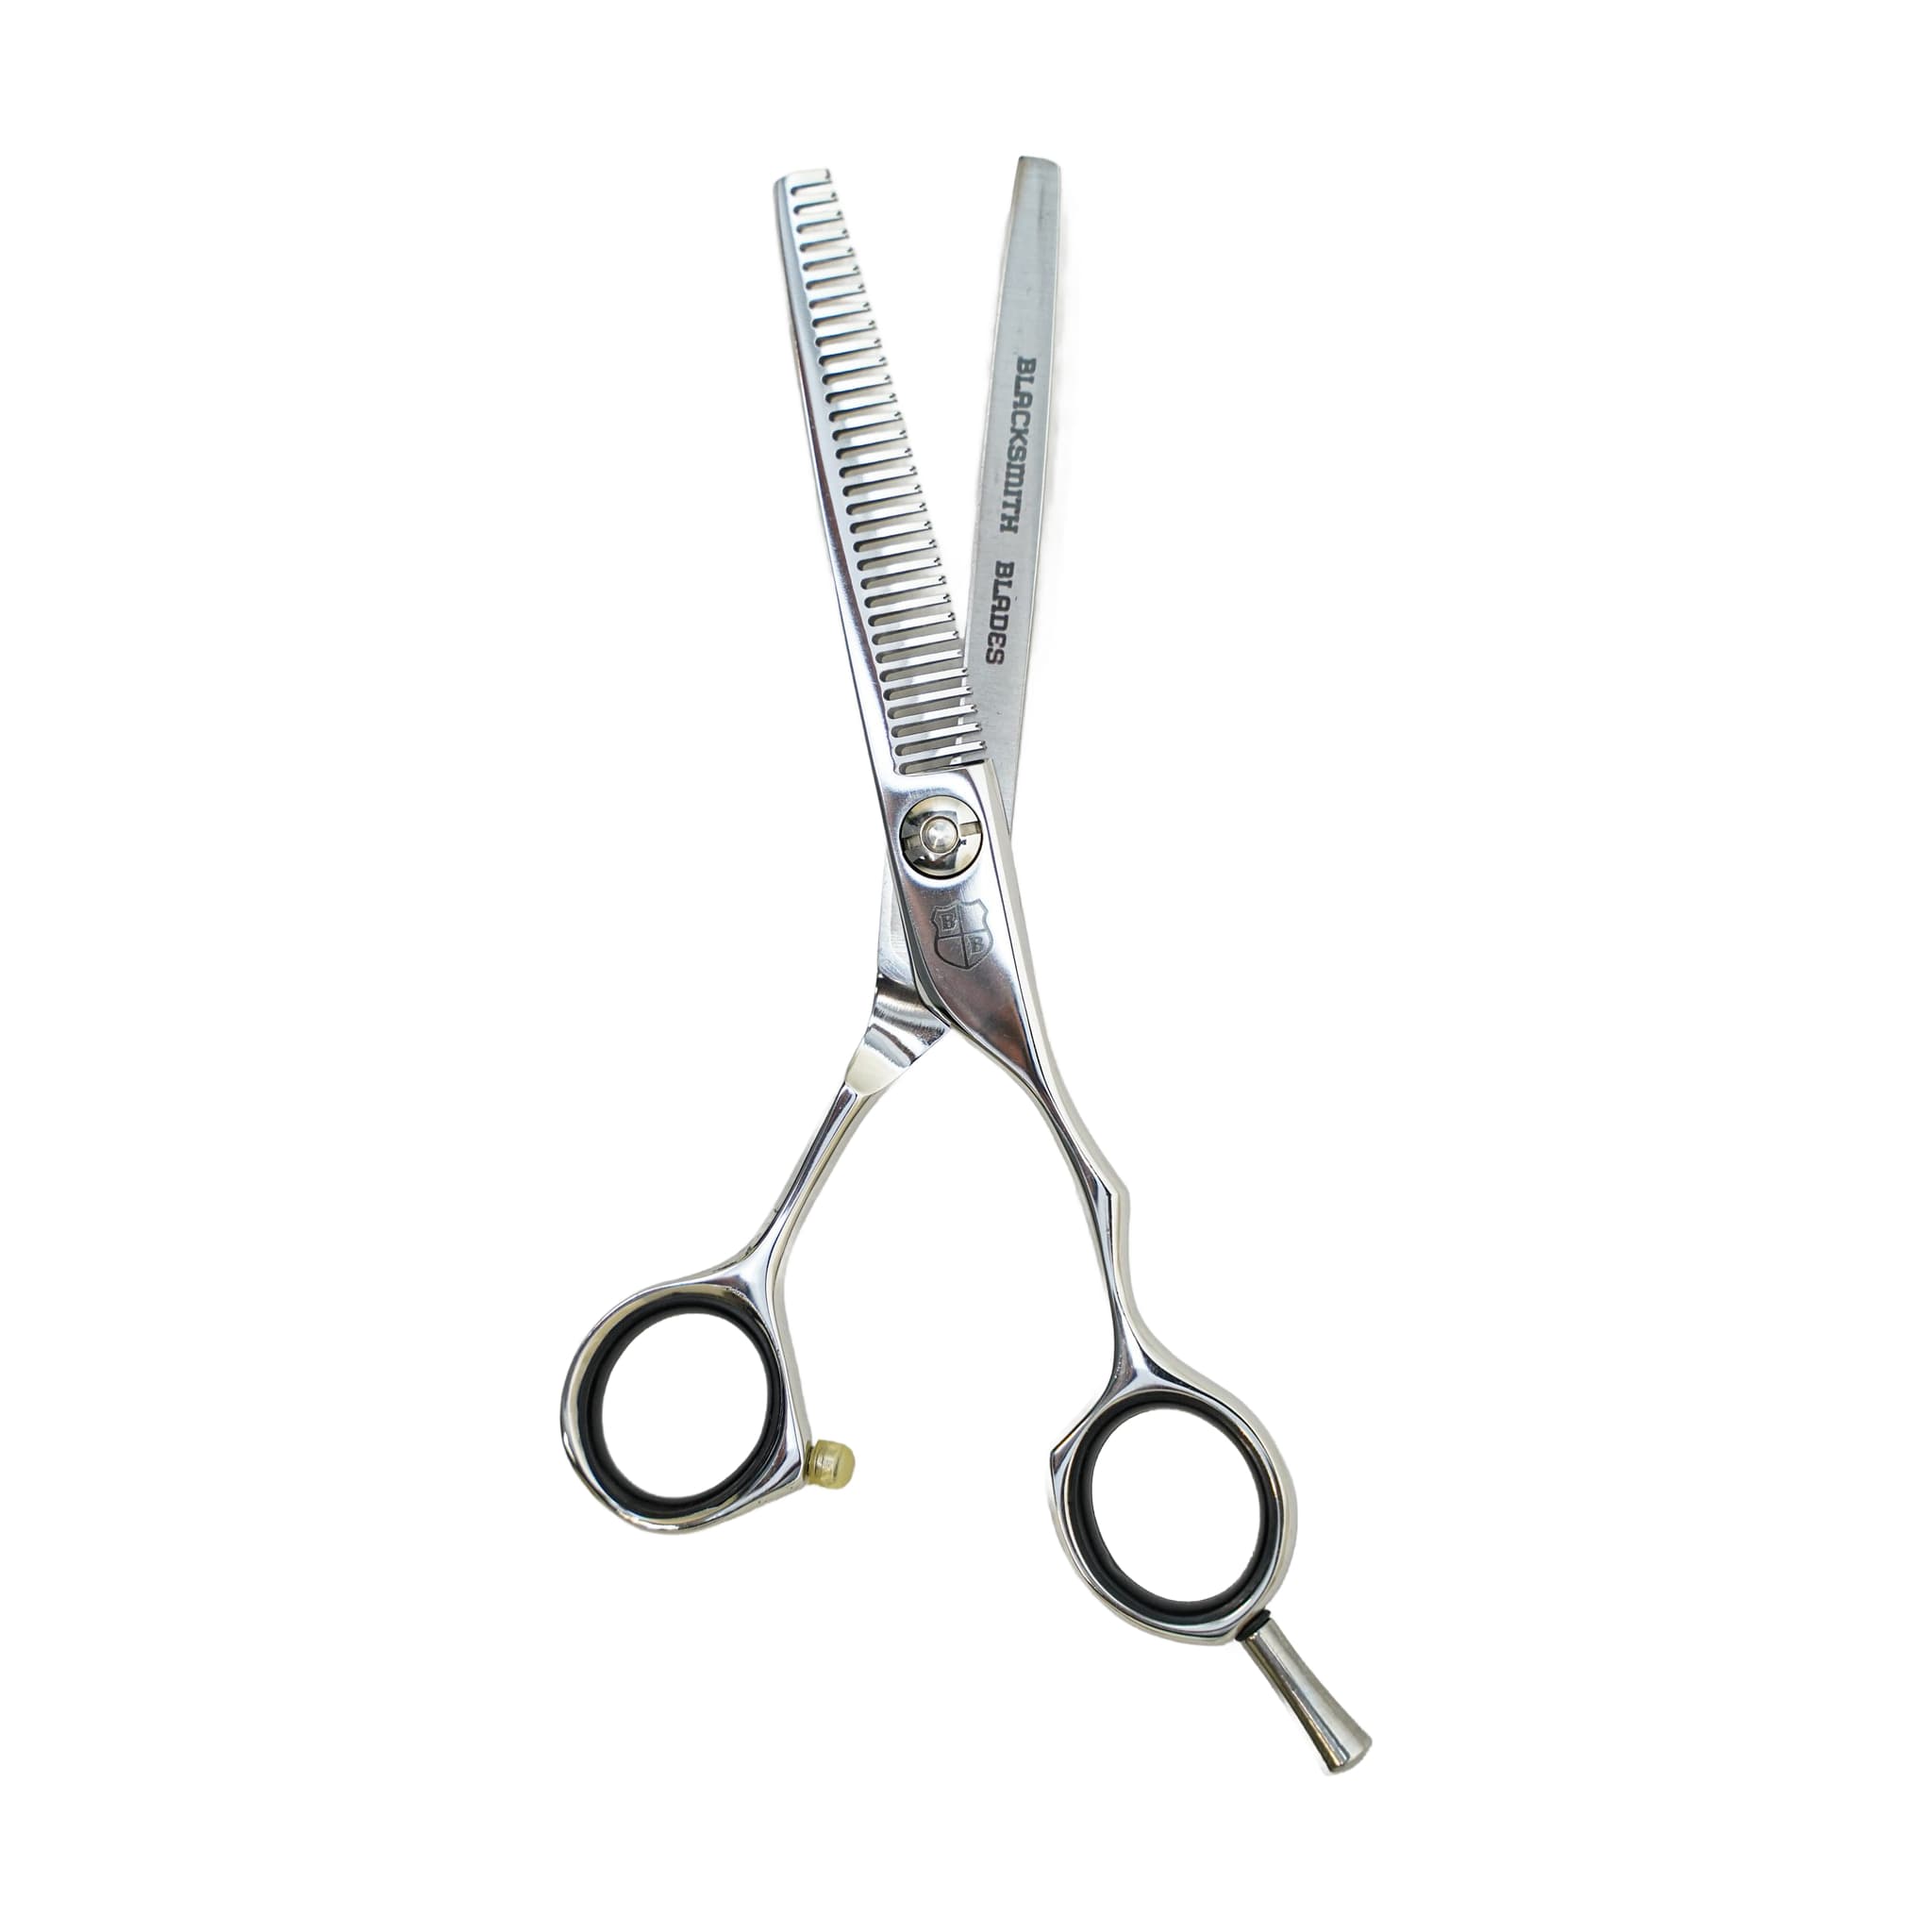
The 9CR 42T Professional Thinning Shear is made from 9CR steel and is crafted for use in salon and barbershop environments. It suits students beginning their hairdressing training as well as seasoned hairstylists who value affordability and great value for money in a professional thinning tool. The shear is available in handle variations, giving you the option to choose the orientation that suits your cutting style.
Understanding what this shear is built for before you pick it up is the foundation of getting consistent results from it. The 9CR 42T is a thinning shear — its job is controlled weight removal and blending, not bulk reduction or strong texture separation. Everything in this guide follows from that starting point.
Decide the Purpose Before the Blade Closes
Thinning shears are easy to close and hard to undo. That principle shapes every decision you make with this tool. Before you reach for it, identify exactly what you are trying to achieve — whether that is reducing density in a heavy section, softening a line, blending a transition, or adding movement. Different goals require different placement, and sometimes a different tool entirely.
If the purpose is not clear, step back from the haircut and evaluate it before cutting more. Look at the overall shape, pinpoint which areas carry excess weight, and consider which parts need to stay full. Removing weight without a plan can weaken the perimeter, create frizz, or leave visible gaps. Use this shear only where it genuinely improves the shape — not simply because the tool is already in your hand.
What a Higher Tooth Count Means for Your Results
A higher tooth count thinning shear is designed for soft blending — it removes less hair per pass and produces a more diffused, subtle result. A lower tooth count texturizer or chunker creates stronger separation and takes out more hair with each close of the blade. Choosing the right tooth count for the intended effect keeps you in control of the outcome.
This distinction matters for how you work. Because this shear is designed for soft blending, it rewards patience and multiple light passes rather than aggressive single cuts. Reaching for a higher tooth count shear when the task calls for strong texture separation can lead to overworking the hair — you close the blade repeatedly trying to see a result that the tool is not designed to produce. Choosing the right shear for the intended effect keeps you in control.
The best thinning work is often invisible. Your client sees a better shape and softer movement — not obvious chunks or gaps. That outcome is exactly what a higher tooth count thinning shear is designed to support.
Placement and Section Control During the Cut
Clean sectioning is the foundation of controlled thinning. When you work with defined sections, you know exactly where the shear has been and you avoid cutting the same area repeatedly without realising it. Work deliberately through one section at a time, comb through after each pass, and evaluate the shape before making another cut — hair can look different once it settles back into position.
Most controlled thinning happens through the mid-lengths and selected weight areas. Working closer to the root requires experience and a clear plan. Cutting too close to the scalp with a thinning shear is one of the most common mistakes — it creates short interior pieces that can push hair outward or contribute to frizz. Keep your placement deliberate and away from the scalp unless you have a specific, considered reason to work there.
- Place the shear through the interior of a section, around a bulky transition, or in a dense area that needs movement.
- Comb through after every pass and assess the shape before closing the blade again.
- Stay away from the scalp unless you have experience and a clear plan for that area.
- Stop when the shape improves — do not keep cutting because the shear is in your hand.
Adapting Technique for Different Hair Types
Hair type changes how you approach each session. Fine hair can look thin quickly, so restraint is especially important — fewer passes and careful evaluation between each one. Curly hair needs precise placement because short interior pieces created by the shear can expand as the curl forms, contributing to frizz. Thick, dense hair may tolerate a more thorough approach, but even then you should work in controlled passes rather than removing large amounts at once.
When hair has fragile or damaged ends, removing more weight is not always the right answer. Sometimes a cleaner cut or a treatment plan serves the client better than additional thinning. Adapting the tool to the hair in front of you — rather than applying the same thinning pattern to every client — is what separates a considered result from an overworked one.
Daily Care After Every Session: Wipe, Oil and Store
Thinning shears collect hair and product between the teeth. If that buildup is left unaddressed, the shear can start to drag or feel inconsistent during use. Cleaning between sessions is especially important for this type of tool.
- Wipe the blades down after use to protect the finish and help the blades move smoothly.
- Apply a small amount of oil at the pivot, then open and close the shear to work it through — this reduces friction and makes tension checks more accurate.
- Store the shear in a case or protected holder; a loose shear in a drawer or bag risks nicks that can change how it cuts.
- Use the shear only on hair — paper, tags, thread, and packaging can dull or damage the edge quickly.
If the shear begins to pull, snag, or drag during use, it may need professional sharpening. Thinning shears require careful service because the teeth and the cutting edge must work together. If adjusting the tension does not resolve folding, pushing, pulling, or rough cutting, send the shear for professional service rather than continuing to adjust in the salon.
Related resources
Sources
- 9CR 42T Professional Thinning Shear - Blacksmith Blades
- Adjusting Shear Tension - Blacksmith Blades
- Daily Shear Care and Storage - Blacksmith Blades
- How to Use Texturizing and Thinning Shears Like a Professional - Blacksmith Blades