August 21, 2026/6 min read
How to Use the 9CR 25T Professional Thinning Shear: Technique, Placement, and Care
A practical step-by-step guide to using the 9CR 25T Professional Thinning Shear — covering purpose, placement, hair-type adjustments, common mistakes, and tool care.
What the 9CR 25T Professional Thinning Shear Is Built For
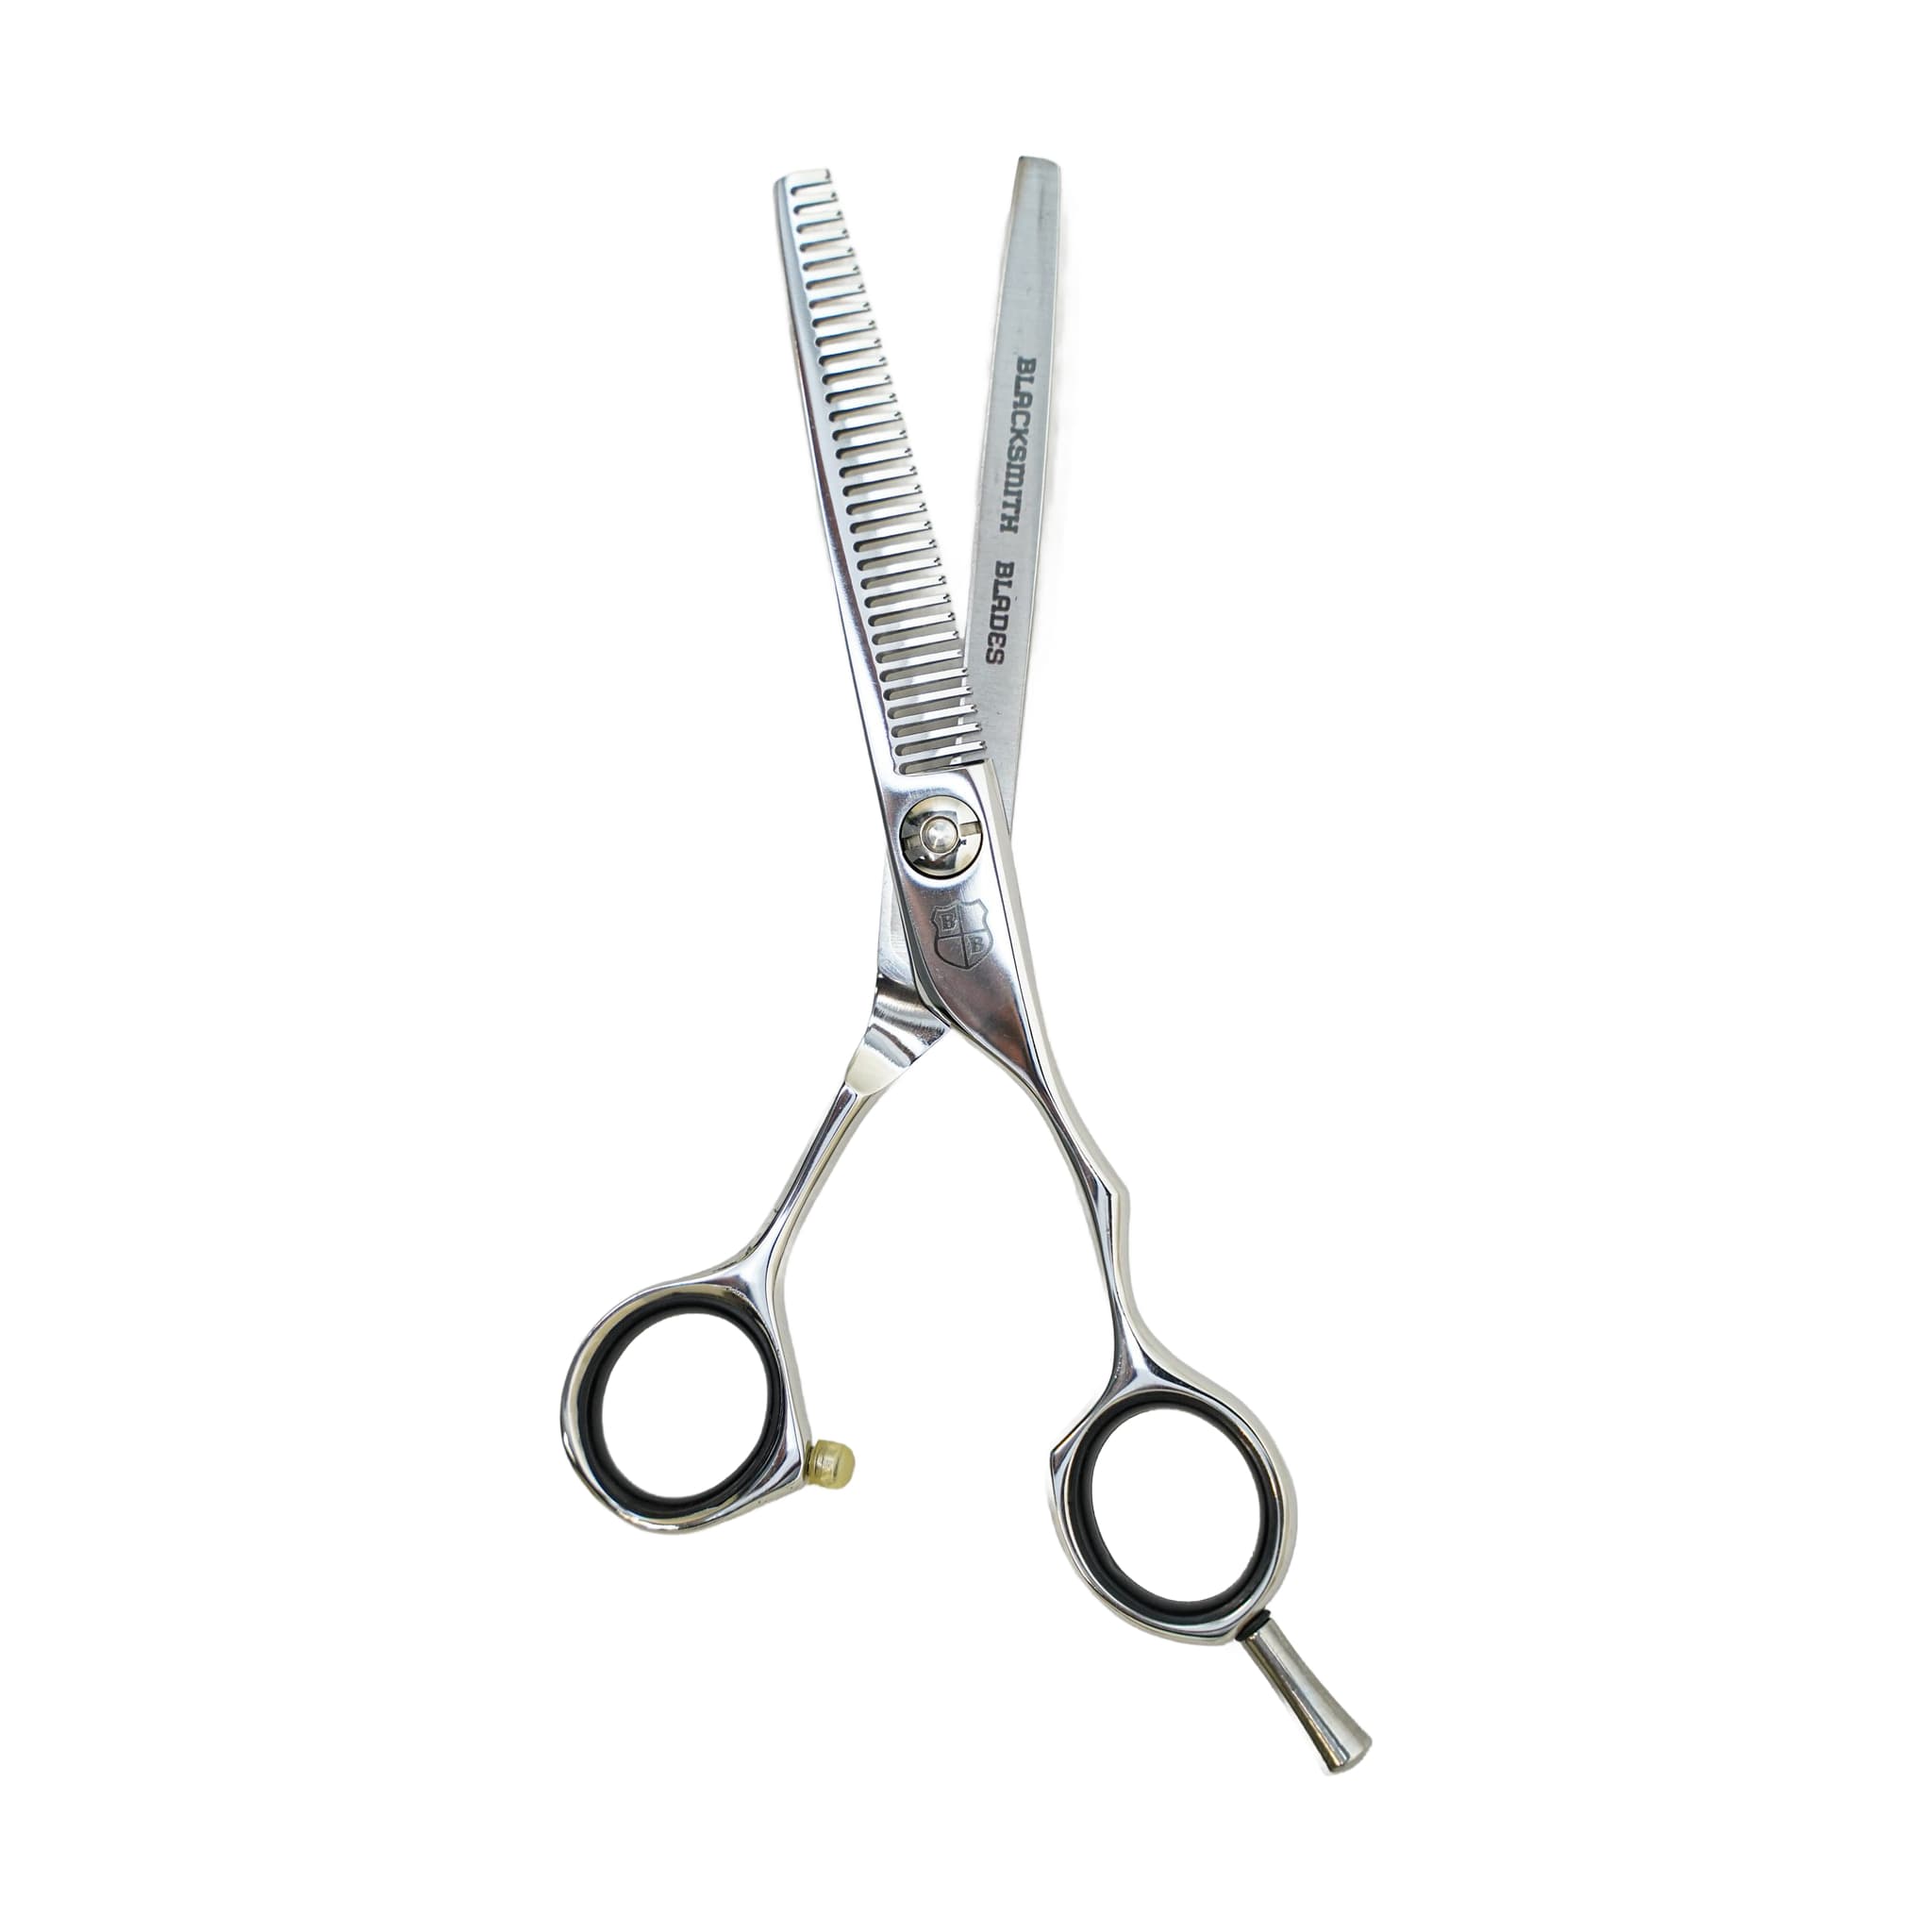
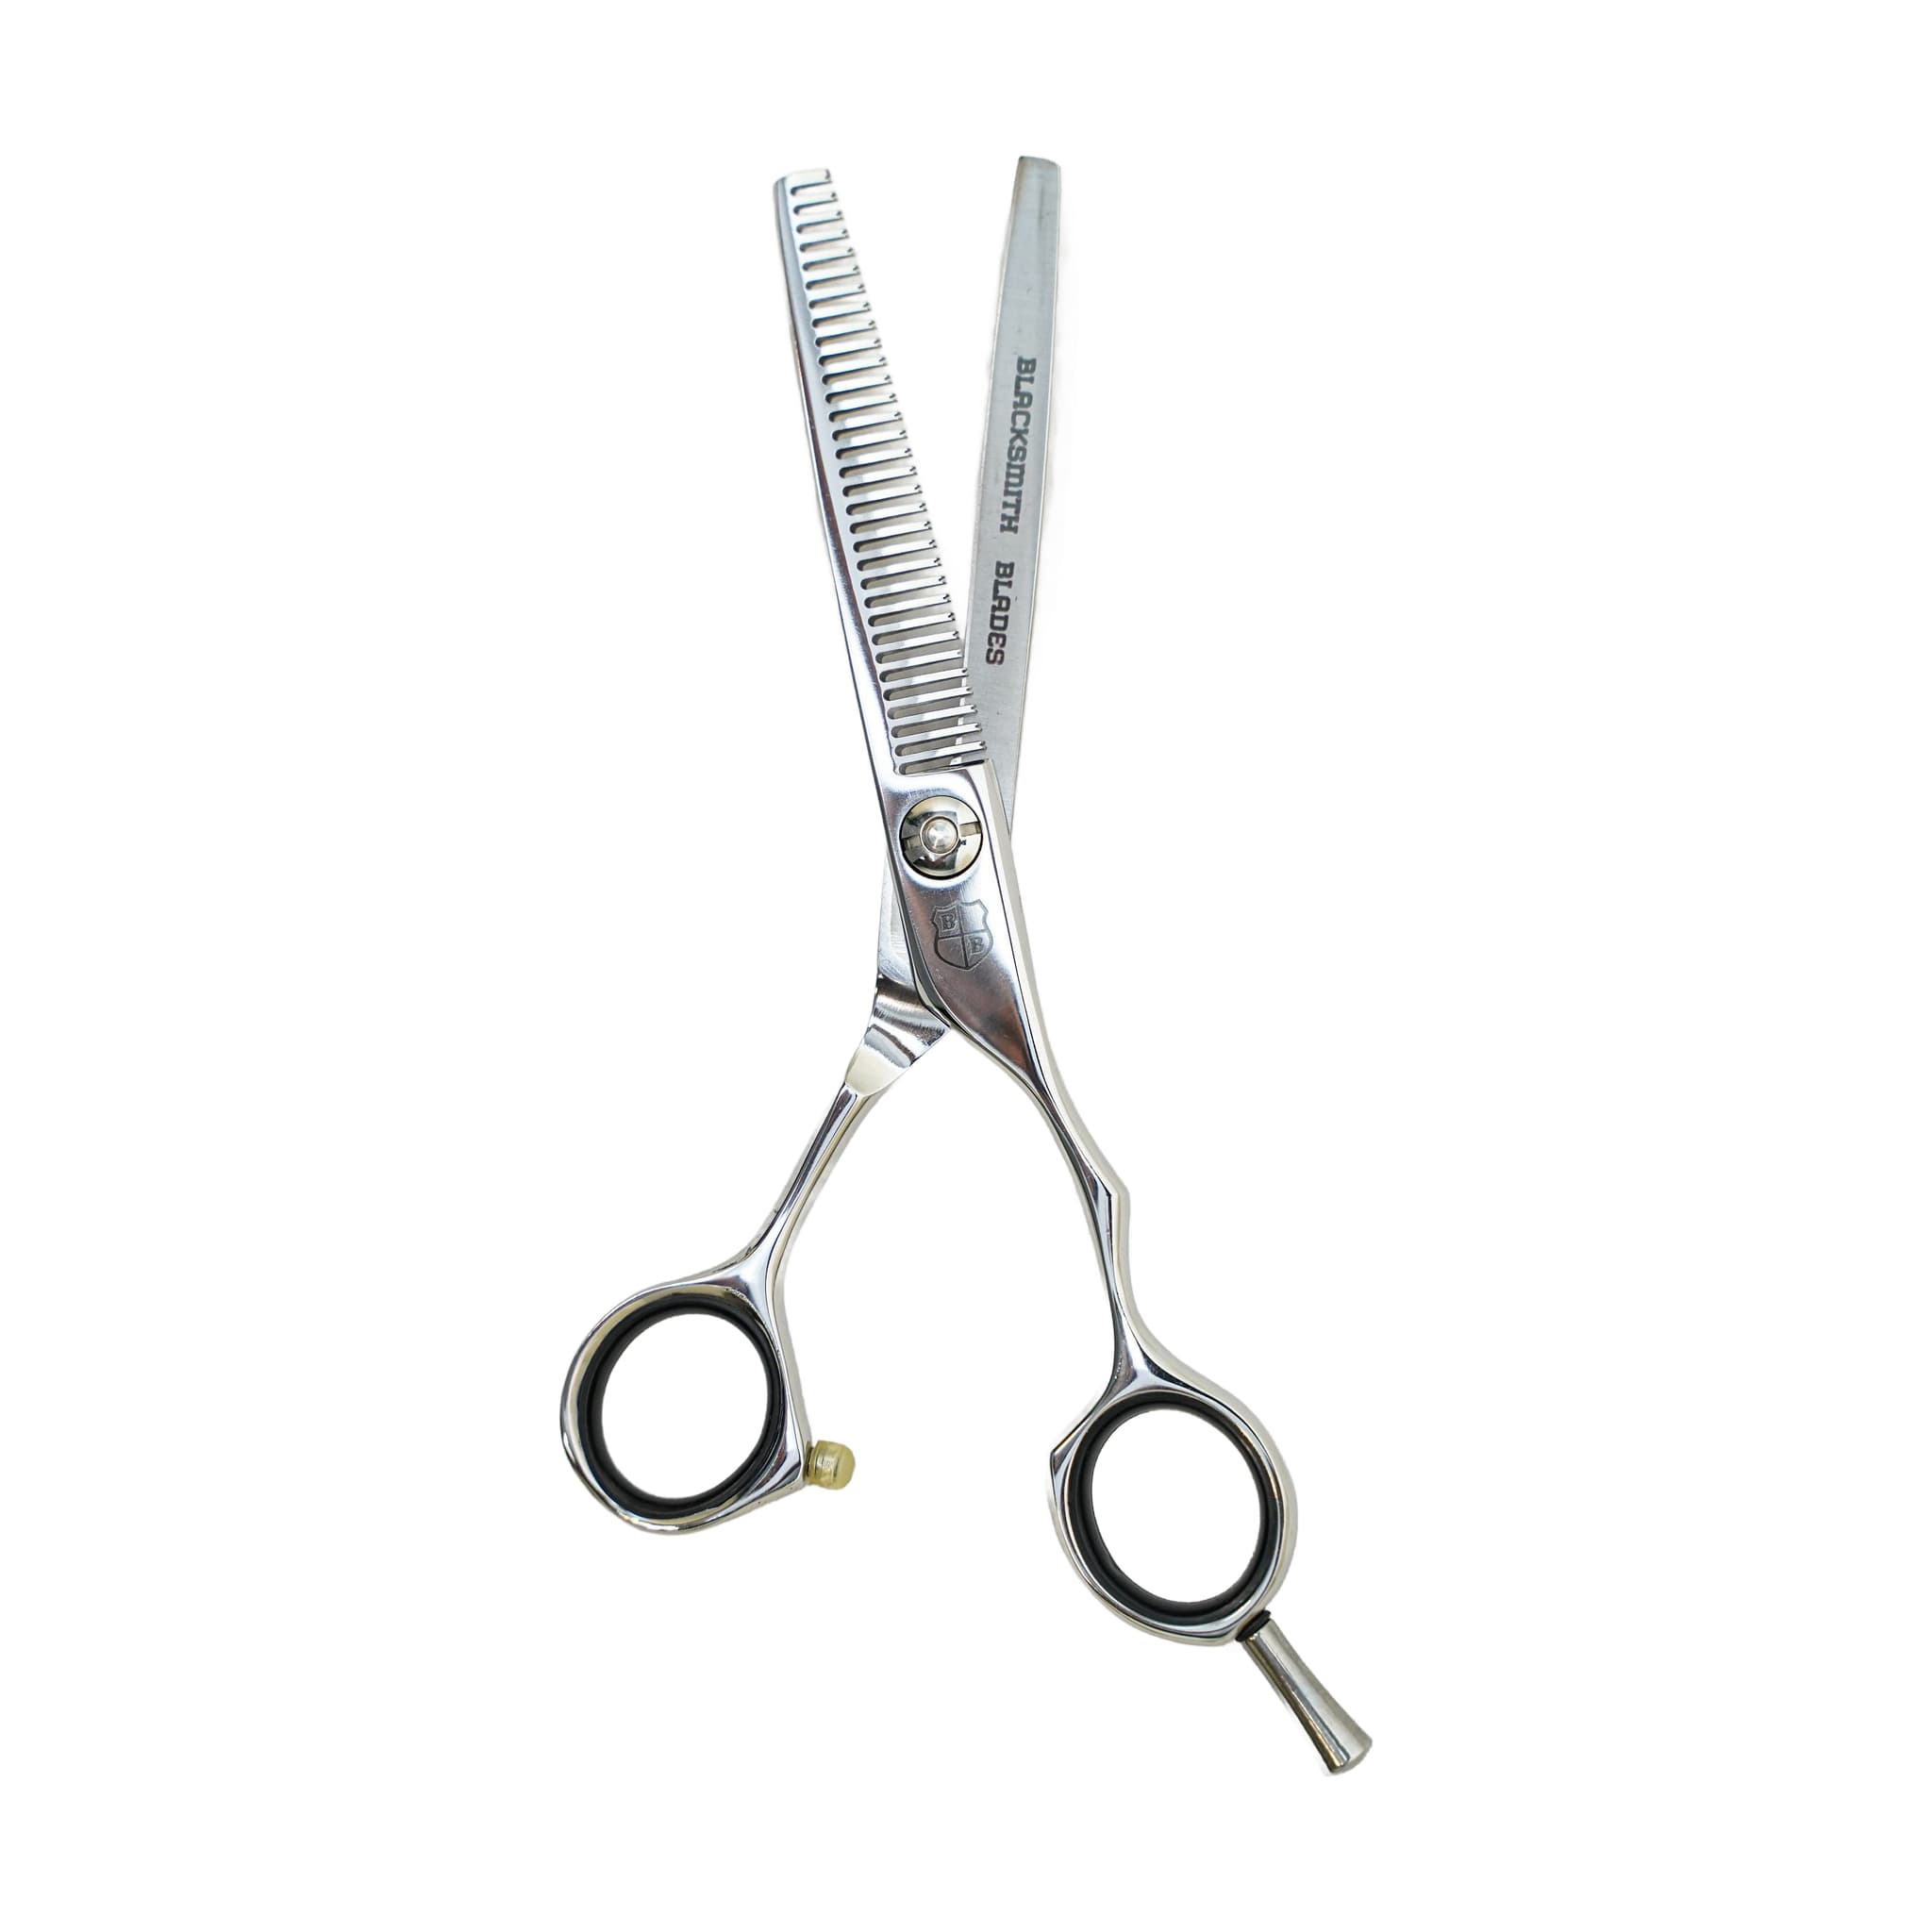
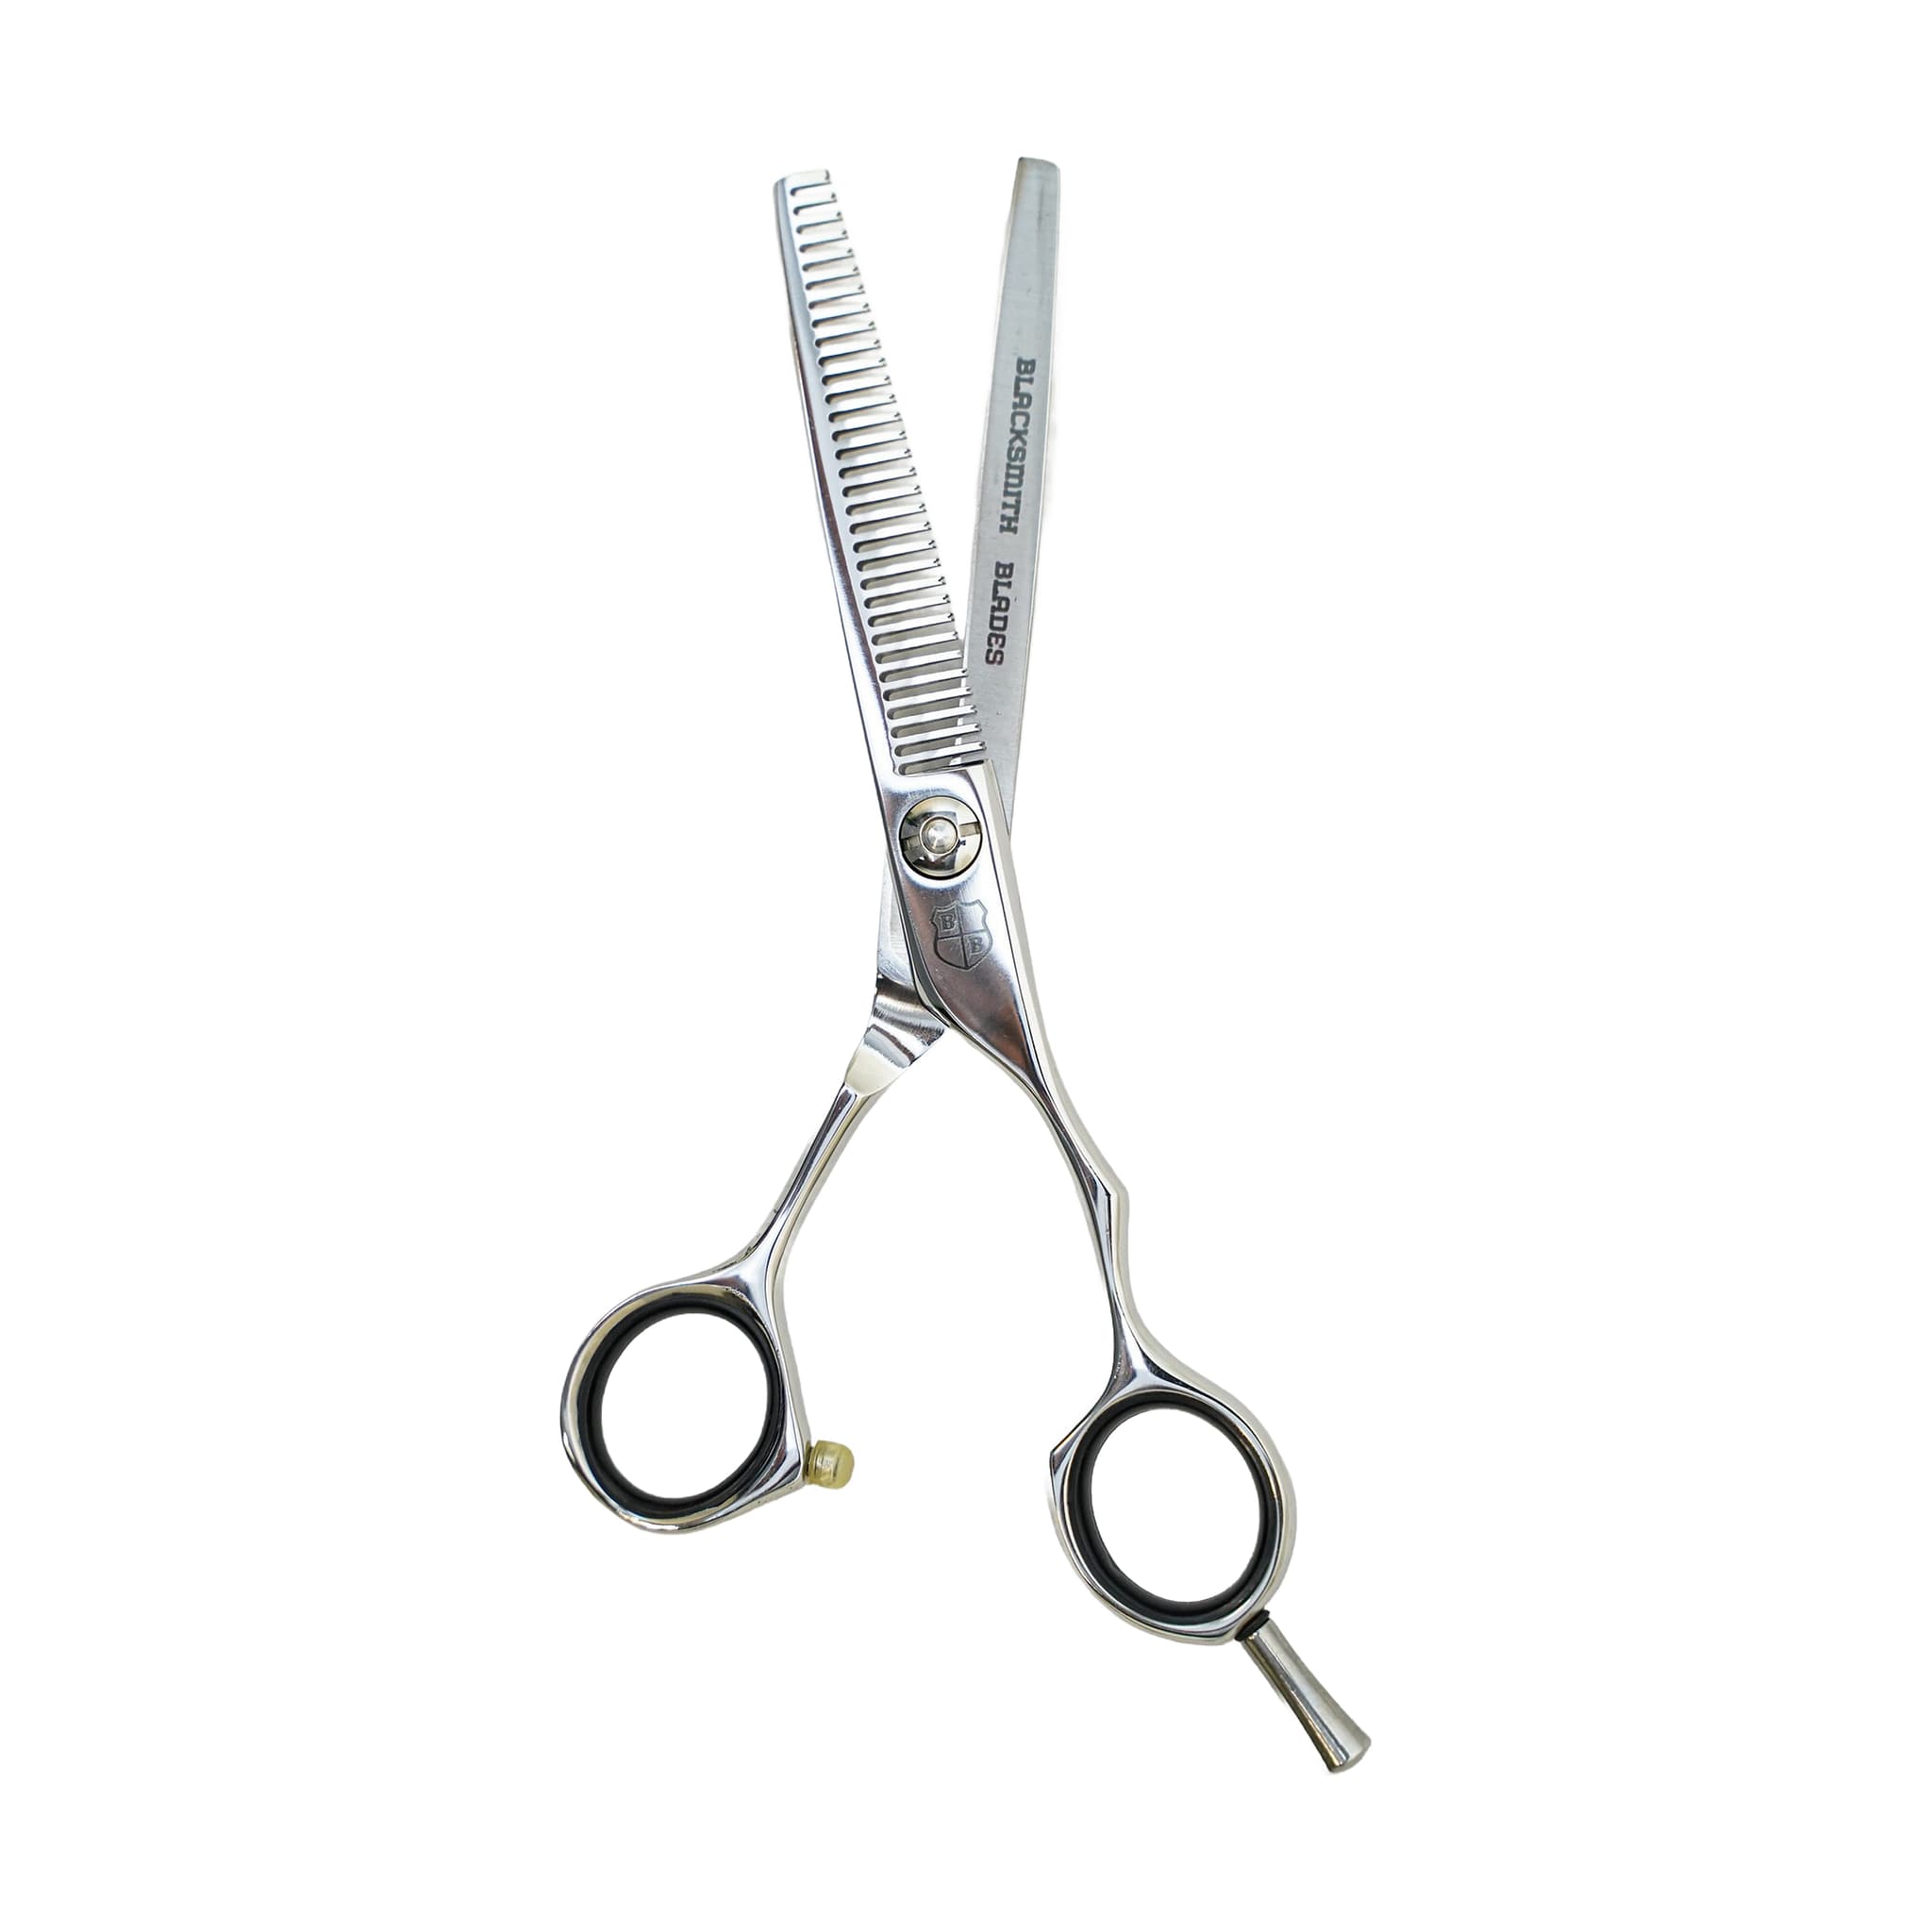
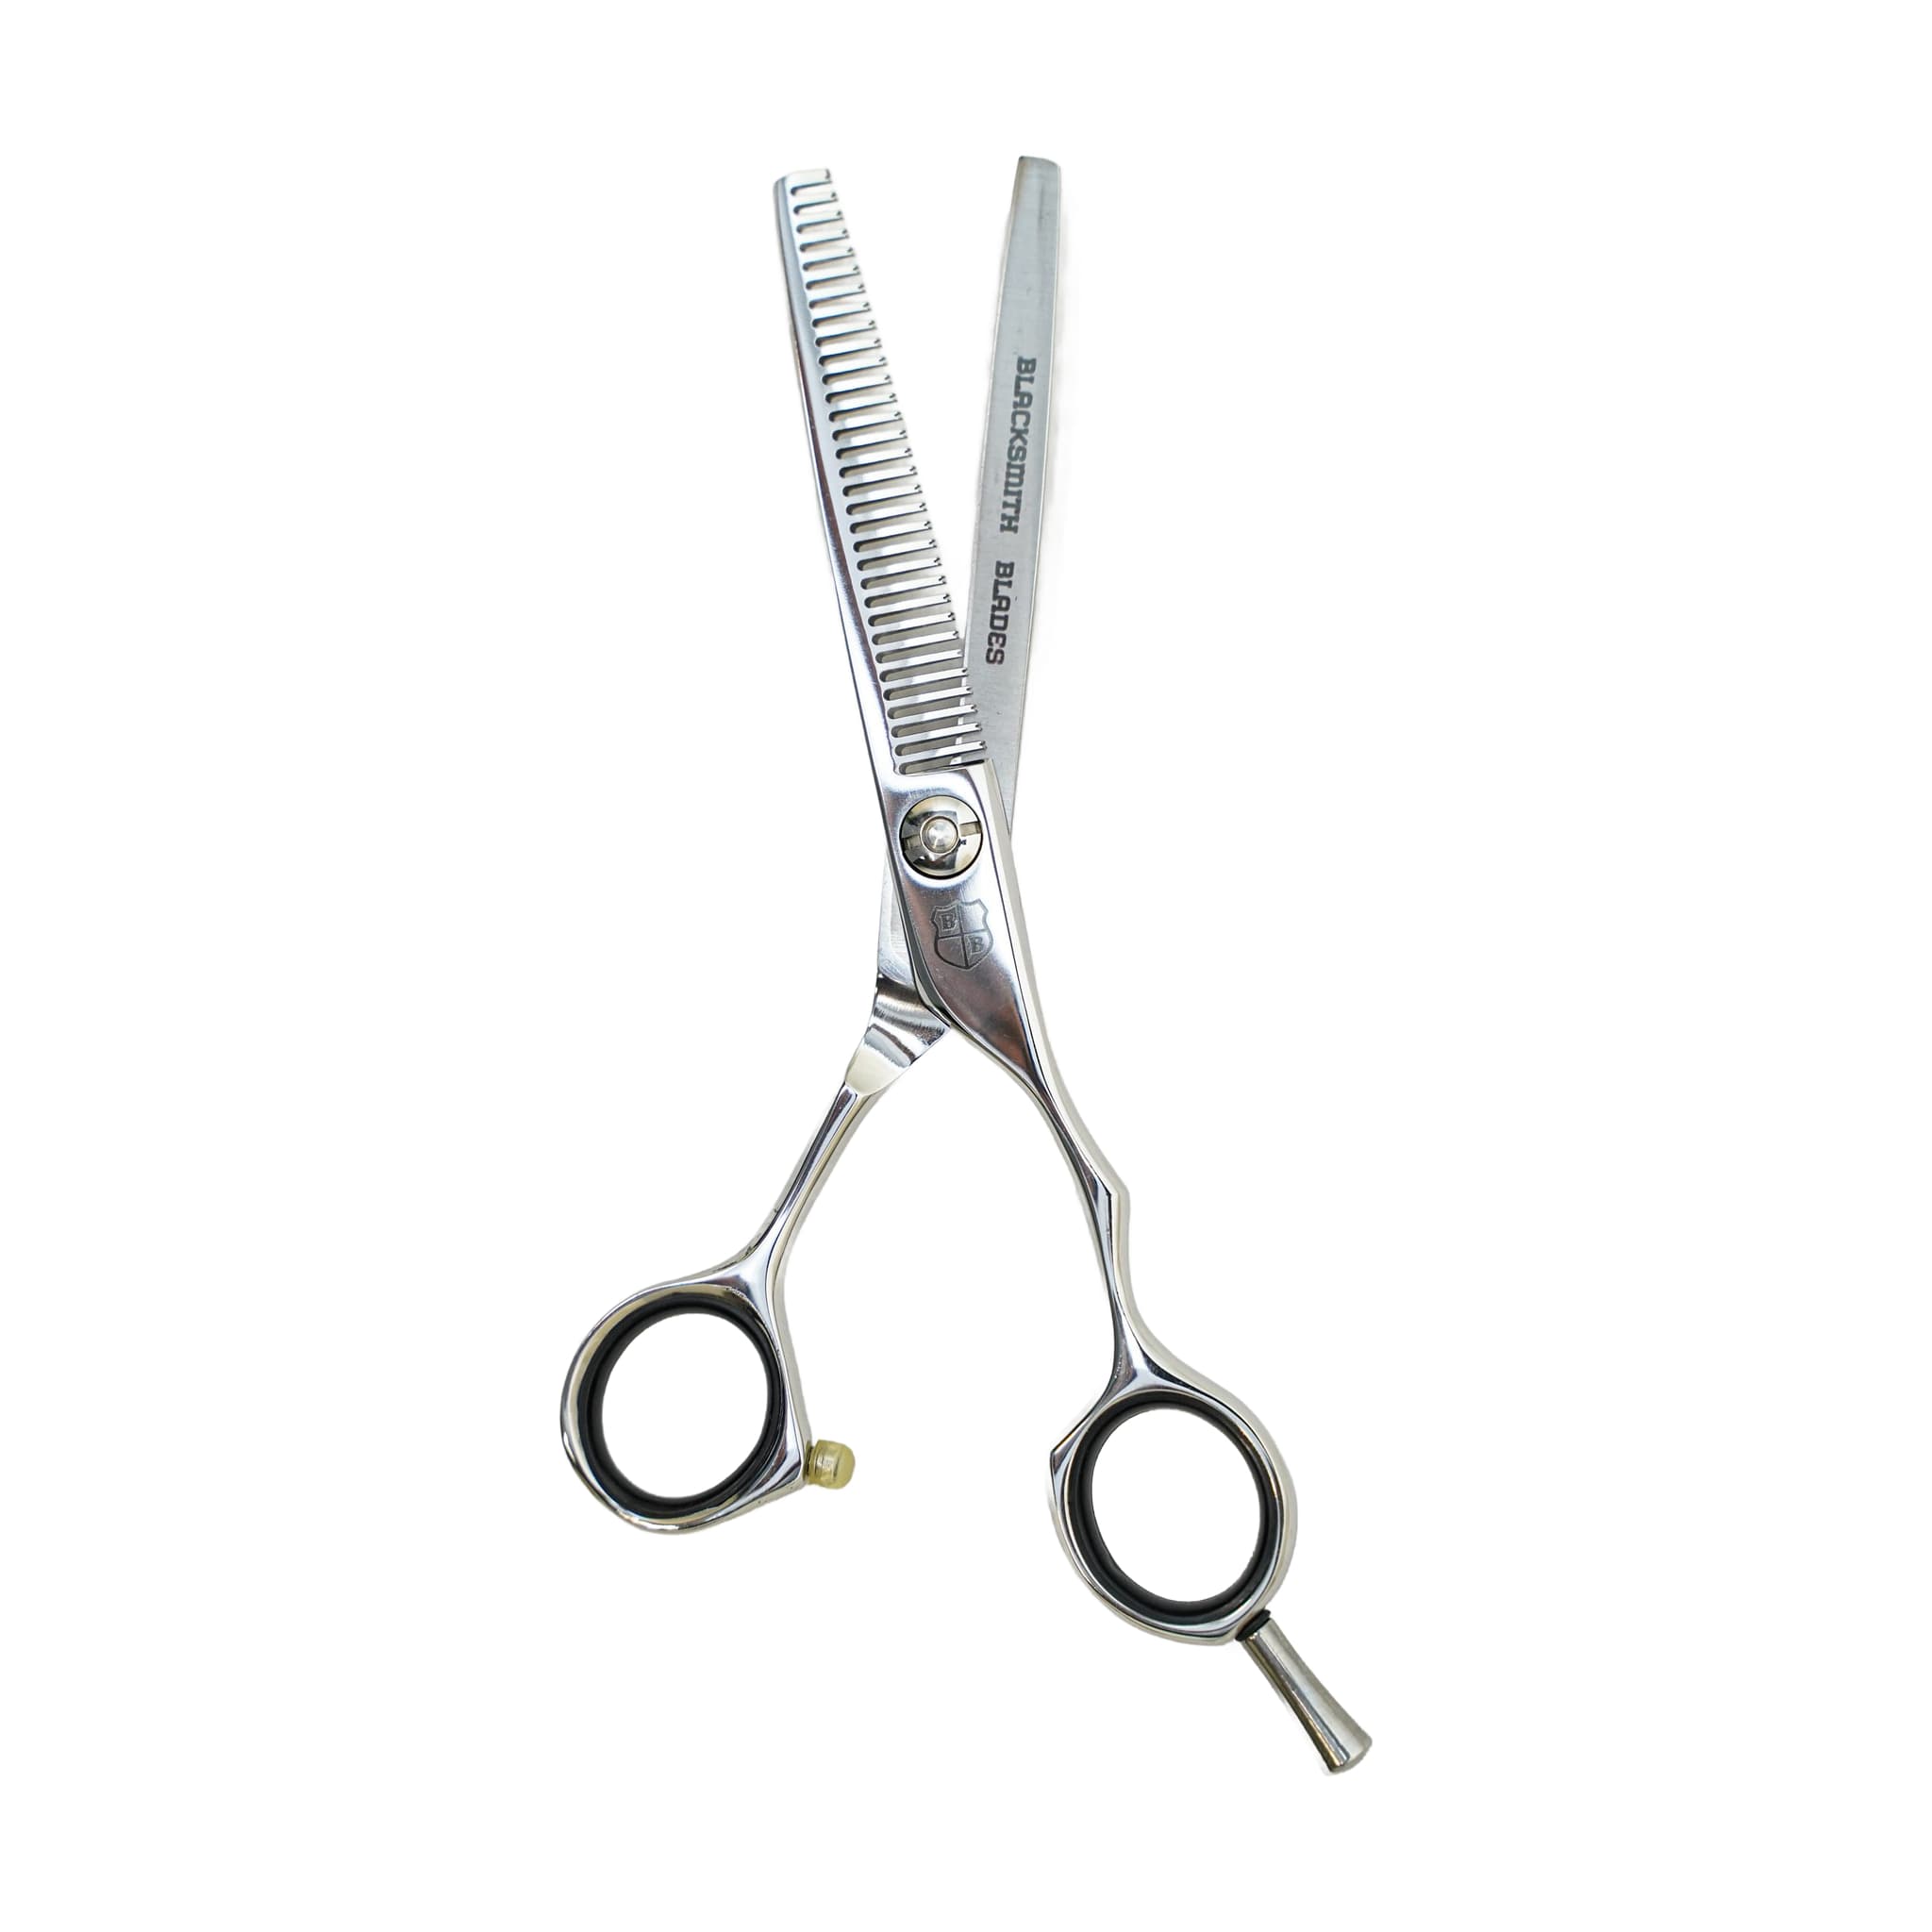
The 9CR 25T Professional Thinning Shear is made from 9CR steel and is listed under the Academy Kits / 9CR Shears and Thinning Shears categories on the Blacksmith Blades product page. It is described as suited for students beginning their journey in hairdressing as well as seasoned hairstylists who value affordability. Salon owners looking for an effective thinning shear for their staff are also identified as a target user on the product page.
The 9CR 25T is available in left-handed and right-handed handle variations, making it accessible to stylists regardless of dominant hand. Based on tooth-count principles described in technique sources — where a shear with more teeth generally removes less hair per closure and creates a softer blend — a 25-tooth configuration places this tool toward the controlled-blending end of the thinning shear range. This is an inference from those principles, not a direct claim made on the product page itself.
A practical kit may include a straight cutting shear, a 25T thinning shear, and a stronger texturizing or chunker shear for specific work. The right kit depends on the hair types a stylist regularly cuts, so individual needs will vary.
Decide the Purpose Before You Cut
Before picking up a thinning shear, a stylist should identify a clear goal. The question to ask is what needs to change: weight, line, movement, blend, or finish. Different goals require different placement and sometimes a different tool entirely. If the purpose is unclear, the right move is to step back and evaluate the haircut before cutting more — random cuts may remove hair but rarely improve the shape.
Thinning shears are generally used to reduce bulk and blend density, while texturizing shears are used to create movement, separation, and softness. The terms overlap in the industry, but the goal should always be clear before the shear closes. Thinning shears should be used as a refinement tool, not a substitute for the haircut itself — if the shape is wrong, fix the shape first.
Understanding What a 25-Tooth Count Does
Tooth count directly affects the result a thinning shear produces. A shear with more teeth generally removes less hair per closure and creates a softer blend. A shear with fewer or wider teeth removes more hair and creates stronger texture. This is why a higher tooth count thinning shear is suited to soft blending work, while a lower tooth count texturizer or chunker creates stronger separation and removes more hair per pass.
Using the wrong tool for the effect can cause a stylist to work too hard or remove too much too quickly. Understanding where the 9CR 25T sits on that range — based on its 25-tooth configuration — helps set realistic expectations before the first pass and guides decisions about when a different tool might be more appropriate.
How to Work with Clean Sections and Control Placement
Before using the 9CR 25T, look at the haircut from a distance. Identify where the shape is heavy and where the hair needs to stay strong. The tool should only be used where it improves the shape — through the interior, around a bulky transition, or in a dense area that needs movement. The best thinning work is often invisible: the client sees a better shape and softer movement, not obvious chunks missing from the haircut.
Clean sectioning gives control and helps avoid cutting the same area repeatedly without realizing it. After each pass, comb through the section and evaluate the shape before making another cut. Hair can look different after it settles back into position, so pausing between passes is part of the technique, not a sign of hesitation.
Professional texturizing is often slow and deliberate. The goal is movement and balance, not maximum hair removal. Removing weight without a plan can weaken the perimeter, create frizz, or leave visible holes — so each pass should have a reason behind it.
Stay Away from the Scalp Unless You Have a Reason
Cutting too close to the scalp with thinning shears is described as one of the most common mistakes. It can create short interior pieces that push hair outward or contribute to frizz. Most controlled thinning happens through mid-lengths and selected weight areas, not randomly at the root.
There are advanced reasons to remove weight closer to the scalp, but they require experience and a clear plan. Similarly, removing too much hair near the ends can make the perimeter look thin or weak. Placement decisions — both at the root and at the ends — carry real consequences that are difficult to reverse.
Adjusting Technique for Different Hair Types
Hair type changes how the 9CR 25T should be used. A single thinning pattern applied to every client is not a professional approach — good stylists adapt the tool to the hair in front of them.
- Fine hair needs restraint because it can look thin quickly. Mistakes on fine hair are more visible, so fewer passes and careful evaluation between each one are important.
- Curly hair needs careful placement because short interior pieces can expand and create frizz as the hair settles back into its natural pattern. Placement decisions matter more, not less, on curly hair.
- Thick, dense hair may tolerate stronger texture, but even then the stylist should work in controlled passes rather than making aggressive cuts across large sections.
- Damaged hair requires extra restraint. Removing too much weight from fragile ends can make the hair look weaker, and sometimes the better answer is a cleaner cut or a treatment plan rather than more thinning.
Recognizing and Avoiding Over-Thinning
Over-thinning usually happens when a stylist tries to fix bulk without changing structure. If the shape is the problem, the thinning shear is not the solution — sometimes the better answer is a stronger layer, a different sectioning pattern, or a cleaner baseline. Using the 9CR 25T as a refinement tool, rather than a structural fix, keeps the work controlled.
A useful visual check: if the client can see chunks, holes, or weak ends, the tool was probably overused. The best texture often looks like very little was done. Removing weight without a plan can weaken the perimeter, create frizz, or leave visible holes — the tool should only be used where it genuinely improves the shape.
Caring for Your 9CR 25T Thinning Shear
Thinning shears collect hair and product between the teeth. If that buildup is ignored, the shear can start to drag or feel inconsistent during use. Cleaning between uses is especially important for toothed tools like the 9CR 25T — removing debris from between the teeth after each session addresses the source of that drag.
Oil the pivot regularly and store the shear where the teeth cannot be damaged. A nicked tooth can change the way the tool performs and may cause pulling — storage matters as much as cleaning for keeping the tool in working order.
Consistent maintenance helps the 9CR 25T avoid the drag and inconsistency that buildup can cause — keeping it performing as the technique sections describe. When the shear starts to snag, pull, or feel rough, professional sharpening is recommended. These tools require careful service because the teeth and cutting edge must work together, and improper sharpening can compromise both.
View the 9CR 25T Professional Thinning Shear
The 9CR 25T Professional Thinning Shear is available in left-handed and right-handed handle variations on the Blacksmith Blades product page. Whether you are a student building your first kit or a salon owner equipping staff, the product page has the details needed to choose the right handle orientation and place an order.
Related resources
Sources
- 9CR 25T Professional Thinning Shear - Blacksmith Blades
- How to Use Texturizing and Thinning Shears Like a Professional - Blacksmith Blades
- Mastering the Art of Texturizing and Thinning Shears - Blacksmith Blades