August 23, 2026/5 min read
How to Use the VG10 32T Thinning/Texturizing Shear- Polished: Technique, Placement and Care
A practical step-by-step guide to using the VG10 32T Thinning/Texturizing Shear- Polished — covering purpose, placement, hair-type adjustments, common mistakes, and tool care.
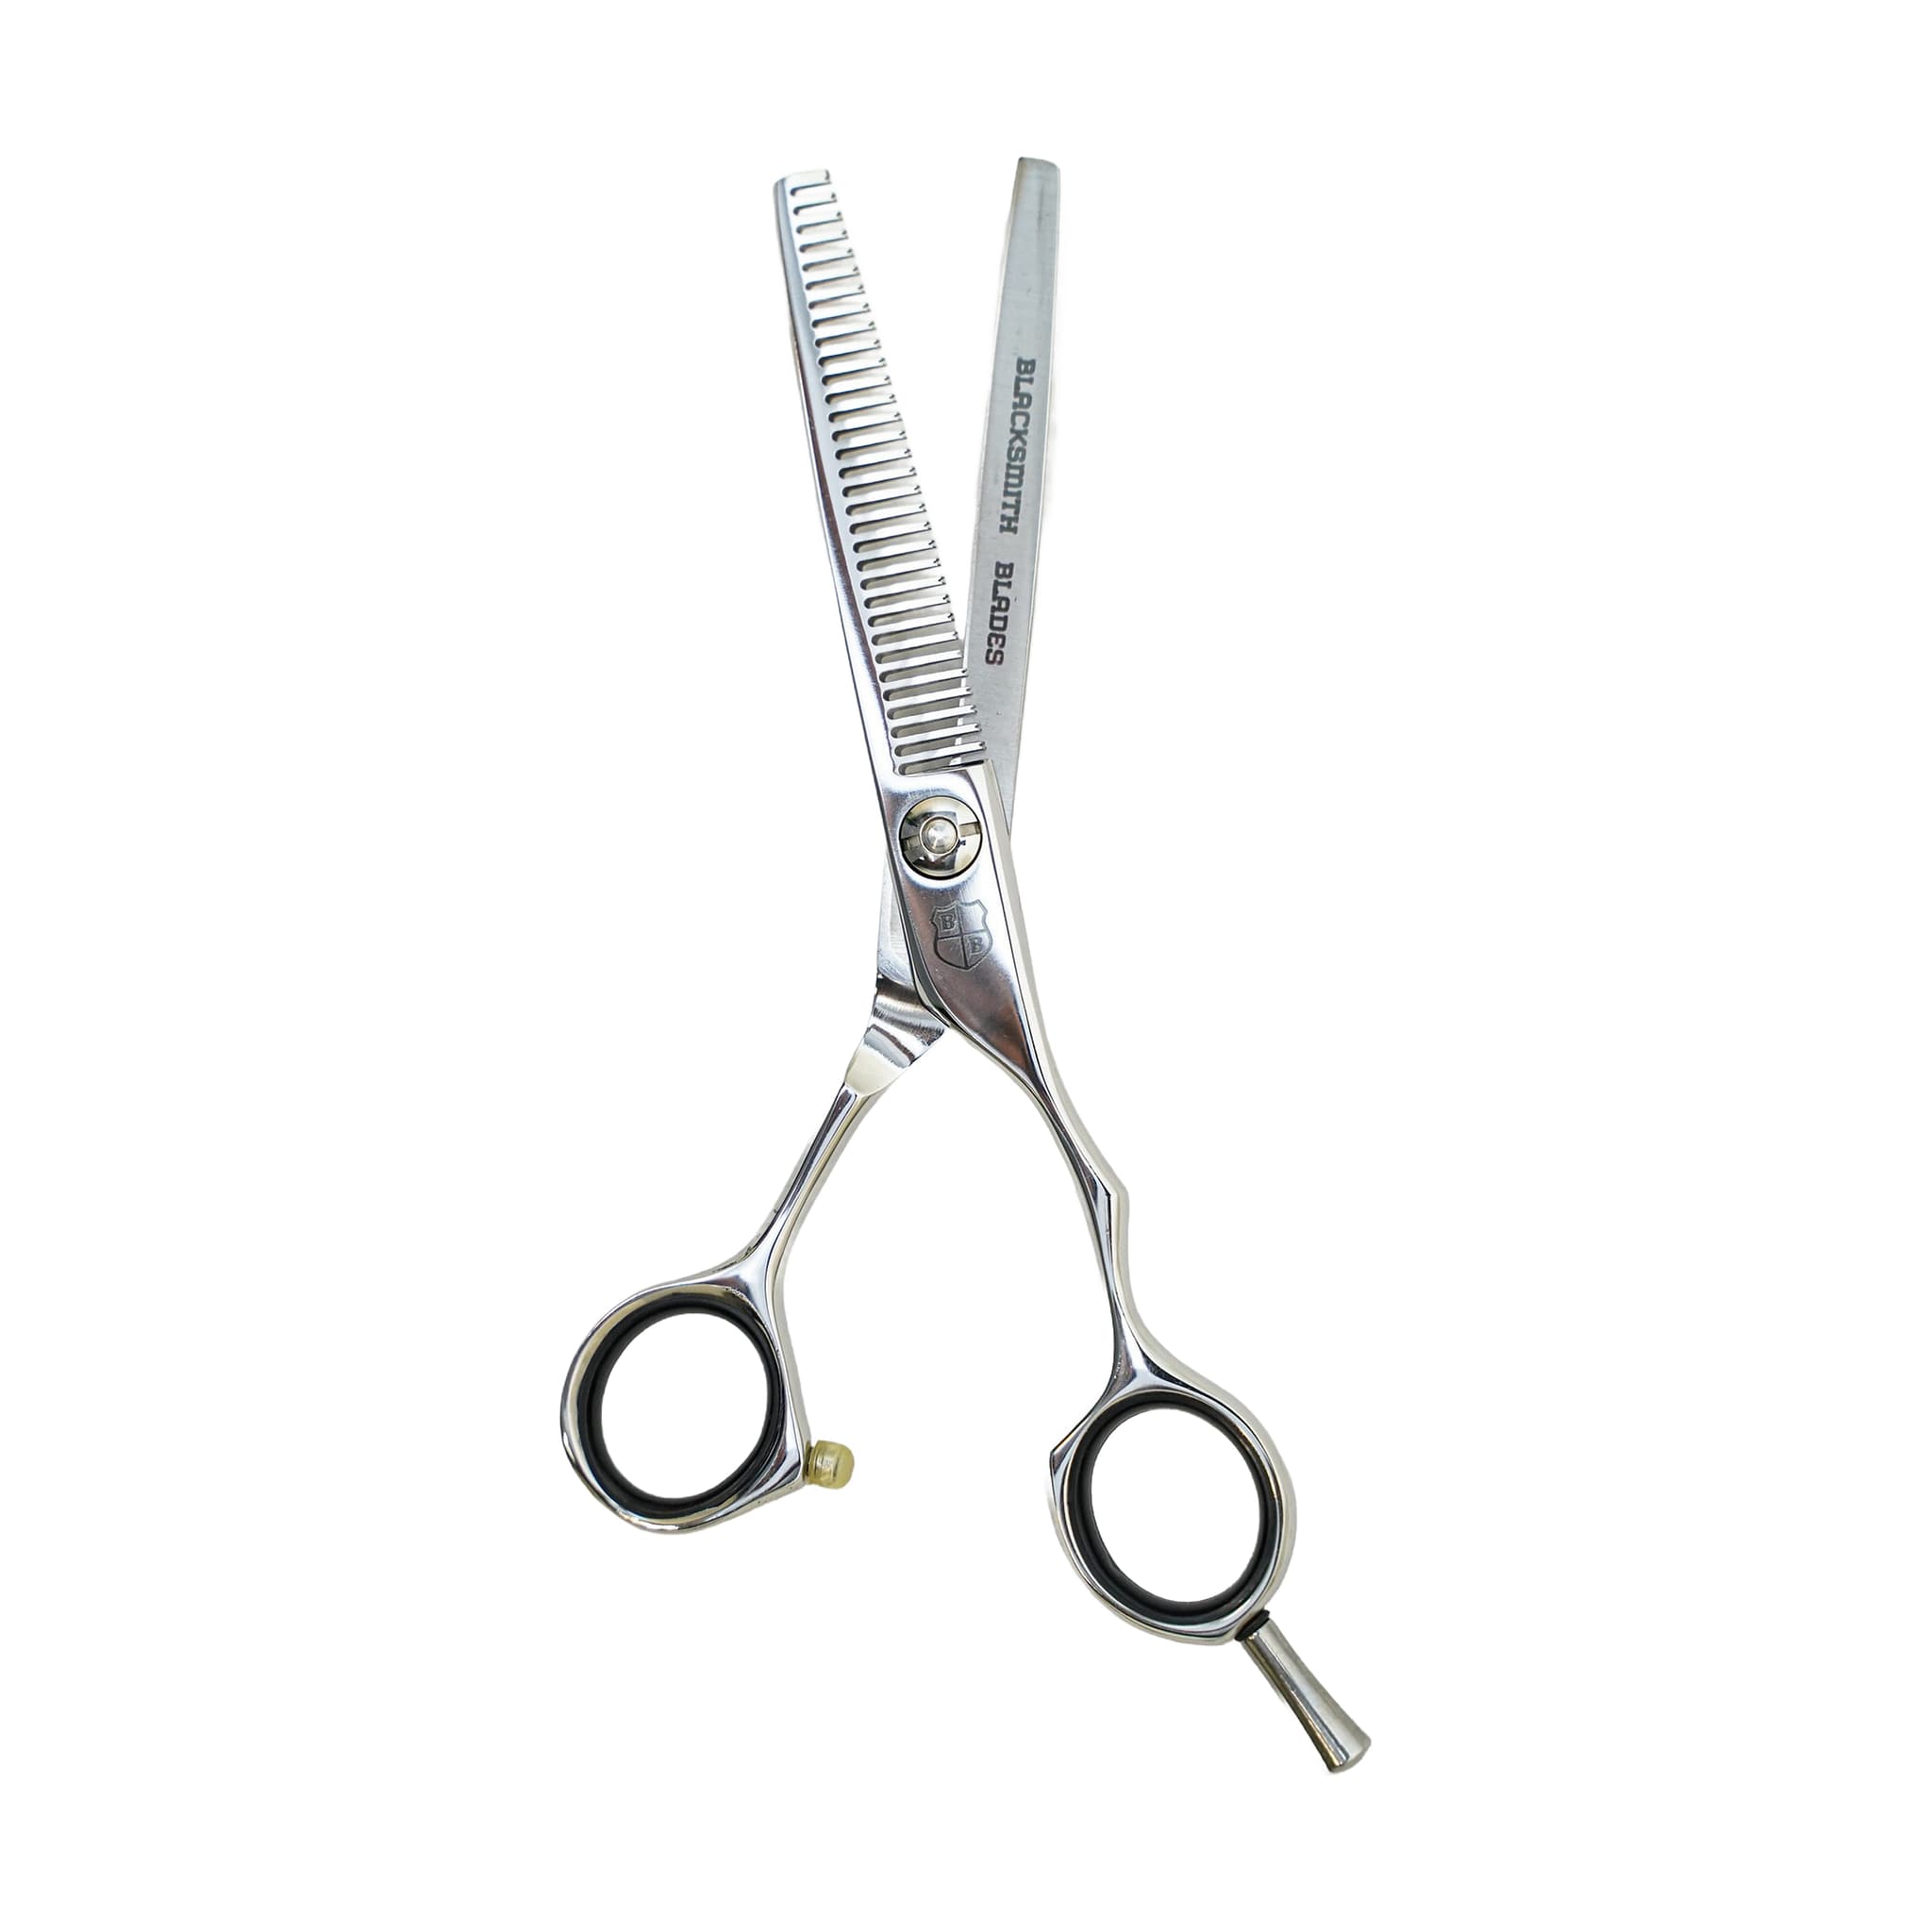
Meet the VG10 32T Thinning/Texturizing Shear- Polished
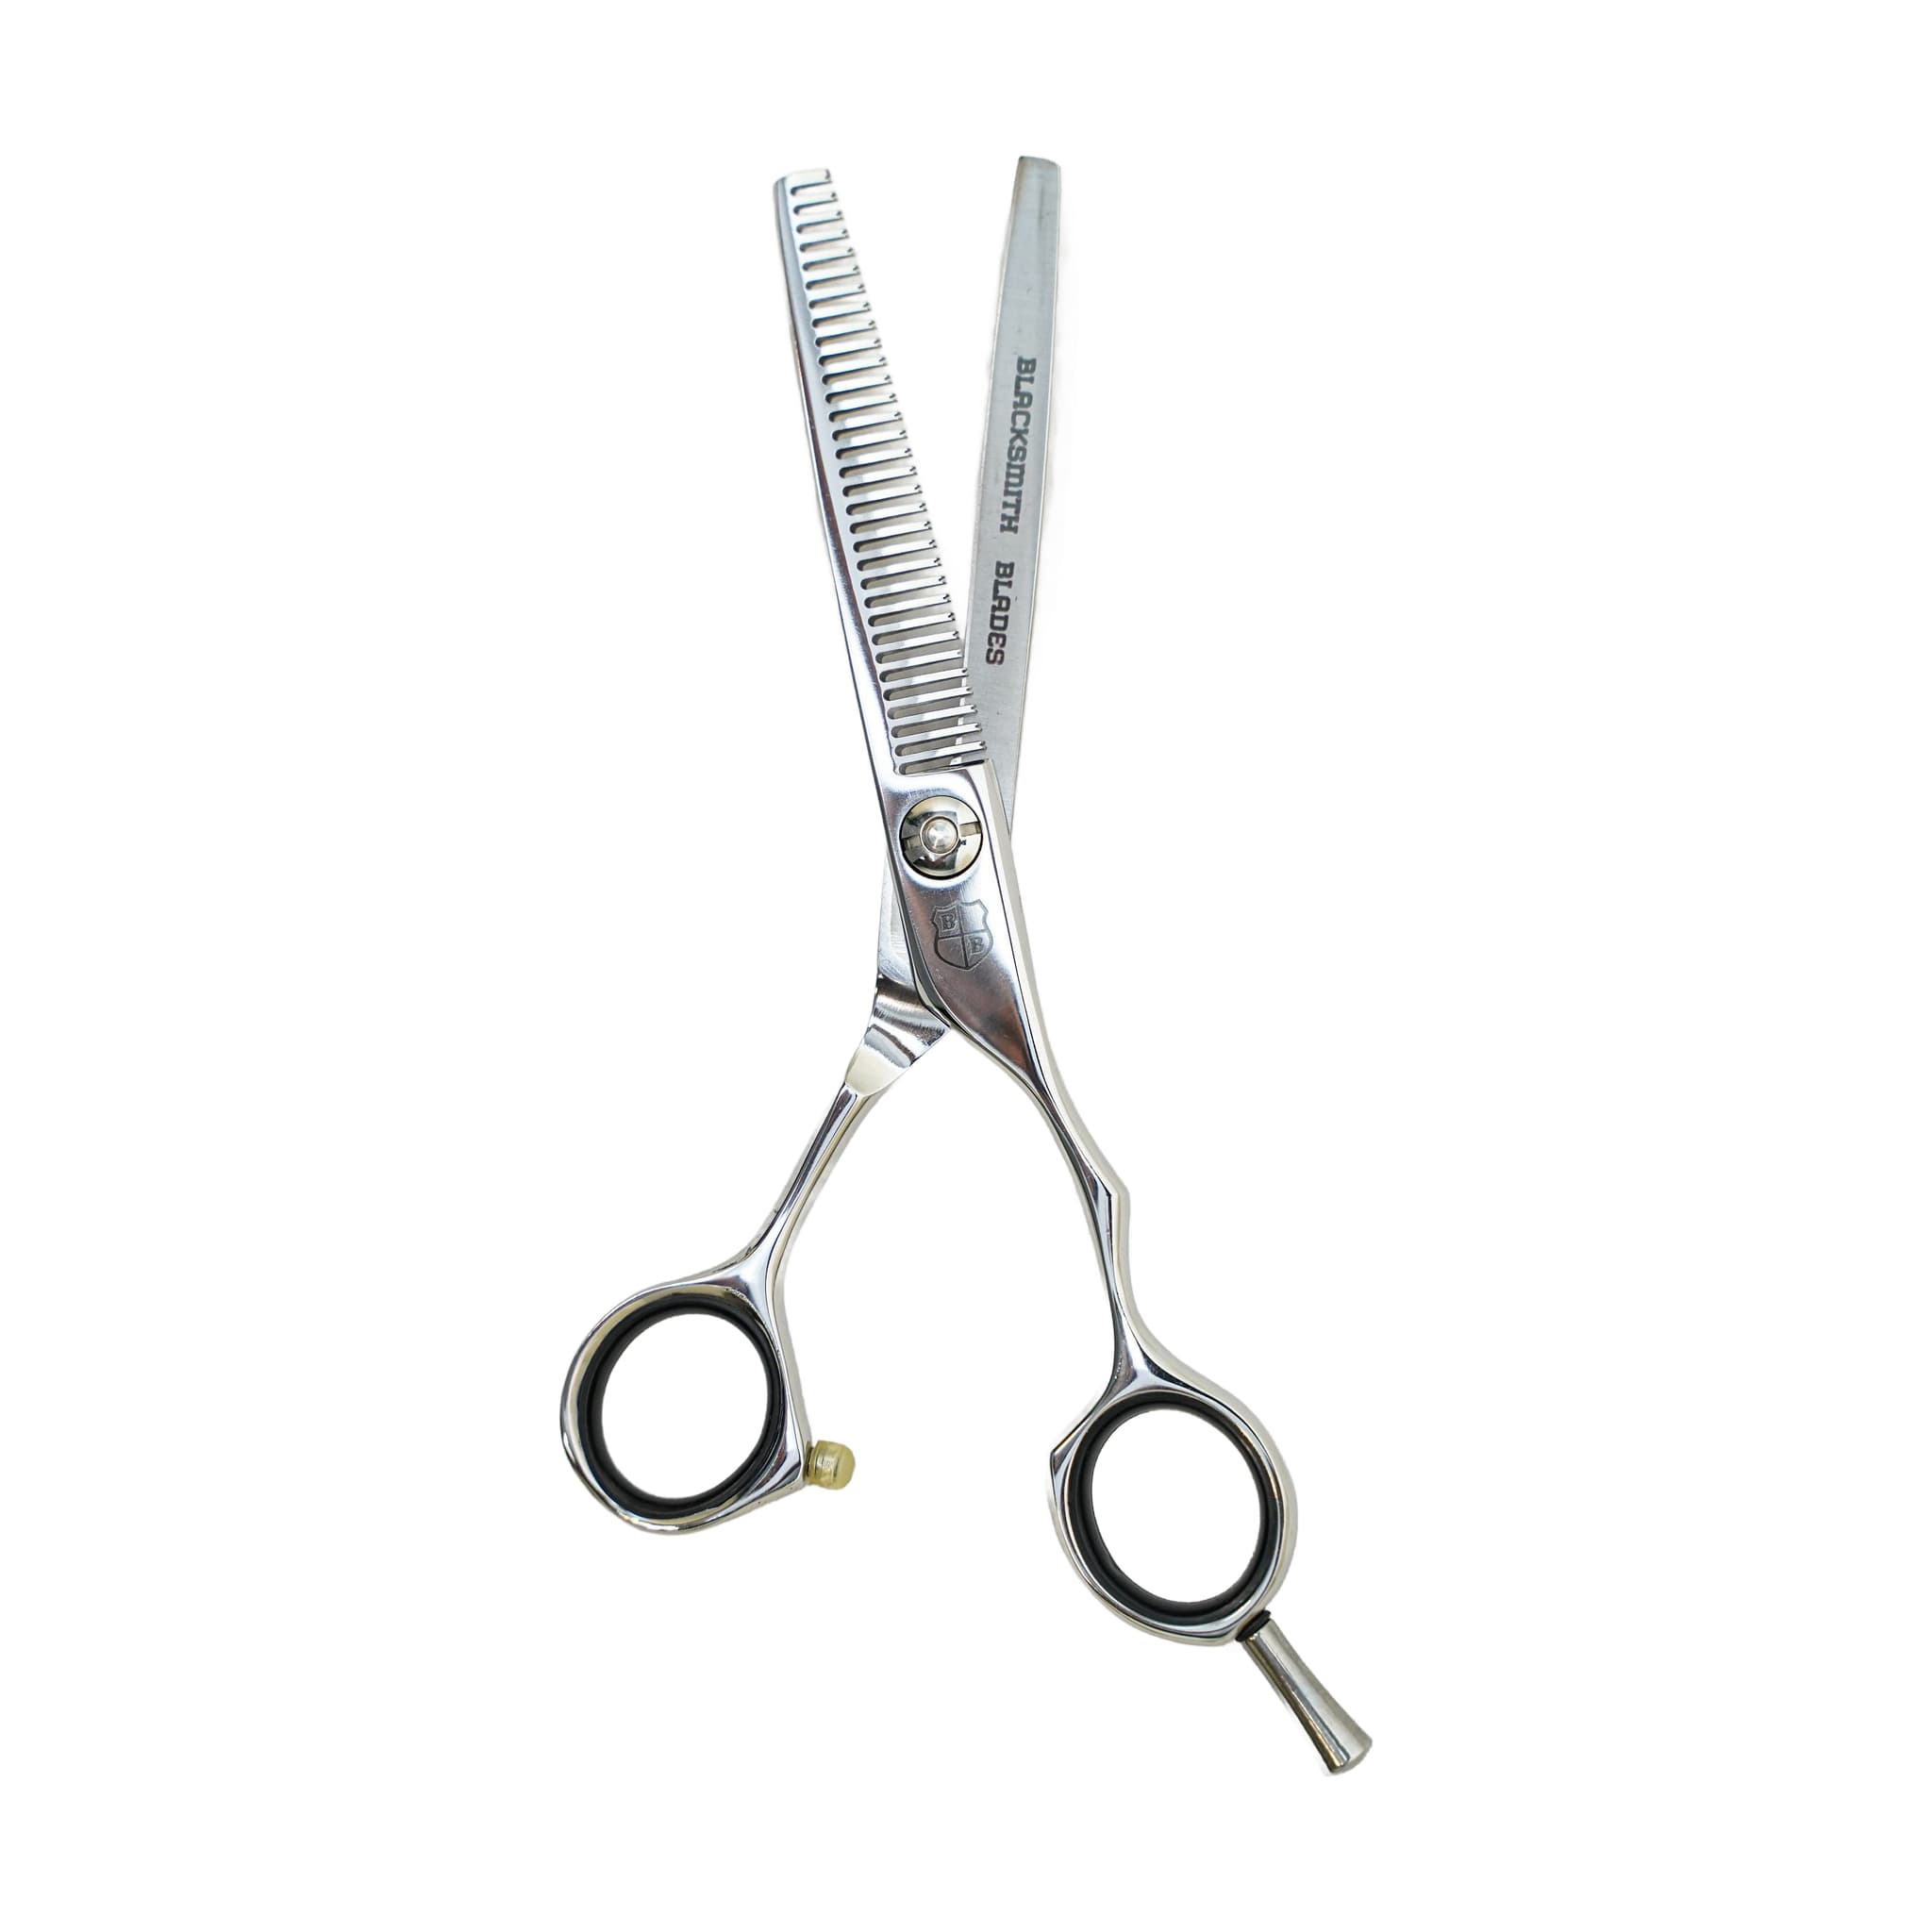
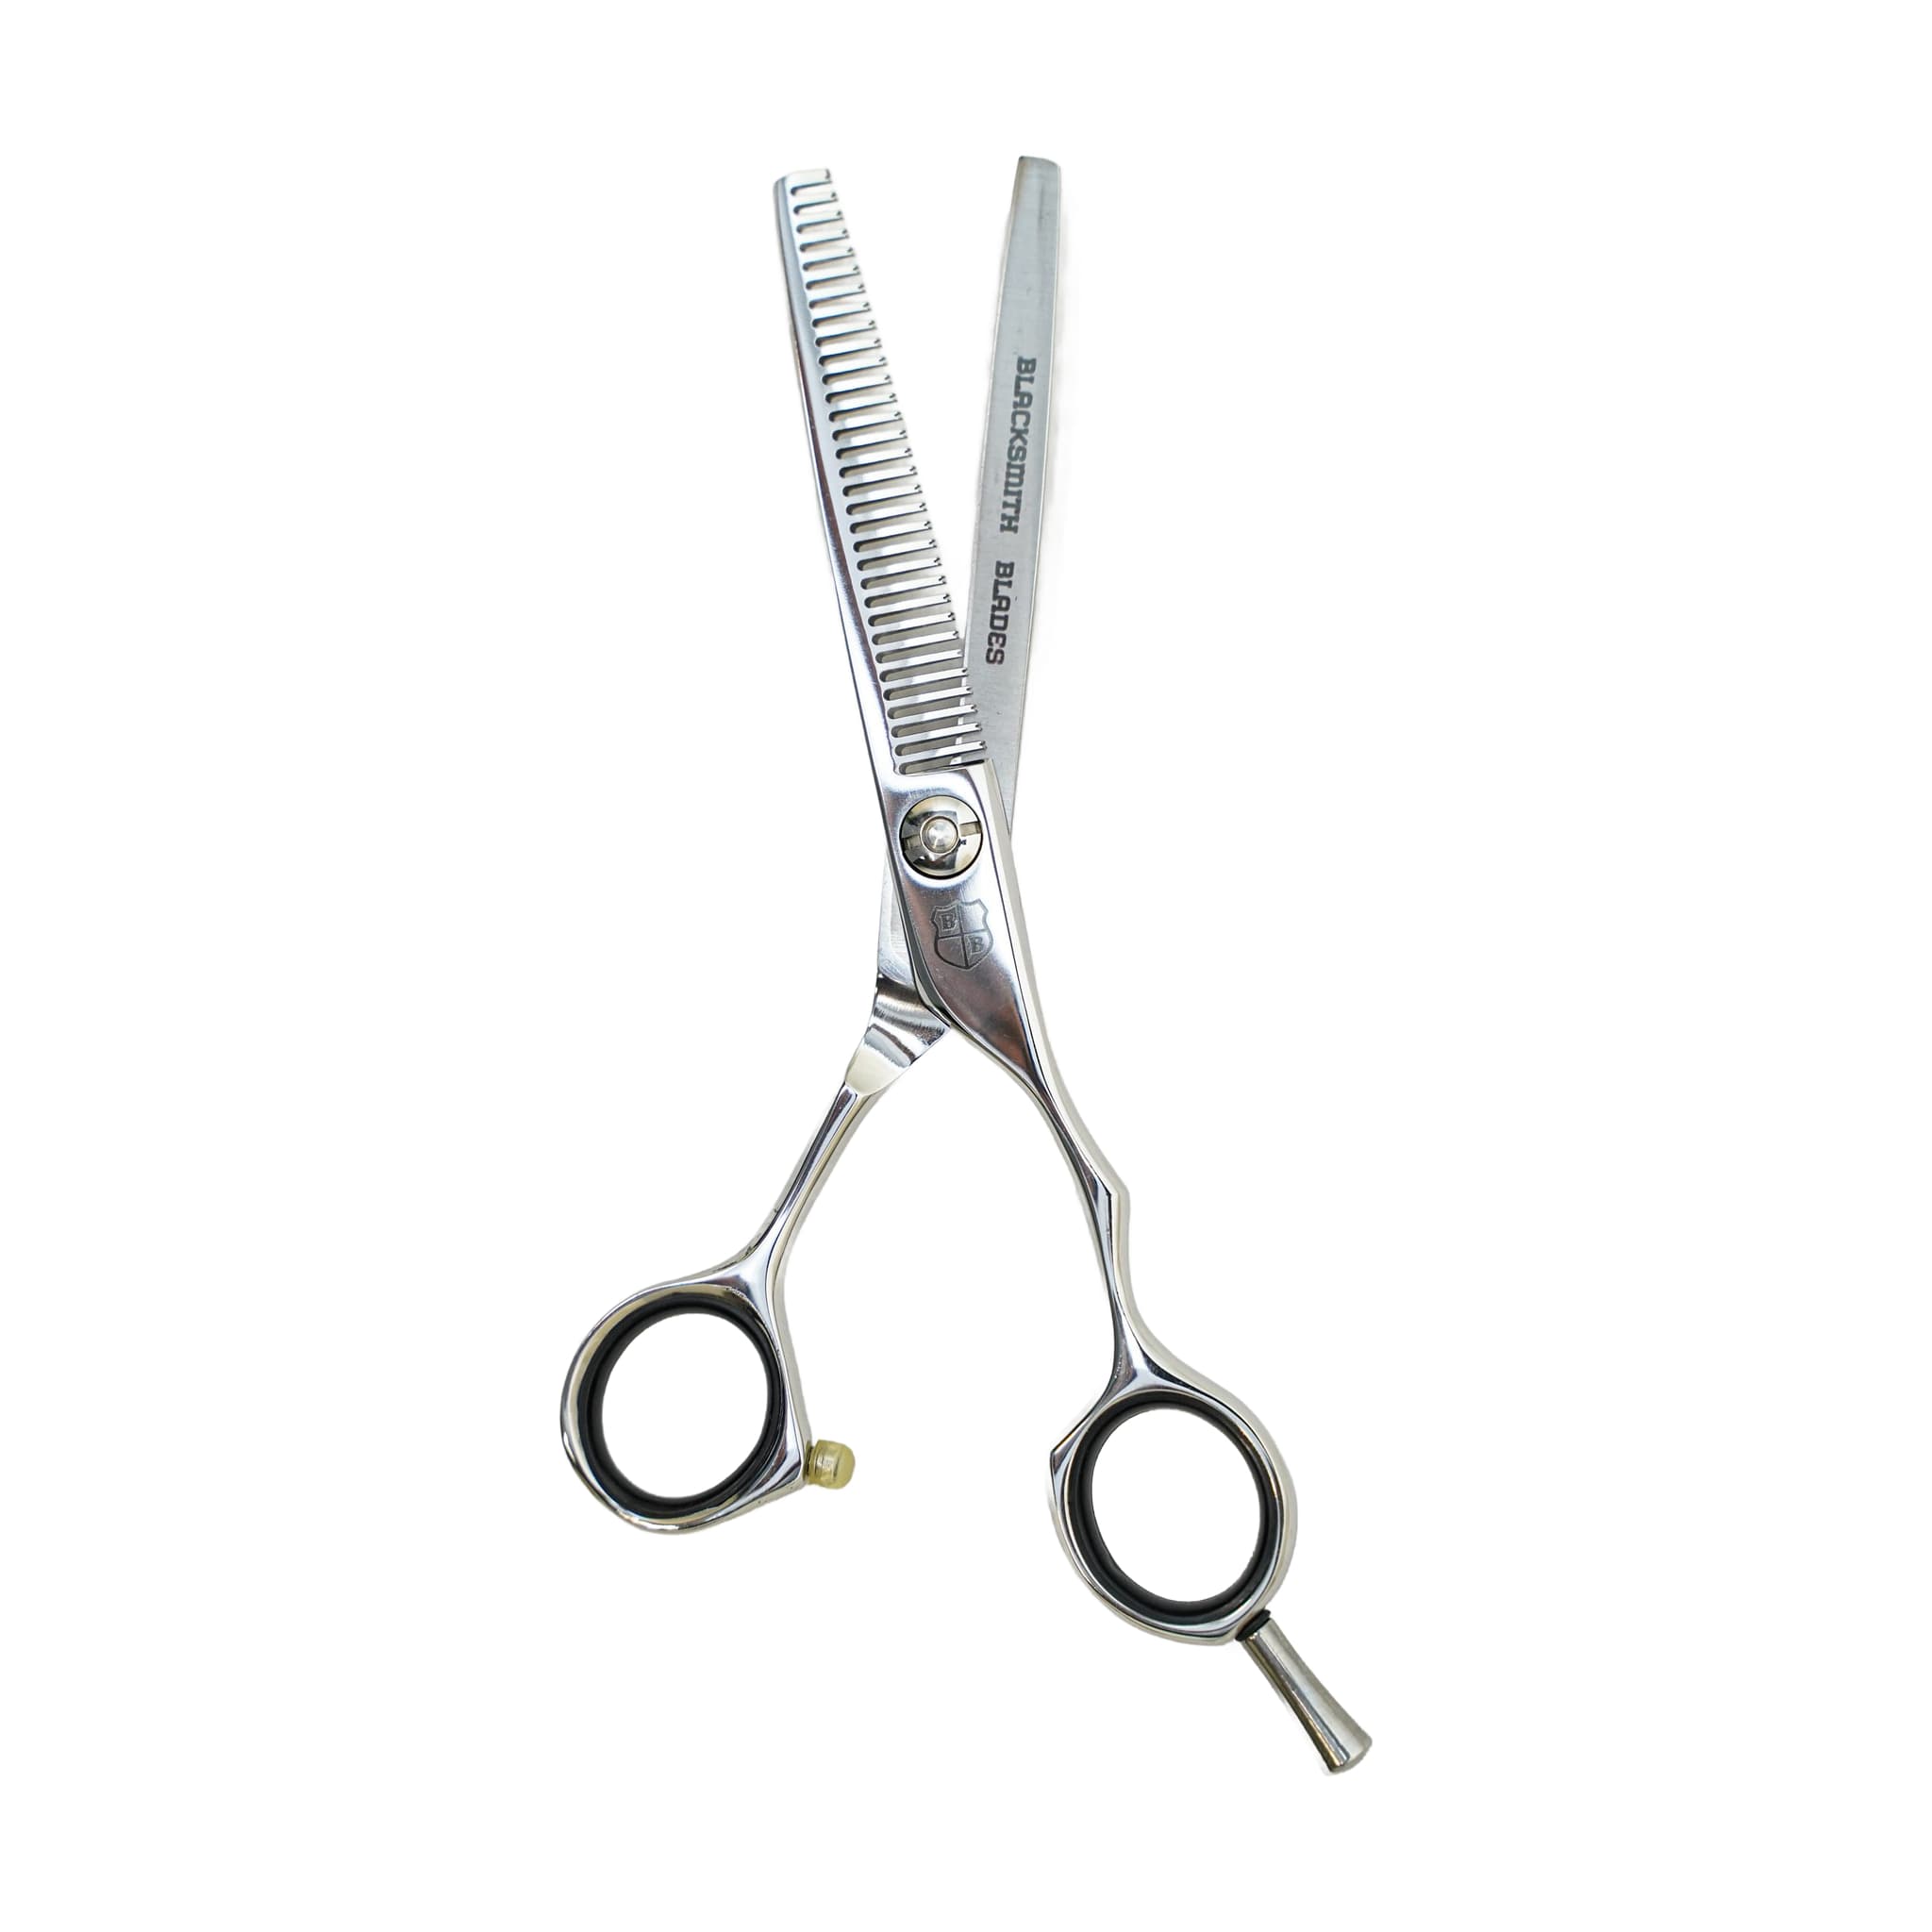
The VG10 32T Thinning/Texturizing Shear- Polished is the tool at the center of this guide. It is built from Japanese VG10 steel and hand honed, and it comes backed by a lifetime warranty. The shear features a ball bearing attachment system and a Teflon ride, described as preventing friction and wear. If you are looking for a 32-tooth thinning shear that combines controlled blending capability with a refined construction, this is the tool this lesson is built around.
Set Your Purpose Before You Cut
Before you pick up this shear, you need a clear reason to use it. Ask yourself whether you are trying to reduce density, soften a line, blend a transition, or create movement. Each of those goals calls for a different placement strategy, and some may call for a different tool entirely. If you cannot answer that question with confidence, set the shear down and evaluate the haircut first.
Random passes with a thinning shear may remove hair, but they rarely improve the shape. Texturizing cannot rescue a poorly built haircut — your job is to build the structure first and then refine the texture second. That order matters every time.
Understand What 32 Teeth Does
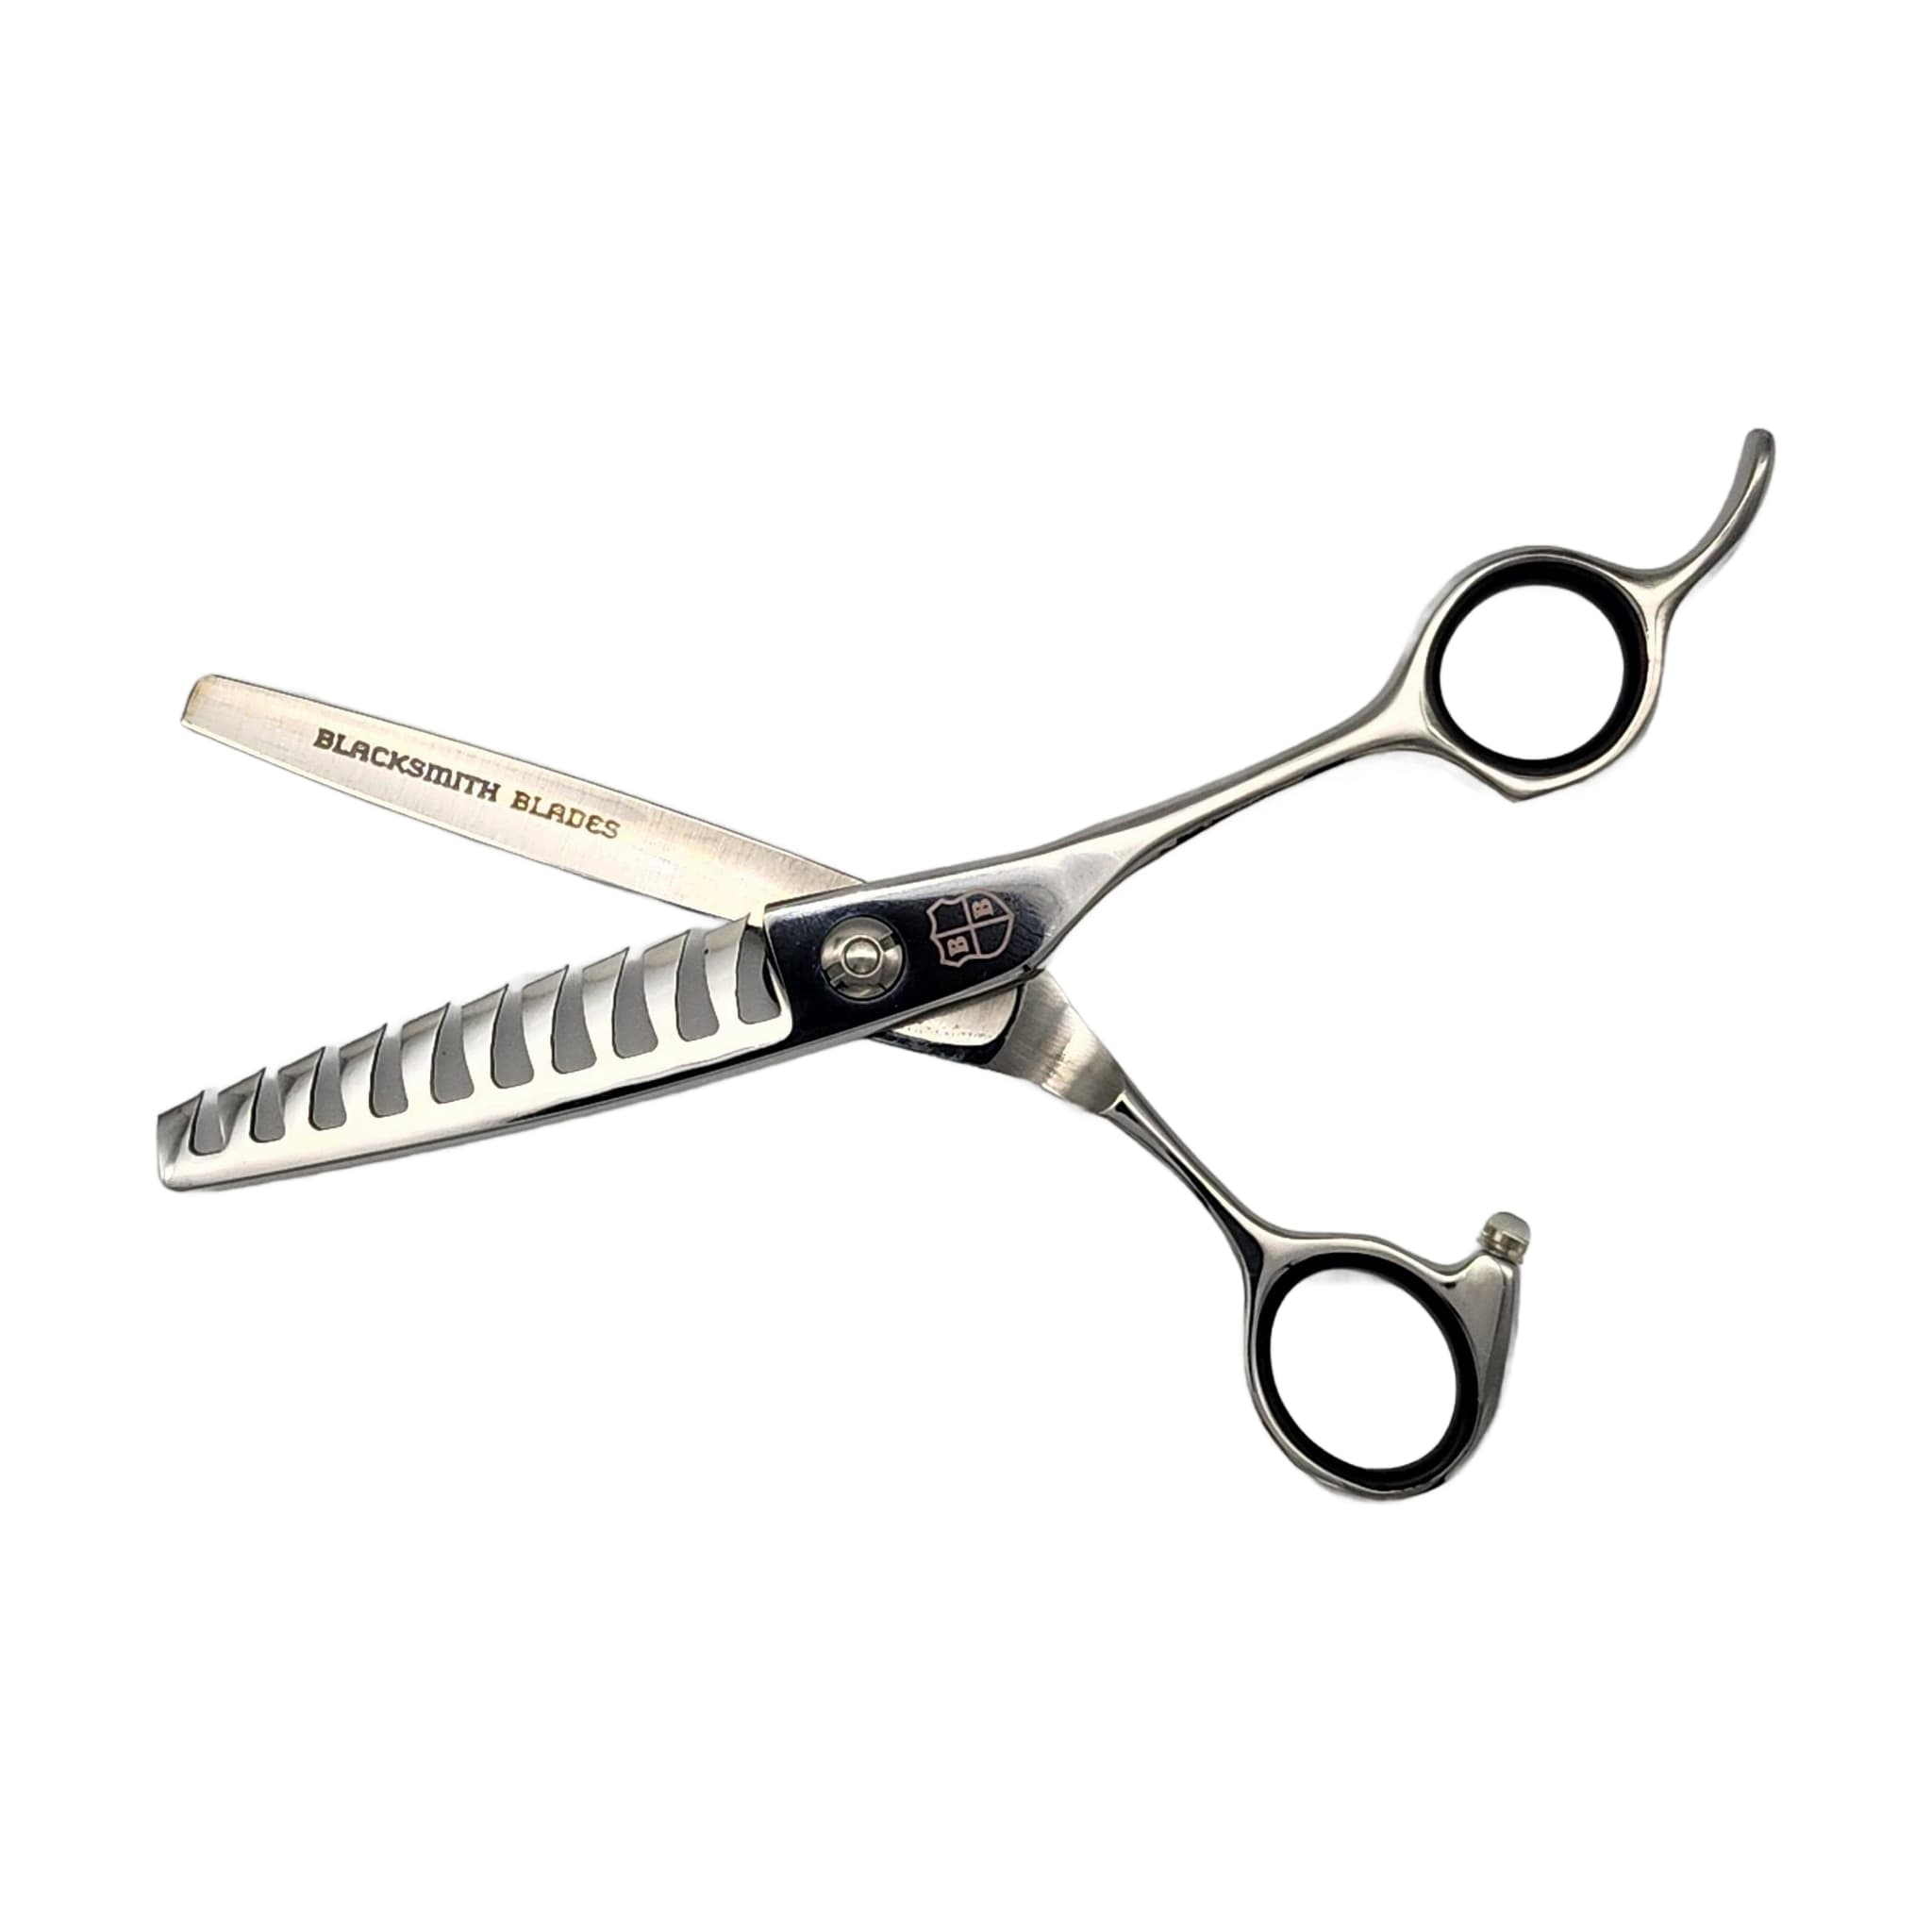
Tooth count directly shapes the result you get. A shear with more teeth removes less hair per closure and produces a softer, more gradual blend. A shear with fewer or wider teeth removes more hair and creates stronger, more visible texture. That is why a 32-tooth shear behaves very differently from a 10-tooth chunker — both tools have their place, but they should never be used the same way.
A 32T thinning shear is a practical, versatile starting point for controlled blending. When you need soft blending rather than aggressive texture removal, a higher tooth count is the right choice. Using a tool with too few teeth for subtle work can cause you to remove far more hair than you intended before you realize it.
Placement and Section Control
Before you make a single cut, step back and look at the haircut from a distance. Identify where the shape is carrying too much weight and, just as importantly, identify where the hair needs to stay strong. Removing weight without that assessment can weaken the perimeter, create frizz, or leave visible holes in the shape.
Work with clean sections. Clean sectioning gives you control and helps you avoid cutting the same area repeatedly without realizing it. After each pass, comb through the section and evaluate the shape before making another cut — hair can look quite different once it settles back into position. Professional texturizing is often slow and deliberate, not fast and instinctive.
The best thinning work is often invisible. Your client should see a better shape and softer movement — not obvious chunks missing from the haircut. If the result is visible, you have likely gone too far or placed the shear in the wrong spot.
Stay Away from the Scalp Unless You Have a Reason
One of the most common mistakes with thinning shears is cutting too close to the scalp. When you do that, you create short interior pieces that push hair outward or contribute to frizz. Most controlled thinning happens through the mid-lengths and selected weight areas — not randomly at the root zone.
There are advanced reasons to remove weight closer to the scalp, but those techniques require experience and a clear plan before you attempt them. On the other end, be equally careful near the ends of the hair — removing too much weight there can make the perimeter look thin or weak.
Adjust Your Technique for Hair Type
Not every client's hair responds the same way to a thinning shear, and your approach should shift accordingly.
- Fine hair: Use restraint. Fine hair can look thin very quickly, and removing too much weight from fragile ends can make the hair appear weaker rather than lighter.
- Curly hair: Place the shear carefully. Short interior pieces created by thinning can expand as the curl pattern reasserts itself, leading to frizz that is difficult to correct.
- Thick or dense hair: This hair type may tolerate stronger texture work, but you should still move through it in controlled passes rather than making aggressive cuts all at once.
Good stylists adapt the tool to the hair in front of them. They do not apply the same thinning pattern to every client. Sometimes the right answer is a cleaner cut or a treatment plan rather than more passes with the thinning shear.
Avoid Over-Thinning
Over-thinning is one of the most common errors in texture work, and it usually happens when a stylist tries to fix bulk without addressing the underlying structure. If the shape is wrong, the answer is rarely more thinning — it is often a stronger layer, a different sectioning pattern, or a cleaner baseline cut.
Use this shear as a refinement tool, not a substitute for the haircut itself. Fix the shape first, then refine the texture. Fine hair, curly hair, and damaged hair all require extra restraint because mistakes show up more clearly on those textures.
A simple self-check: if your client can see chunks, holes, or weak ends in the finished result, the shear was probably overused. The goal is movement and balance, not maximum hair removal.
Care and Maintenance for the VG10 32T Shear
Thinning and texturizing shears collect hair and product residue between the teeth during normal use. If that buildup is left unaddressed, the shear can start to drag or feel inconsistent. Cleaning between uses is especially important for this type of tool because there are more surfaces where debris can accumulate.
- Oil the pivot regularly to keep the action smooth and consistent.
- Store the shear where the teeth cannot be knocked or damaged.
- Inspect the teeth periodically — a nicked tooth can change the way the tool performs and may cause pulling during use.
- When the shear starts to snag, pull, or feel rough, bring it to a professional sharpener. These tools require careful service because the teeth and the cutting edge must work together.
Related resources
Sources
- How to Use Texturizing and Thinning Shears Like a Professional - Blacksmith Blades
- Mastering the Art of Texturizing and Thinning Shears - Blacksmith Blades
- VG10 32T Thinning/Texturizing Shear- Polished - Blacksmith Blades