September 25, 2026/5 min read
How to Use the VG10 10T Thinning/Texturizing/Chunker Shear- Polished: Technique, Placement, and Care
The VG10 10T Chunker is built for pronounced texturizing, not fine blending. Here is how to use it with purpose, controlled placement, and a simple daily care routine.
What the VG10 10T Thinning/Texturizing/Chunker Shear- Polished Is Built For
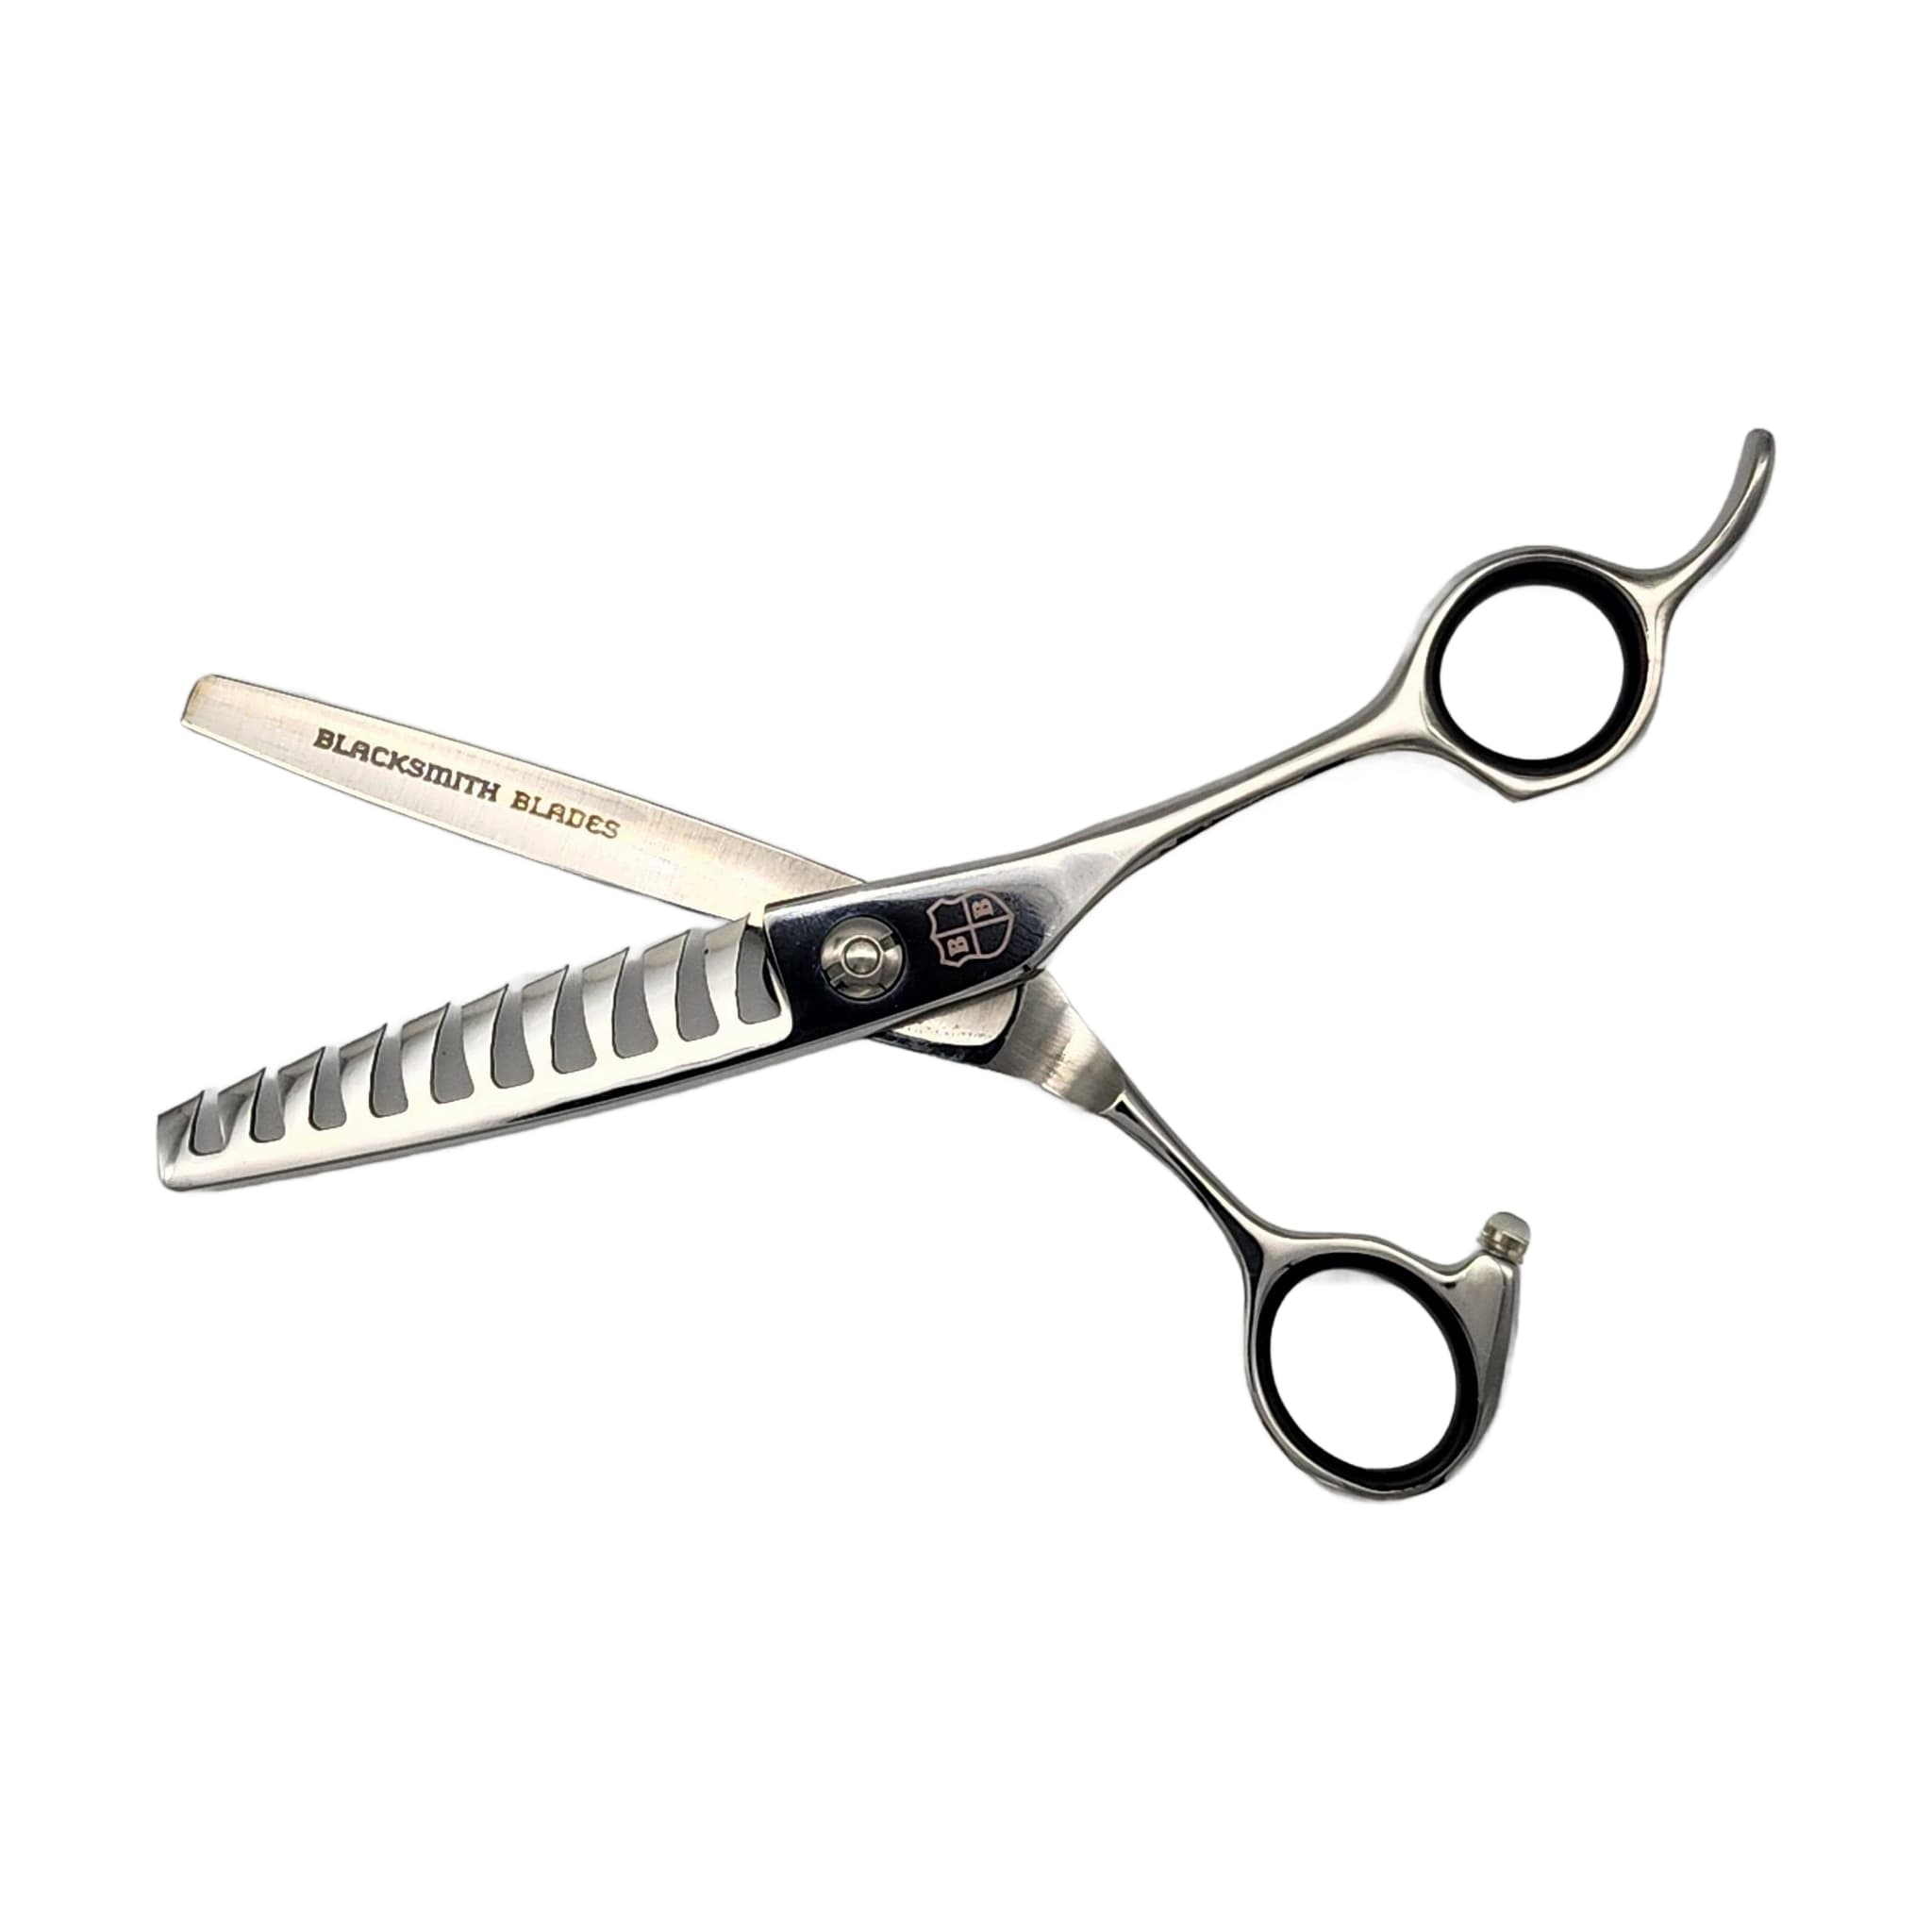
This guide centers on one tool: the VG10 10T Thinning/Texturizing/Chunker Shear- Polished. Its 10-tooth pattern is designed for more pronounced texturizing and chunking rather than the soft blending you get from a higher-tooth-count shear. If your goal is deliberate weight removal and visible separation, this is the tool built for that work.
The shear is made from Japanese VG10 steel and hand honed. It includes a ball-bearing attachment system and a Teflon ride. It comes backed with a lifetime warranty and is available in handle configurations to suit your grip preference.
Define Your Purpose Before the Blade Closes
Before you reach for this shear, identify exactly what you need to accomplish. Ask yourself whether your goal is to reduce density, soften a line, blend a transition, or create movement. Each of those goals calls for different placement — and sometimes a different tool entirely. A 10-tooth chunker is not a fine-blending instrument, and picking it up without a clear reason increases the risk of removing more than you intended.
If your purpose is unclear, set the shear down and step back before cutting more. Look at the haircut from a distance and consider where the shape needs work and where the hair should stay full. Removing weight without a plan can weaken the perimeter, create frizz, or leave visible holes. When the thinning work is done well, the client notices a better shape and softer movement rather than obvious gaps in the cut.
What a Lower Tooth Count Means for Your Results
Your tooth count directly shapes the character of the cut. A lower-tooth-count chunker like this one creates stronger separation and removes more hair per pass than a higher-tooth-count thinning shear. That is its purpose — but it also means your margin for error is smaller. Using a chunker when a softer blending tool is what the haircut needs can lead to working too hard or removing too much too quickly.
The standard for professional texture is restraint. The best results often look like very little was done. If your client can see chunks, holes, or weak ends after you finish, the tool was likely overused. With a lower-tooth-count shear, that threshold arrives faster than it does with a higher-tooth-count blending tool, so your discipline with each pass matters more.
Placement, Section Control and Scalp Proximity
Clean sectioning is your primary control mechanism with this shear. Working in organized sections keeps you from revisiting the same area without realizing it. After each pass, comb through and assess the shape before you make another cut — hair can look different once it settles back into position. Professional texturizing is often slow and deliberate; your goal is movement and balance, not maximum hair removal.
Work in small sections and comb through before another pass, because tooth count, hair density, and technique all affect the result. Controlled thinning generally happens through mid-lengths and selected weight areas rather than at the root.
Cutting too close to the scalp with a thinning shear can produce short interior pieces that contribute to frizz or push hair outward. Working closer to the root requires experience and a deliberate plan. When you're learning this tool or working with a new client, keep your placement in the mid-lengths until you understand how the hair responds.
Adapting Your Technique for Different Hair Types
Your approach should shift based on what is in front of you. A lower-tooth-count chunker amplifies the consequences of misplaced cuts, so reading the hair before each pass is especially important.
- Fine hair: Use significant restraint. Fine hair can look thin quickly, and removing too much weight from fragile ends can make the hair look weaker. Fewer passes and careful placement are your safeguards.
- Curly hair: Place cuts deliberately. Short interior pieces created by a chunker can expand and create frizz, so think carefully about where each pass lands before you close the blade.
- Thick, dense hair: This hair type may tolerate stronger texture, but even then you should work in controlled passes. Do not assume density means you can cut freely — the same discipline applies.
Good stylists adapt the tool to the hair type rather than applying the same thinning pattern to every client. Sometimes the better answer is a cleaner cut rather than more thinning, regardless of which shear you're holding.
Daily Care After Every Session: Wipe, Oil and Store
Thinning and texturizing shears collect hair and product between the teeth more than straight cutting shears do. When that buildup accumulates, the shear can begin to drag or feel inconsistent during use. Cleaning between sessions is especially important for a tool like this one.
- Wipe the blades clean after each session. Hair, product, moisture, and disinfectant residue can collect around the blades and pivot. Wiping down after use protects the finish and helps the blades move smoothly.
- Oil the pivot with a small amount of shear oil, then open and close the shear to work the oil through. This helps the blades move cleanly, reduces unnecessary friction, and makes tension checks more accurate.
- Store the shear in a case or protected holder so the teeth cannot be damaged. Contact with a drawer edge, counter surface, or a dropped tool can alter how the shear cuts — and a nicked tooth may cause pulling.
- Use this shear only on hair. Paper, tags, thread, and packaging can dull or damage the edge quickly.
When you're checking tension, oil the pivot first before judging the final feel. If the shear starts to snag, pull, or feel rough, and tension adjustment does not resolve the issue, send it for professional sharpening. The teeth and cutting edge on a thinning shear must work together, so these tools call for careful service.
Related resources
Sources
- Adjusting Shear Tension - Blacksmith Blades
- Daily Shear Care and Storage - Blacksmith Blades
- How to Use Texturizing and Thinning Shears Like a Professional - Blacksmith Blades
- VG10 10T Thinning/Texturizing/Chunker Shear- Polished - Blacksmith Blades