November 17, 2026/3 min read
Texturizing Curly Hair: A Pre-Cut Check for Your 9CR Kit with 32T Thinner
Before you pick up a thinner on curly hair, name your goal, match it to the right tool in the 3 Piece Haircutting Kit - 9CR with 32T, place weight removal carefully, and check every pass.
Name your texturizing goal before you reach for a tool
Start by deciding what the texturizing is for on this particular haircut. You might be reducing density, softening a line, blending a transition, or creating movement. Each goal asks for its own placement, and some goals call for a different tool, so settle the goal first.
If your only reason is that the hair feels heavy, hold off on the thinner. When you can't state a clear purpose, step back and evaluate the haircut as a whole first. Texturizing also can't rescue a poorly built shape, so finish building the shape before you texturize.
Match the goal to what is in your kit
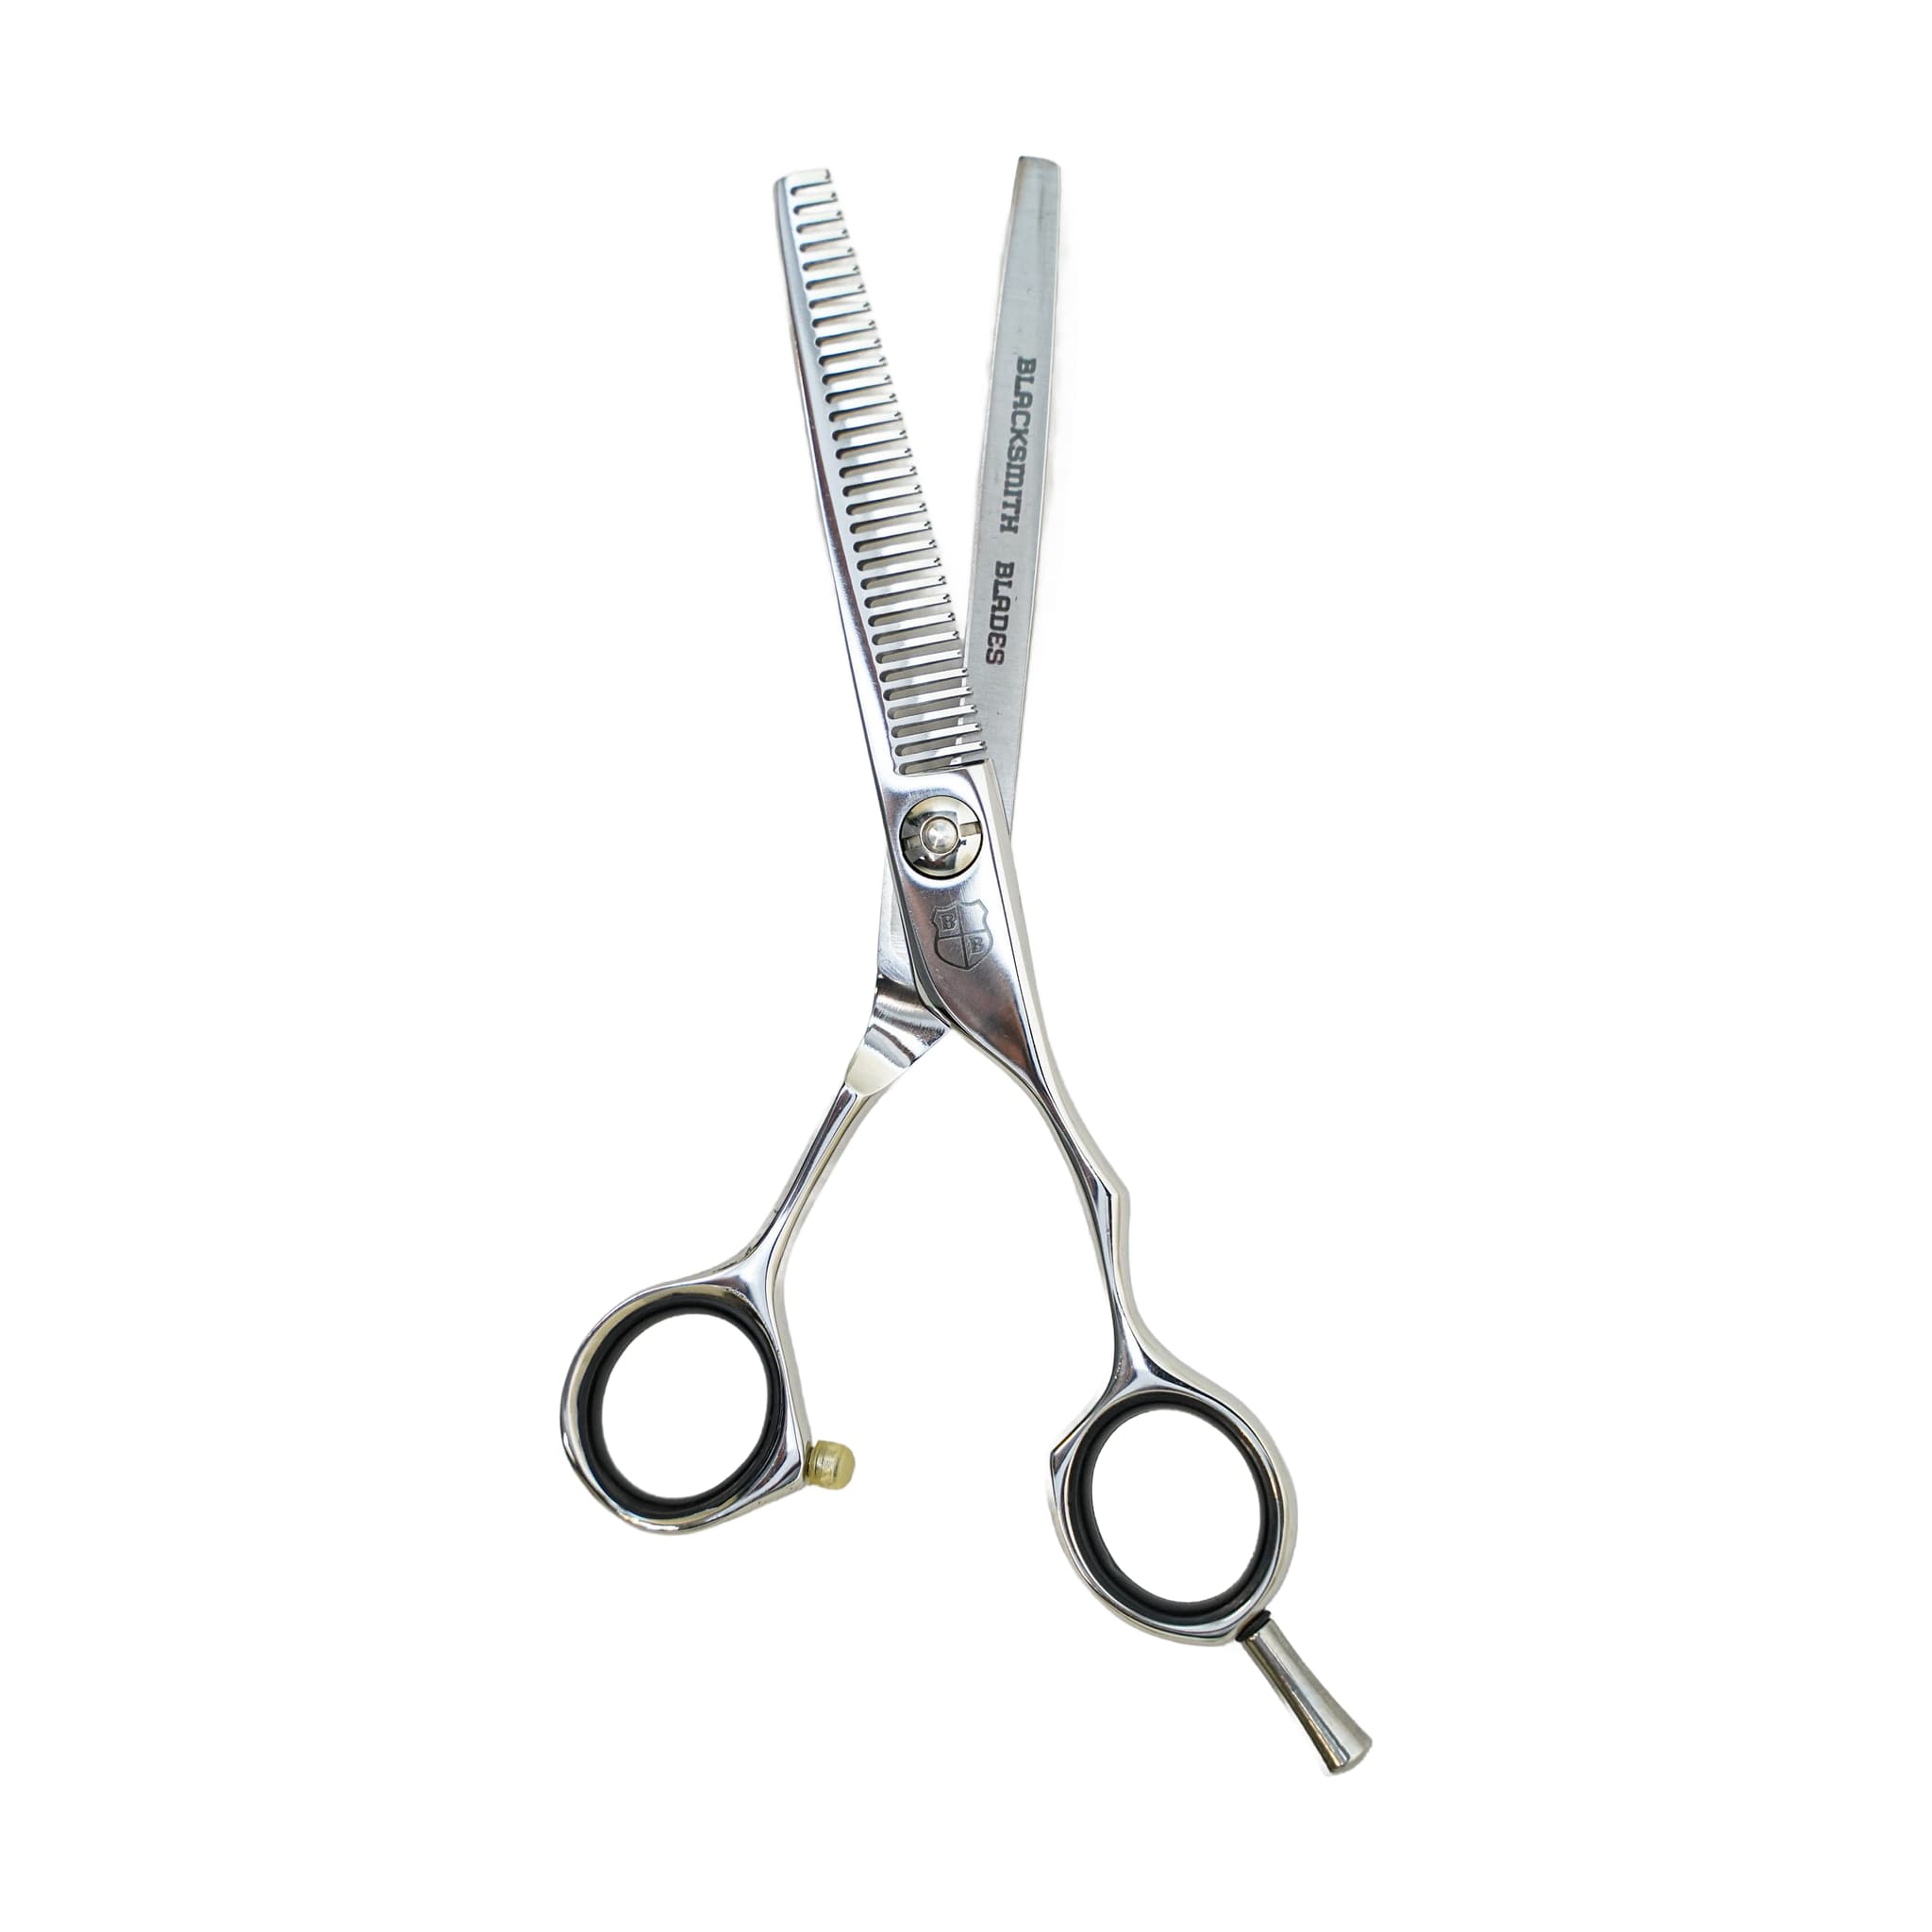
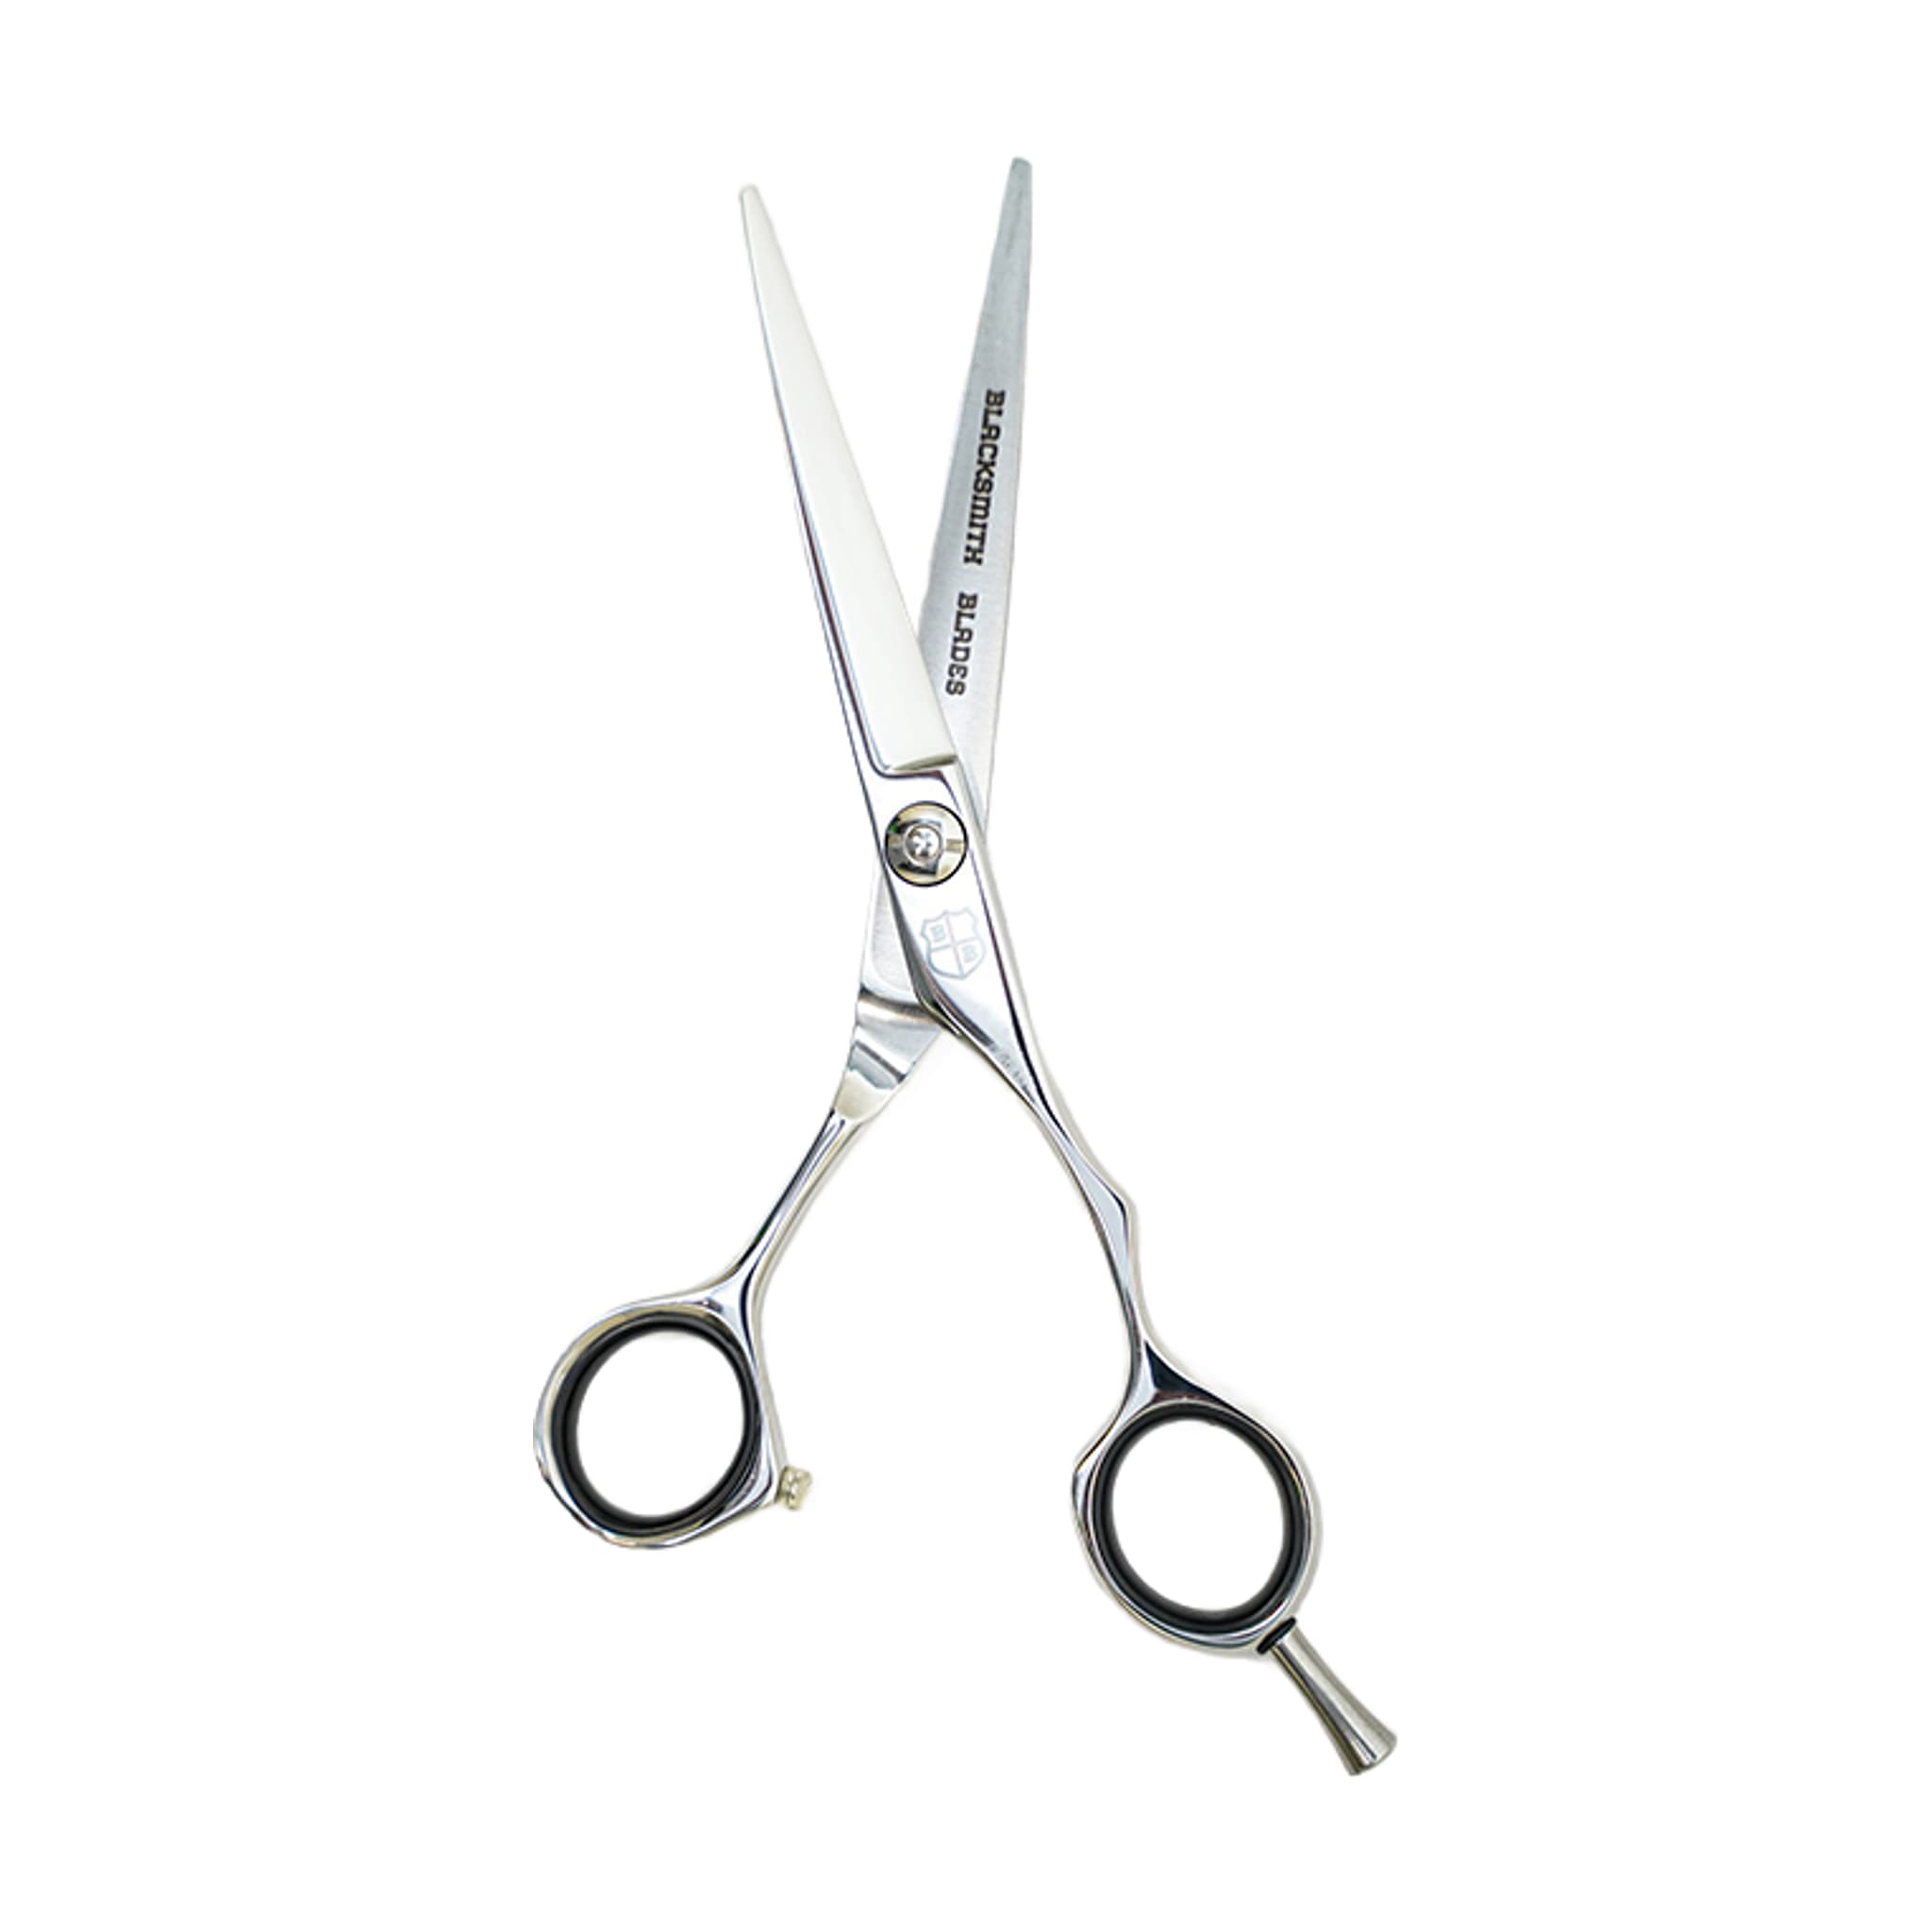
The 3 Piece Haircutting Kit - 9CR with 32T includes a 9CR cutting shear, a 32T thinning shear, a hand/feather razor and a shear wallet. You can choose the cutting shear in 5.75, 6.5 or 7 inch lengths, with a left or right handle. Together the kit covers cutting, blending and texturizing.
- The cutting shear is the kit tool that establishes the shape.
- The 32T thinning shear helps soften a heavy line.
- The hand/feather razor offers a different texturizing technique from the thinner.
Tooth count helps you judge how strong the effect will be. More teeth give a softer blend, while fewer teeth remove more hair and leave stronger texture. The 32T is described as a versatile blending option, and a 10T chunker is the more aggressive choice. Match the tooth count to your technique and to the client's hair type.
Place weight removal carefully on curly hair
Curly hair calls for careful placement of thinning cuts, because short interior pieces can expand and create frizz. Cutting too close to the scalp with a thinner is described as one of the most common mistakes. Working closer to the scalp is a job for experienced stylists who have a clear plan.
Controlled thinning mostly happens through the mid-lengths and in selected weight areas, not randomly at the root. To find those areas, look at the haircut from a distance. Mark out the heavy spots and the areas that need to stay strong. Candidate zones include the interior, a bulky transition, or a dense area that needs movement.
Removing weight without a plan can weaken the perimeter, cause frizz or leave visible holes. Keep in mind that your thinning pattern shouldn't be identical for every client, so adapt your tool choice to the hair in front of you.
Check each pass and know when to stop
- Work in clean sections.
- Comb through after every pass.
- Judge the shape before you make the next cut, since hair can look different once it settles.
- Use fewer cuts, comb through often, and stop as soon as the shape improves.
Visible chunks, holes or weak ends suggest the thinner was probably overused. Dense hair may need stronger weight removal, but you should still work in controlled passes. If the ends look fragile, removing more weight can sometimes make them look weaker, and a cleaner cut or a treatment plan may serve you better than more thinning.
Put the check to work with your kit
Before your next curly cut, run through the check: name your goal, confirm the shape is built, choose the kit tool that fits, place weight removal in the mid-lengths and selected heavy areas, and comb through after each pass. You can view the 3 Piece Haircutting Kit - 9CR with 32T to see the kit's contents and handle and length options.
Related resources
Sources
- 3 Piece Haircutting Kit - 9CR with 32T - Blacksmith Blades
- Different Types of Haircutting Shears and How to Choose the Right Pair - Blacksmith Blades
- How to Use Texturizing and Thinning Shears Like a Professional - Blacksmith Blades