August 22, 2026/5 min read
How to Use the 6CR 32T Professional Thinning Shear: A Step-by-Step Guide
Learn how to get the most from the 6CR 32T Professional Thinning Shear with step-by-step technique guidance covering placement, hair types, common mistakes, and care.
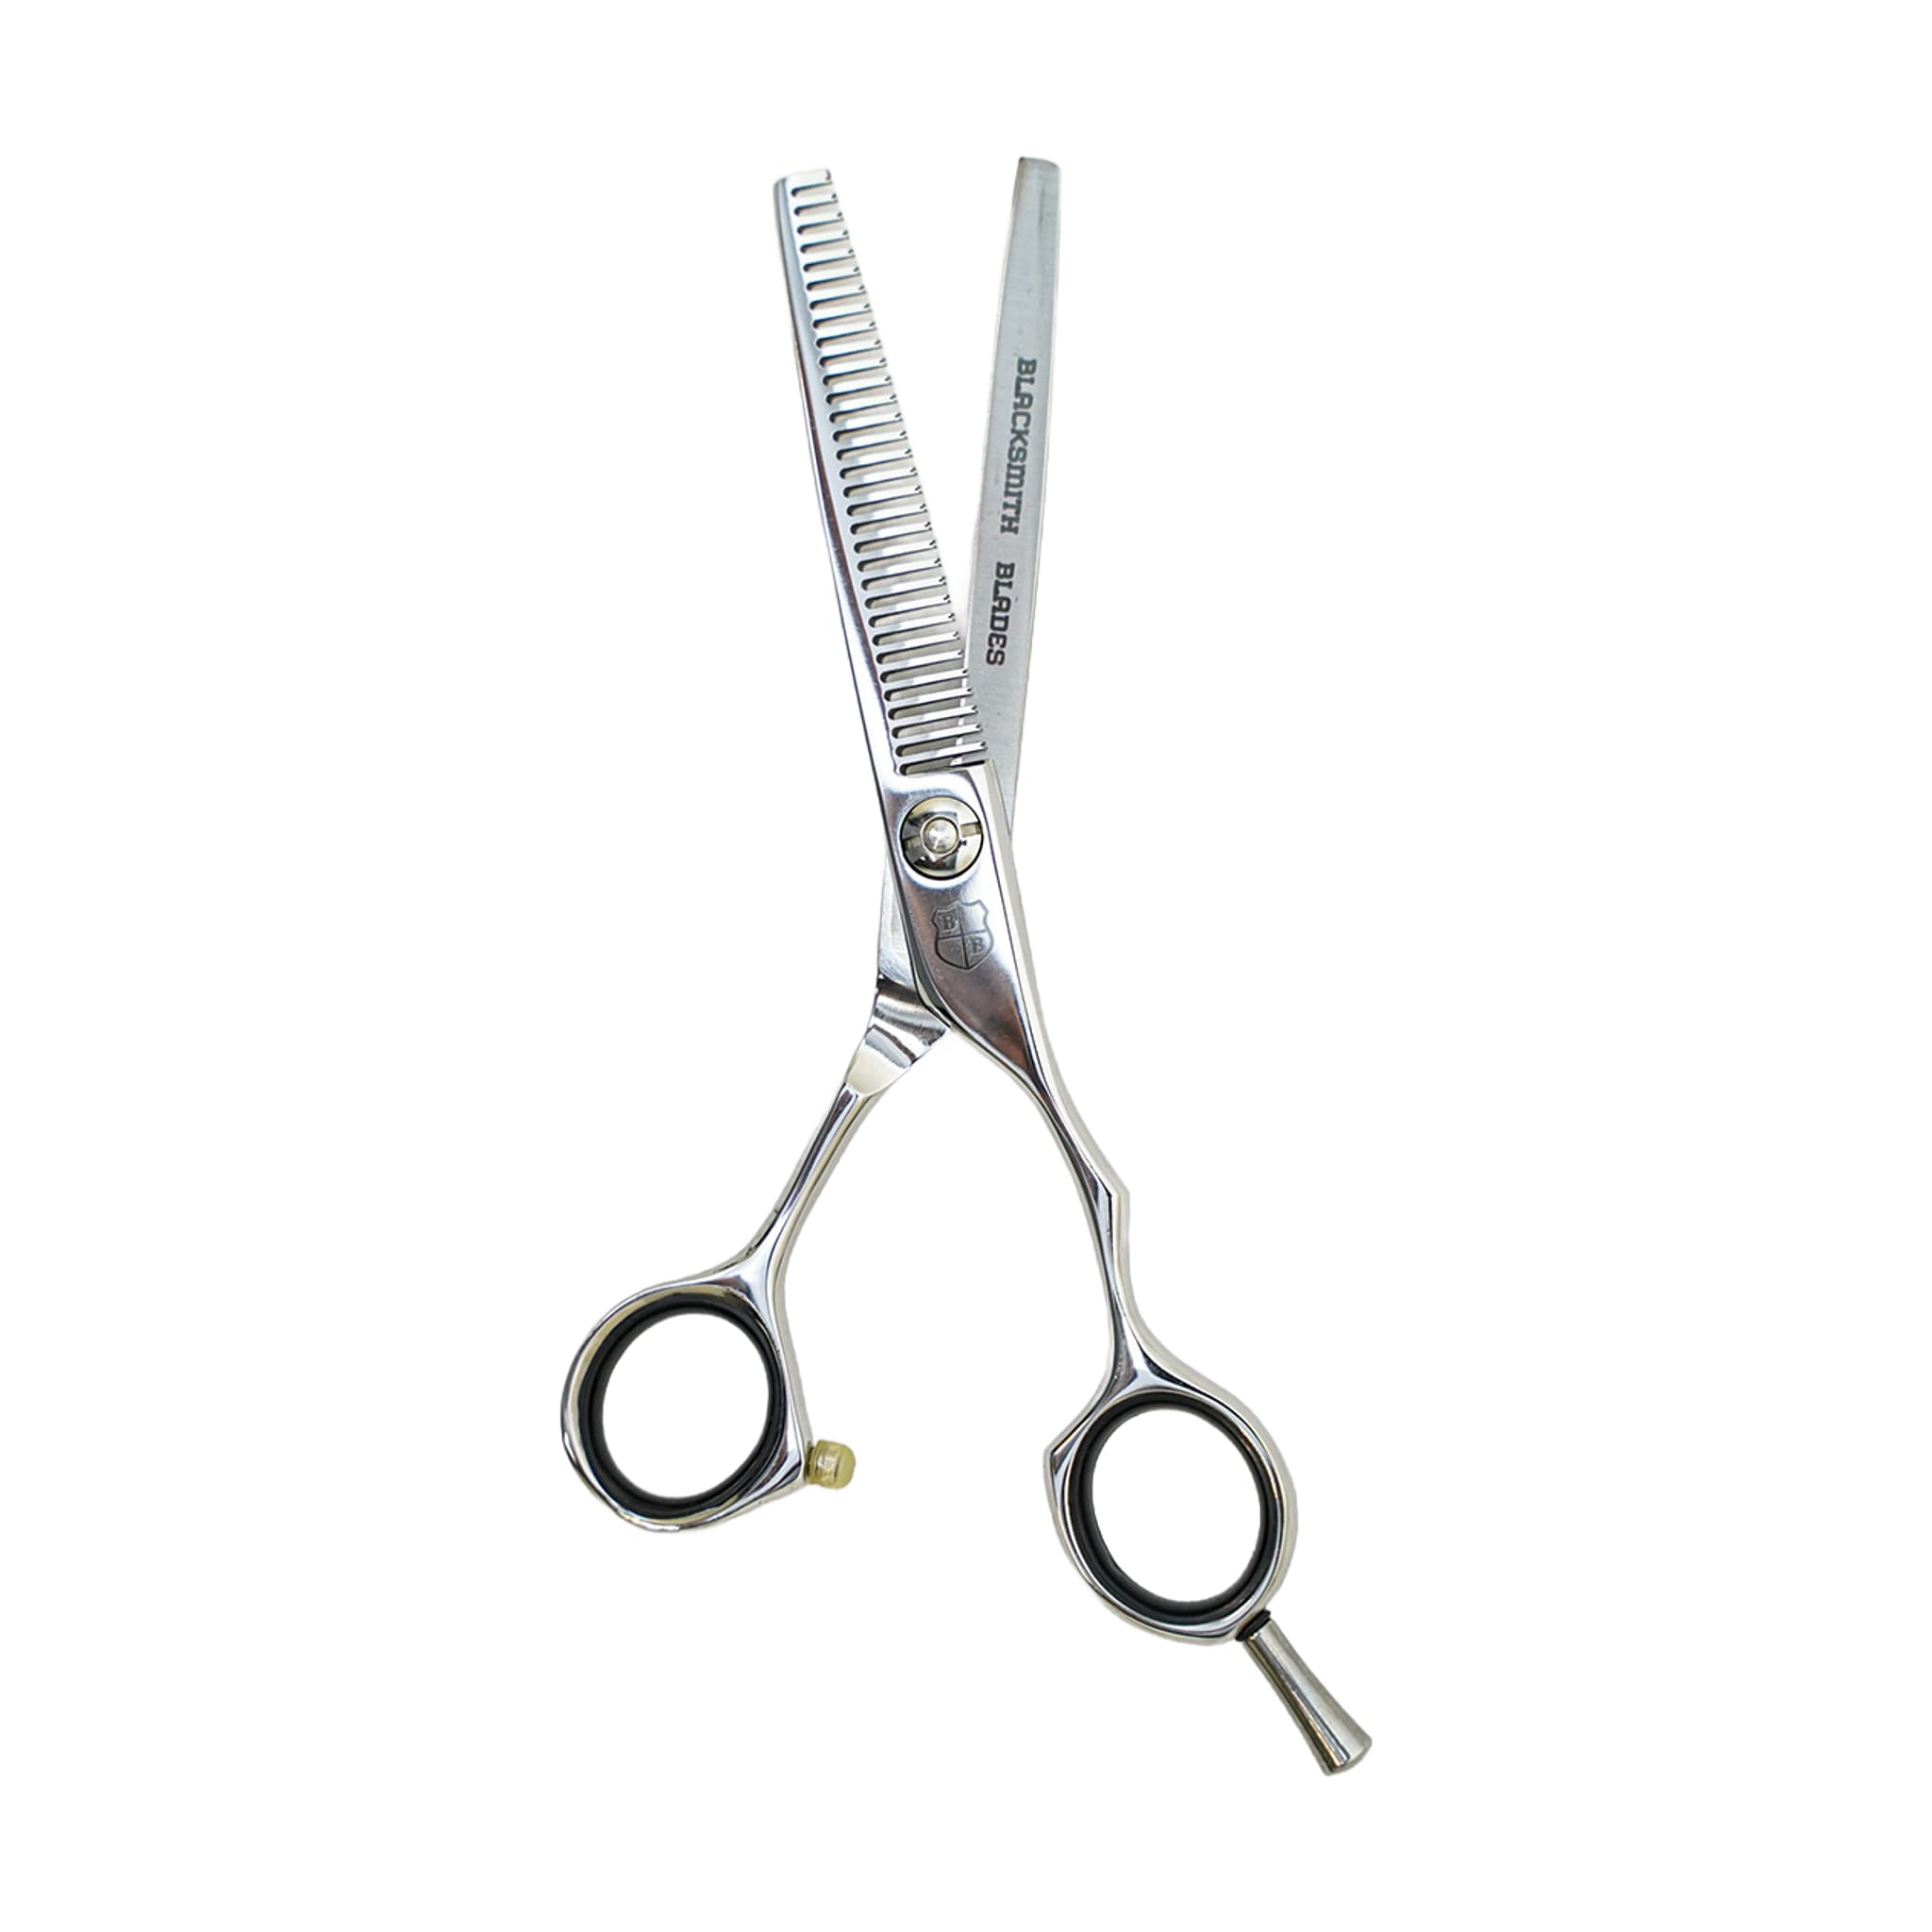
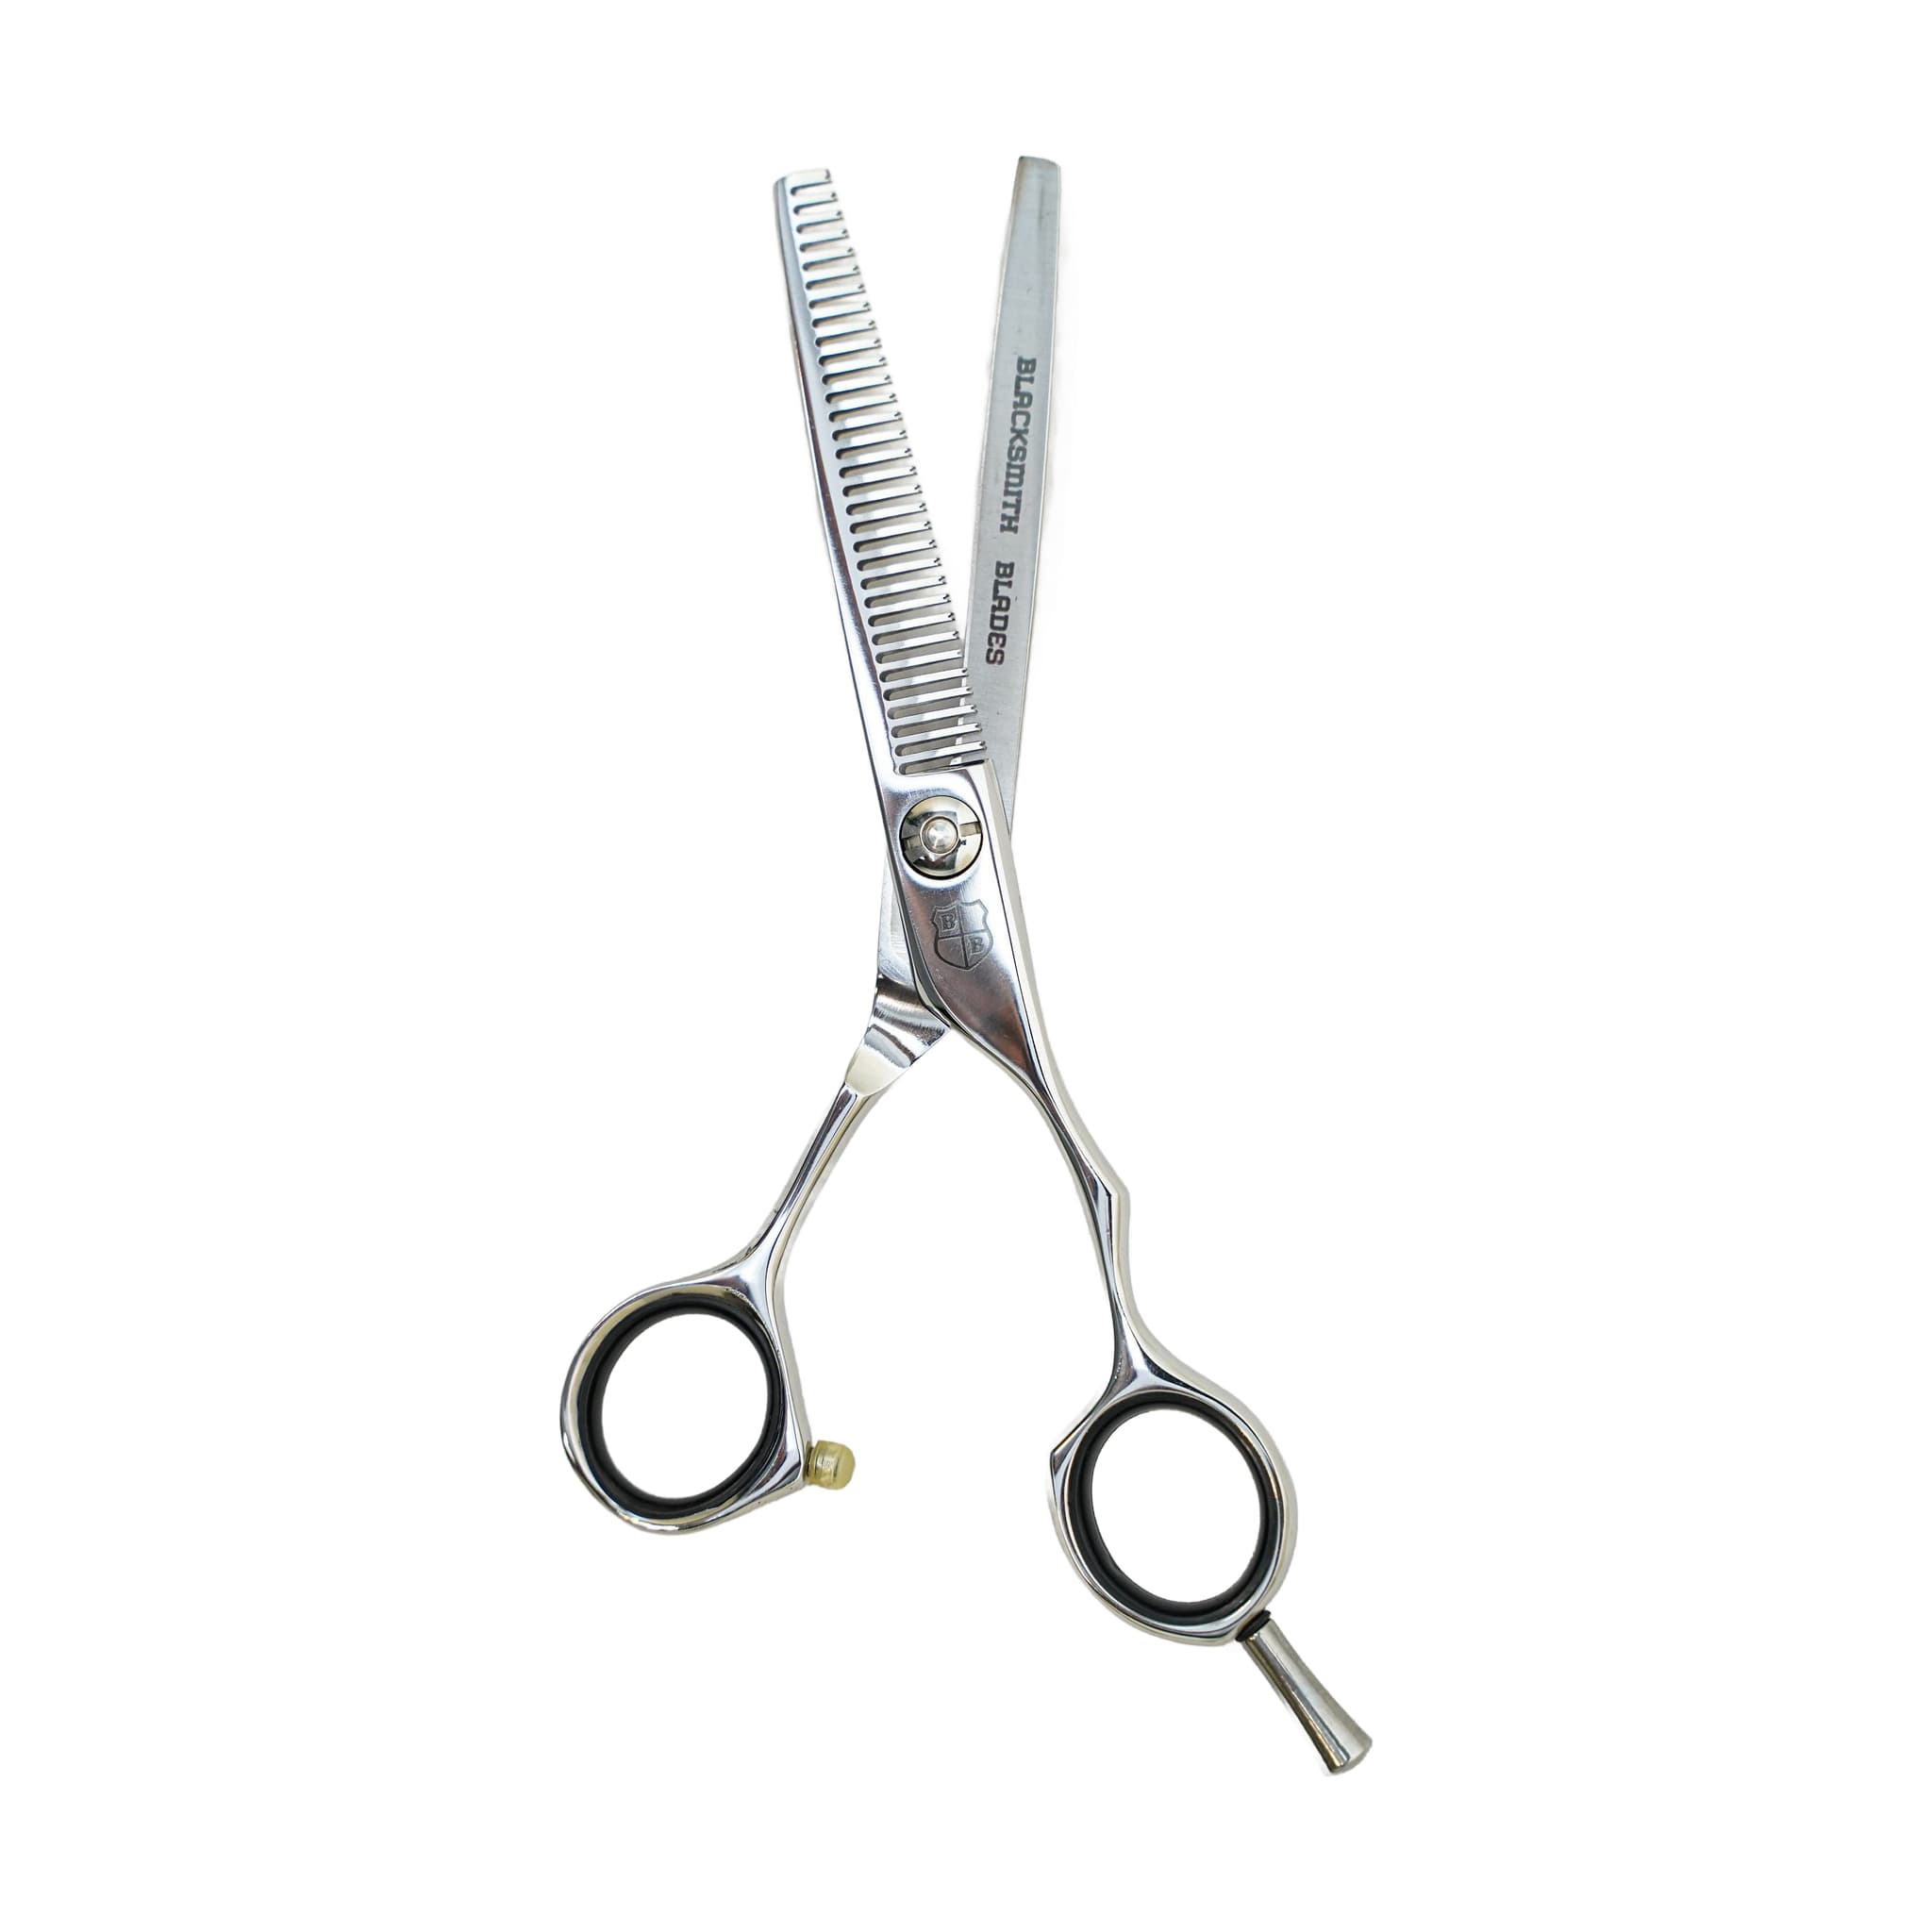
What Is the 6CR 32T Professional Thinning Shear?
The 6CR 32T Professional Thinning Shear gives you 32 teeth for controlled blending and texture work. In this guide, you will learn how to place each pass deliberately, adjust your approach for different hair types, avoid over-thinning, and care for the shear between services.
Decide the Purpose Before You Cut
Before you pick up a thinning shear, identify exactly what you are trying to achieve. Ask yourself whether the goal is to reduce density, soften a line, blend a transition, or create movement. Each of those goals requires a different placement approach, and some may call for a different tool entirely. If the purpose is unclear, step back and evaluate the haircut before cutting more.
Random cuts may remove hair, but they rarely improve the haircut. Thinning shears are easy to close and hard to undo, so having a clear reason before each pass is what separates controlled technique from guesswork.
Understanding What 32 Teeth Does
The tooth count on a thinning shear directly affects the result you get. A shear with more teeth generally removes less hair per closure and creates a softer blend, while a shear with fewer or wider teeth removes more hair and creates stronger texture. That is why a 32T shear behaves differently from a 10T chunker. Both can be useful, but they should not be used the same way.
Use the 32T when you want to remove weight gradually and check the shape as you work. If you need stronger separation or heavier texture, choose a lower tooth count or a chunker instead.
Placement: Where to Thin and Where to Avoid
Before you make a single pass, look at the haircut from a distance. Identify where the shape is heavy and where the hair needs to stay strong. Removing weight without a plan can weaken the perimeter, create frizz, or leave visible holes in the cut.
- Work through mid-lengths and selected weight areas rather than randomly at the root. Most controlled thinning happens in these zones.
- Stay away from the scalp unless you have a specific reason and the experience to execute it. Cutting too close to the scalp can create short interior pieces that push hair outward or create frizz, and this is one of the most common mistakes stylists make.
- Avoid removing too much hair near the ends. Thinning heavily at the perimeter can make the outline look thin or weak.
- Use the tool only where it improves the shape — through the interior, around a bulky transition, or in a dense area that needs movement.
The best thinning work is often invisible. Your client sees a better shape and softer movement, not obvious chunks missing from the haircut. That is the standard to aim for with every pass.
Working with Clean Sections
Clean sectioning gives you control over exactly where you are working and helps you avoid cutting the same area repeatedly without realising it. After each pass, comb through the section and evaluate the shape before making another cut. Hair can look different after it settles back into position, so giving it a moment to fall naturally before you assess is a worthwhile habit.
Professional texturizing is often slow and deliberate. There is no advantage to rushing through sections. Taking your time and working methodically is what keeps the result controlled and balanced.
Adapting Technique to Hair Type
Not every client?s hair responds the same way to a thinning shear. Adjust your placement and the number of passes to the texture, density, and condition of the hair in front of you.
- Fine hair: Use restraint. Fine hair can look thin very quickly, so fewer passes and careful placement are essential.
- Curly hair: Pay close attention to where you place the shear. Short interior pieces created by thinning too close to the scalp can expand and create frizz once the curl pattern reasserts itself.
- Thick, dense hair: This hair type may tolerate stronger texture, but even then you should work in controlled passes rather than removing large amounts at once.
- Fragile or damaged ends: Removing too much weight from fragile ends can make the hair look weaker. Sometimes a cleaner cut is a more appropriate answer than continued thinning.
Avoiding Over-Thinning
Over-thinning usually happens when a stylist tries to fix bulk without addressing the underlying structure of the cut. If the shape is wrong, the right answer is to fix the shape first. Thinning shears are a refinement tool, not a substitute for the haircut itself.
Used in the wrong place or too many times, thinning shears can create weak ends, gaps, or frizz. Fine hair, curly hair, and damaged hair require extra restraint because the mistakes are more visible on these textures. If you find yourself making pass after pass without seeing improvement, stop and reassess the structure before continuing.
Caring for Your 6CR 32T Thinning Shear
Thinning and texturizing shears collect hair and product between the teeth. If that buildup is left unaddressed, the shear can start to drag or feel inconsistent during use. Cleaning between uses is especially important for this type of tool.
- Oil the pivot regularly to keep the action smooth and consistent.
- Store the shear where the teeth cannot be damaged. A nicked tooth can change the way the tool performs and may cause pulling.
- When the shear starts to snag, pull, or feel rough during use, it is time for professional sharpening. These tools require careful service because the teeth and cutting edge must work together.
If the shear changes from a smooth cut to snagging, pulling, or a rough feel, stop and arrange professional sharpening before you continue using it.
Ready to Work with the 6CR 32T?
Choose the left- or right-handed 6CR 32T that matches your working hand, then use the placement and sectioning steps above to build control one pass at a time.
Related resources
Sources
- 6CR 32T Professional Thinning Shear - Blacksmith Blades
- How to Use Texturizing and Thinning Shears Like a Professional - Blacksmith Blades
- Mastering the Art of Texturizing and Thinning Shears - Blacksmith Blades