September 26, 2026/4 min read
How to Use the 6CR 7 Inch Professional Cutting Shear: Technique, Handle Selection, and Daily Care
Learn what the 6CR 7 Inch Professional Cutting Shear is designed for, how to choose your handle, check tension, and follow a simple daily care routine to protect the edge and pivot between sessions.
What the 6CR 7 Inch Professional Cutting Shear Is Built For
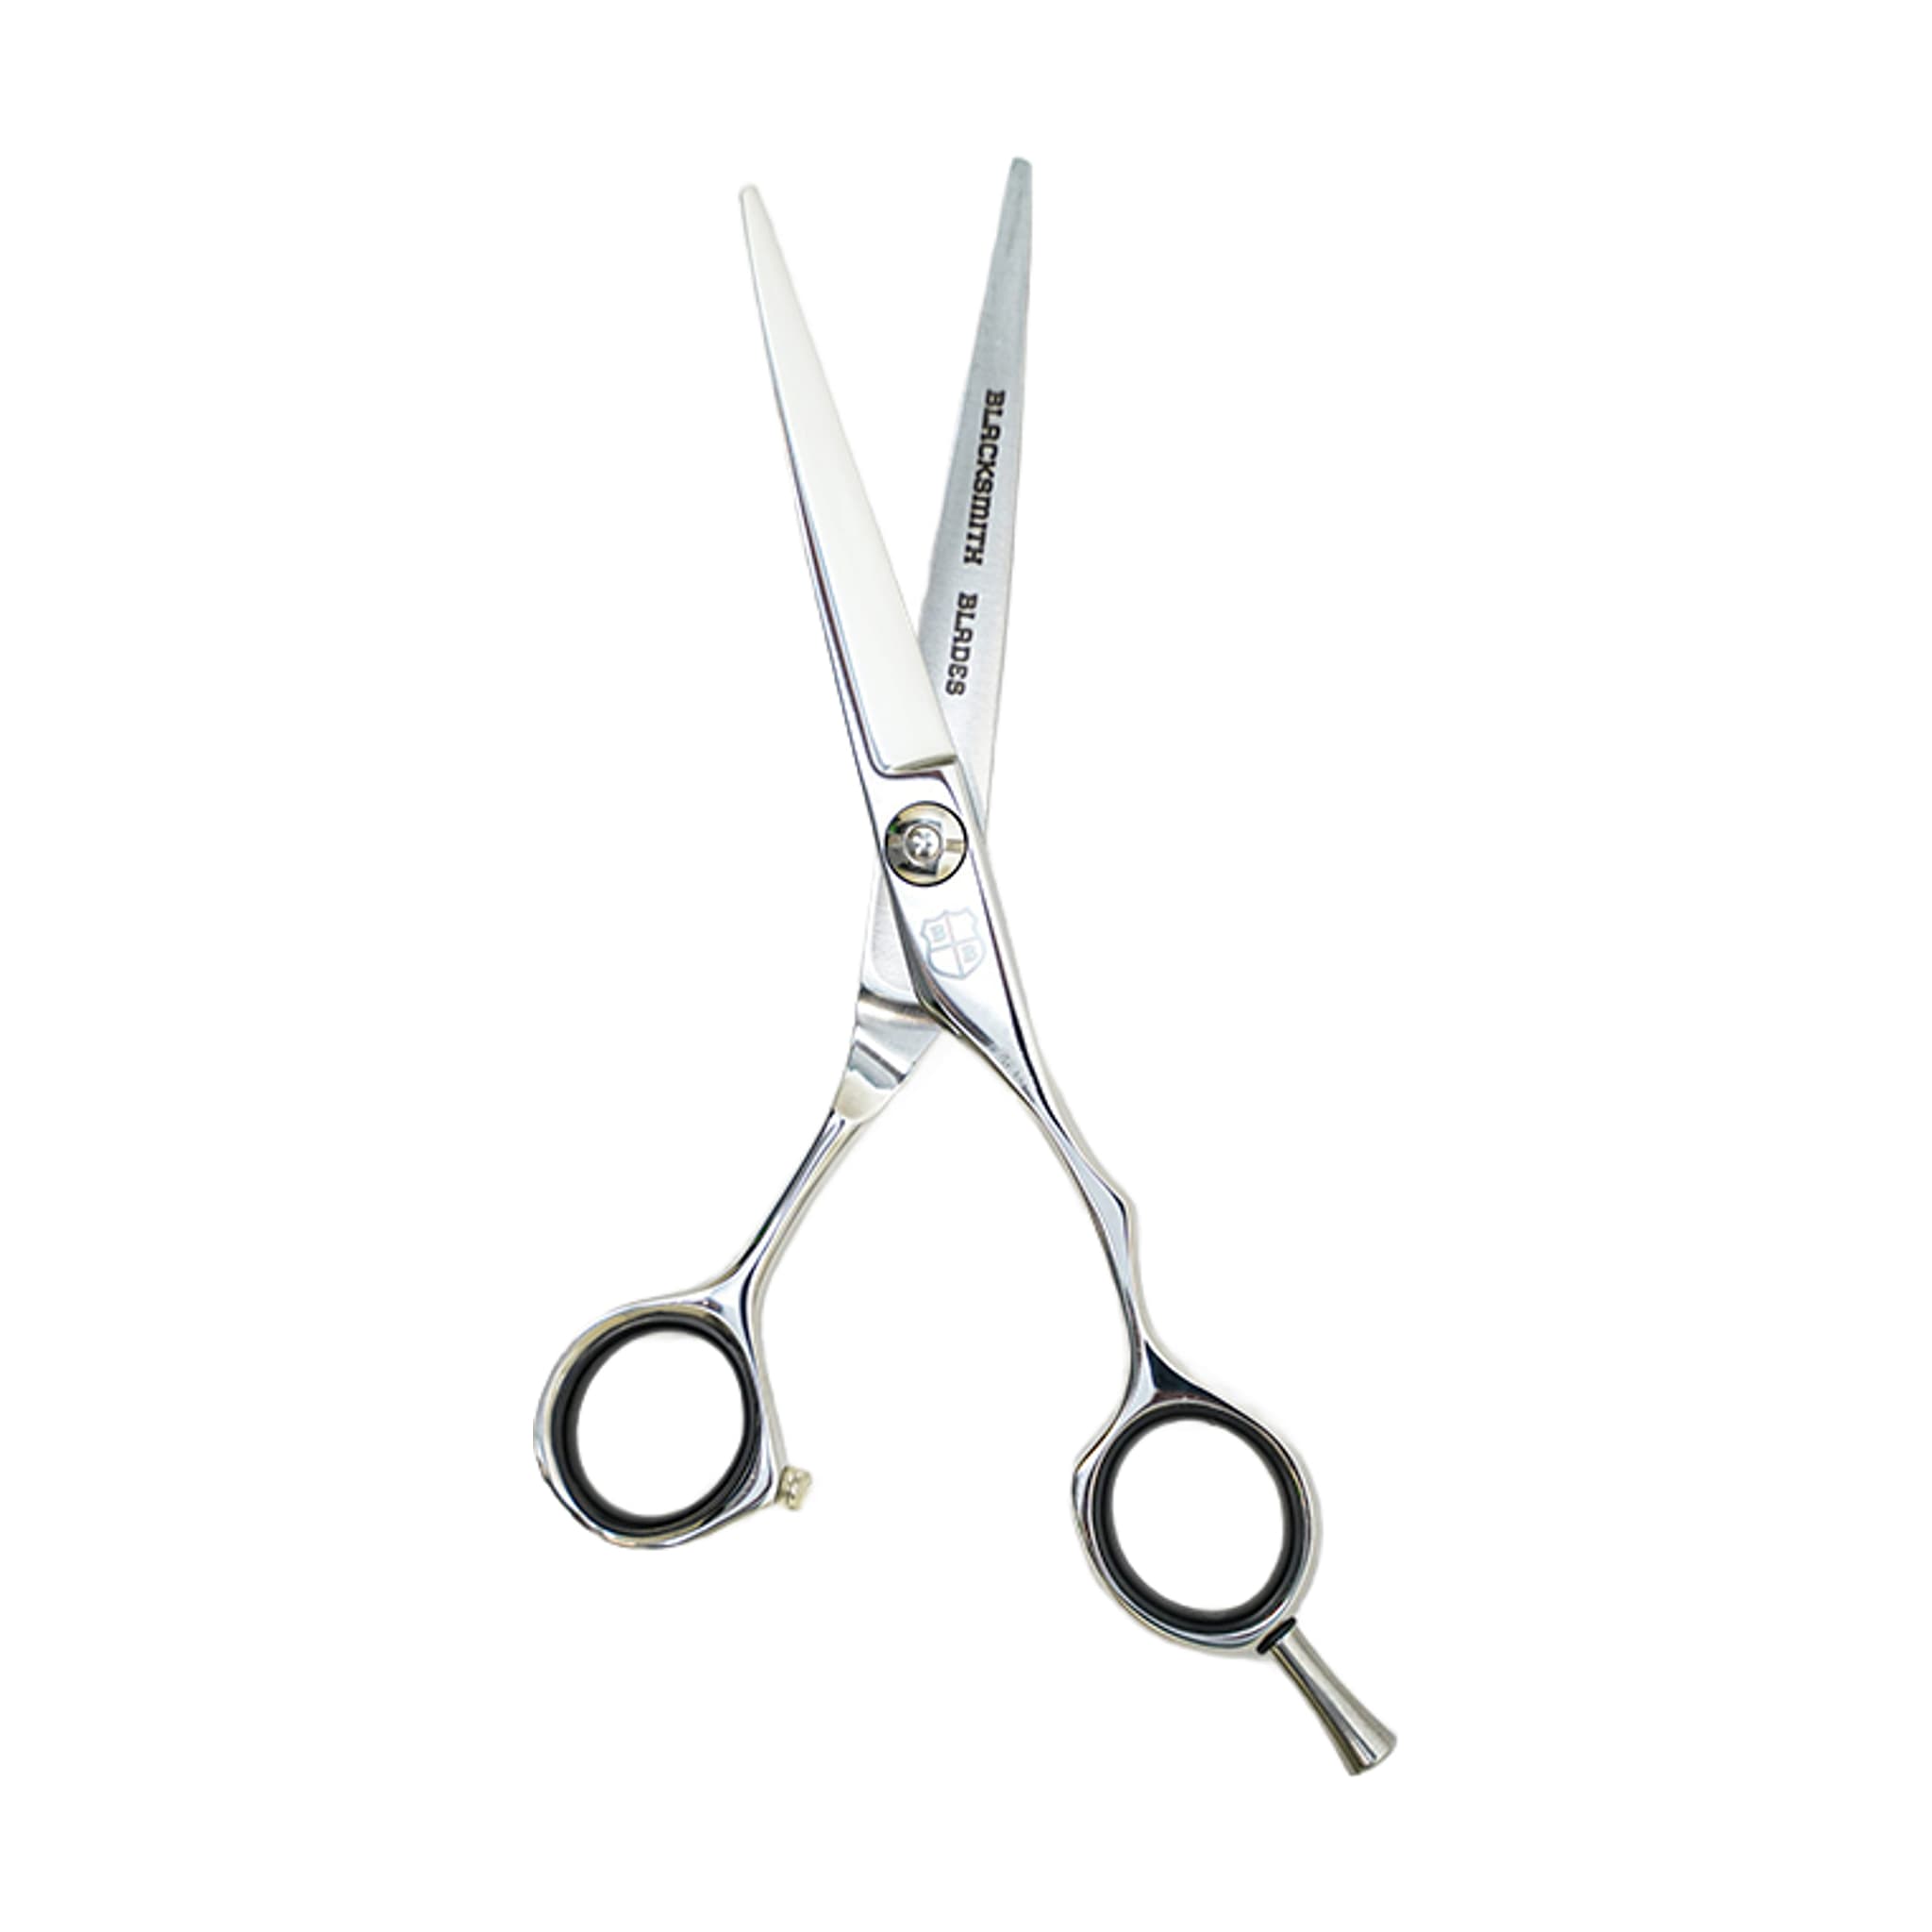
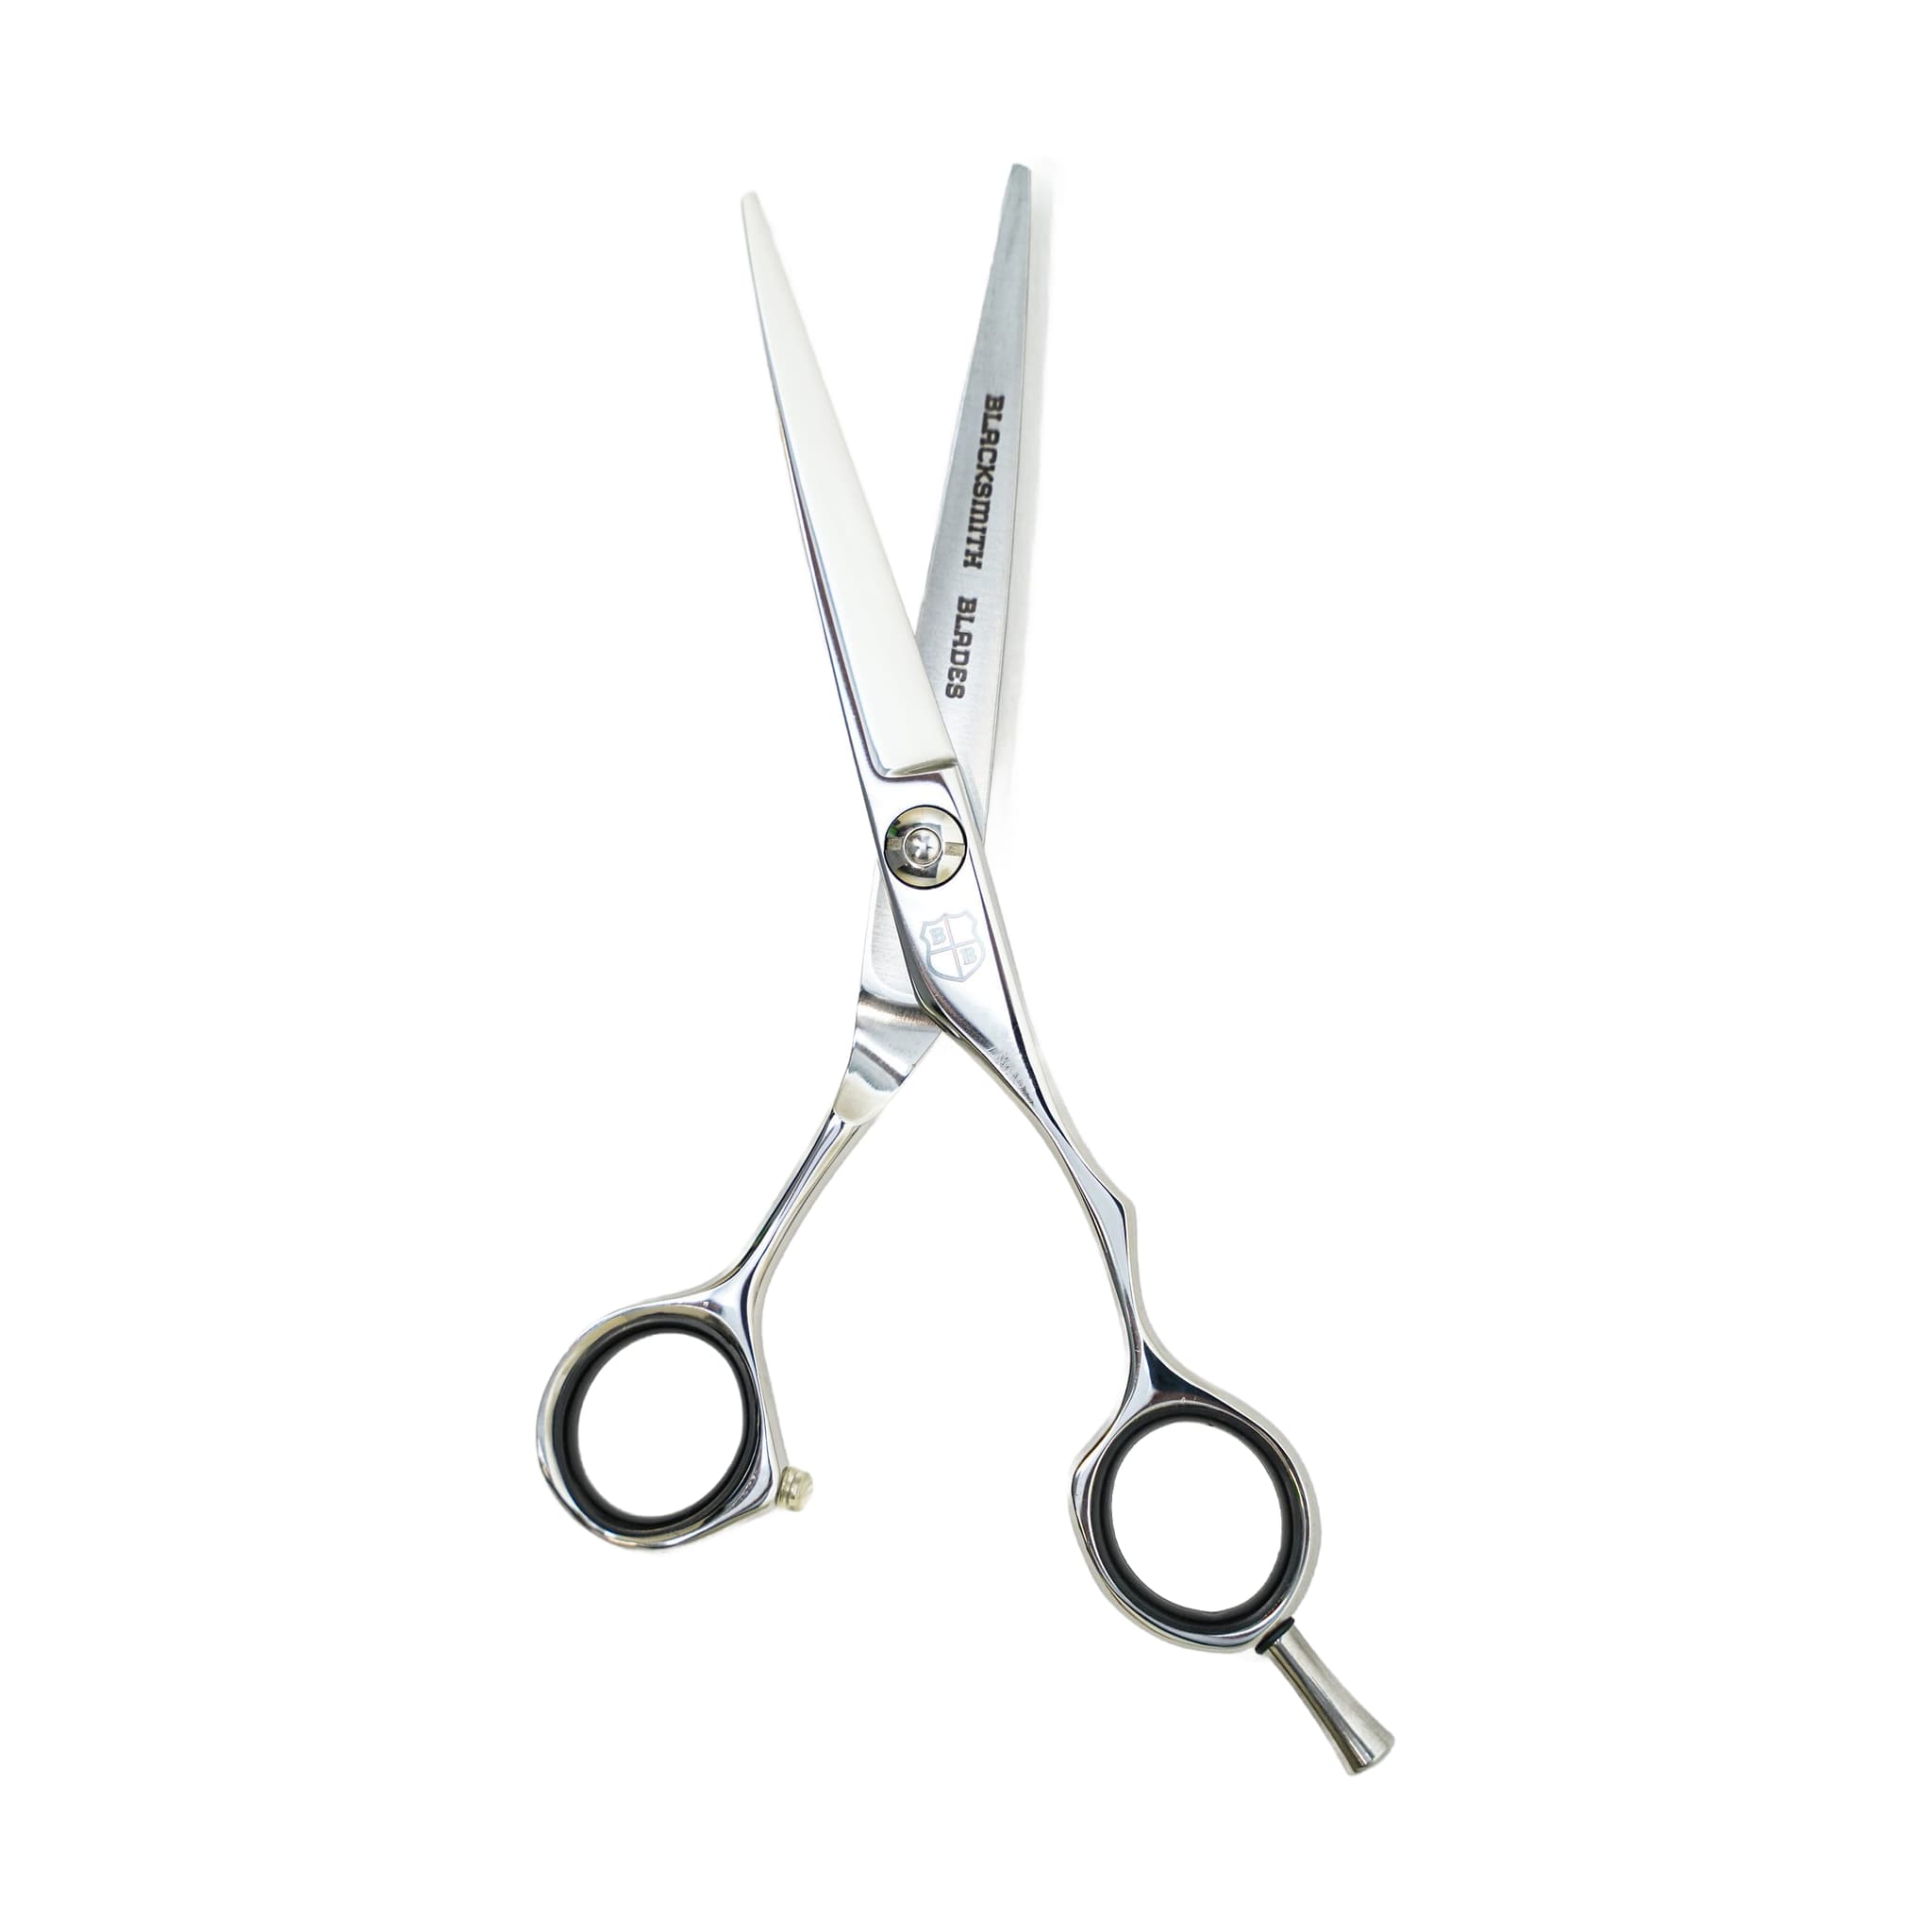
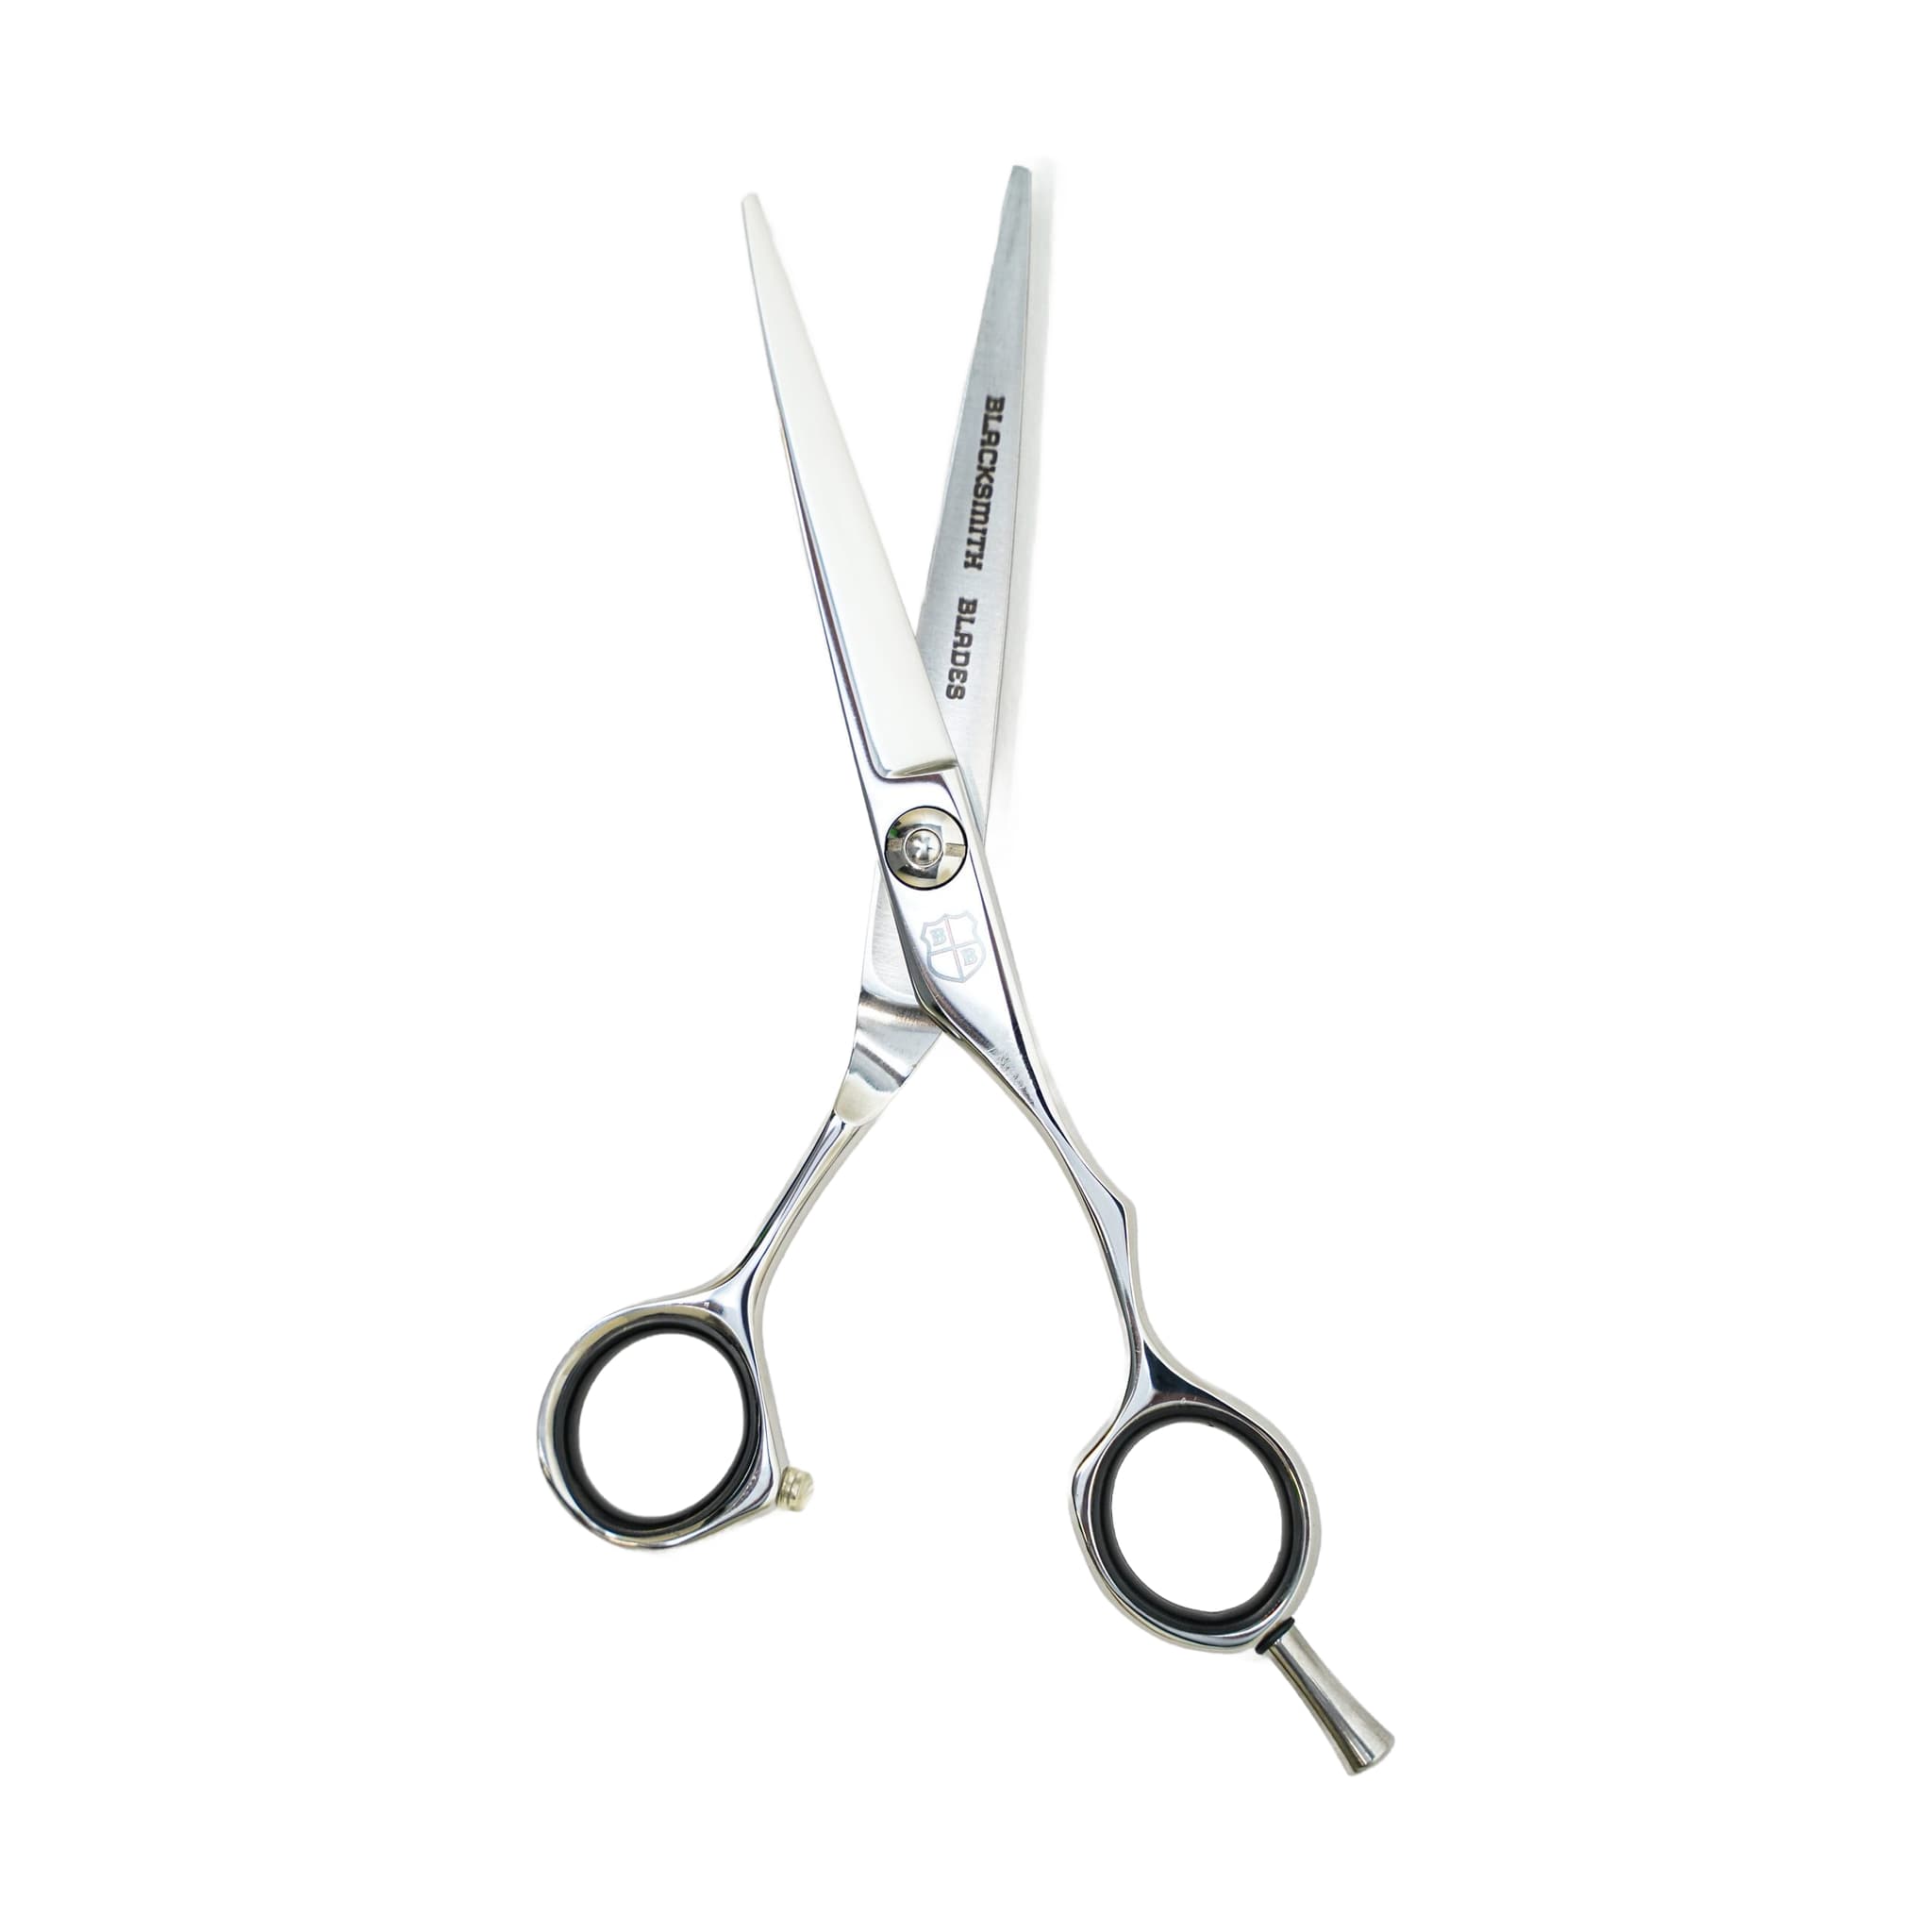
The 6CR 7 Inch Professional Cutting Shear is a straight cutting shear designed as an accessible option for students in training and working stylists who want a capable tool suited to their budget. It is the longest 6CR cutting shear in the current range, and that extra length shapes which tasks you will reach for it to do.
The 6CR steel used in this shear is characterized as affordable and practical — a solid starting point for someone building their kit or advancing into professional work without committing to a higher-grade investment right away. The shear is used both as an academy tool and by working professionals.
Understand the Role of a Longer Blade Before You Cut
A straight cutting shear handles basic cutting, layering, point cutting, and general shaping. What sets this 7-inch model apart from shorter cutting shears is the blade length itself: a longer blade can cover more hair in a single pass and suits scissor-over-comb technique. If your session involves long sections or larger panels, your 7-inch shear is well matched to that work.
Keep in mind that a shorter shear may be easier to position for fringe and fine detail work. Knowing where the 7-inch length helps you — and where a shorter tool might serve better — lets you reach for this shear with a clear purpose rather than defaulting to it for every task.
Choosing Your Handle: Left-Handed or Right-Handed
The 6CR 7 Inch Professional Cutting Shear is a variable product, meaning you select either a left-handed or right-handed handle before your shear ships. This is a decision you need to make once and get right — handle design directly affects your comfort at the station, and a shear that fits poorly can create fatigue and reduce your control during a cut.
Choose the handle that matches your dominant cutting hand. If you are right-handed, select the right-handed variation. If you cut with your left hand, select the left-handed option. A handle designed for your hand lets it stay relaxed through repeated closing motions across a full session.
Checking Tension Before Your First Session
Before you cut with your shear for the first time — and any time the feel changes — take a moment to check the tension. Shear tension is the amount of pressure holding the blades together as they close. When it is set correctly, the blades meet cleanly from heel to tip. When the screw is too loose, hair can bend between the blades instead of cutting cleanly. When it is too tight, the shear can feel heavy or tiring in your hand.
To check tension, hold the shear open, lift one handle, and release it to see how the blades fall closed on their own. A correctly tensioned shear closes partway but neither drops shut with force nor hangs fully open. Before you judge the feel, add a small amount of shear oil at the pivot — oil affects how the tension reads, so check it after oiling rather than before.
If you need to adjust, make small changes and test again before cutting hair. Stop if the screw, ride line, or blade feels damaged and send the shear for service rather than continuing to force an adjustment.
Daily Care After Every Session: Wipe, Oil and Store
A consistent end-of-session routine protects your edge and pivot between professional sharpenings. The routine has three steps: wipe, oil, and store.
- Wipe the blades after every session. Residue from hair, product, and disinfectants can accumulate around the blades and pivot over the course of a day. Clearing that buildup after use protects the finish and keeps the blades moving smoothly.
- Oil the pivot. Apply a small drop of shear oil at the pivot point to reduce friction and help the blades move cleanly. Oiling also makes your tension checks more accurate. Work the oil through by opening and closing the shear several times.
- Store with protection. Keep your shear in a case or protected holder rather than loose in a drawer or bag. Contact with other tools, counters, or hard surfaces can introduce nicks that affect how the shear cuts.
- Use your shear only on hair. Paper, tags, thread, packaging, and fabric can dull or damage a hair shear edge quickly. Reserve this tool for its intended purpose.
Related resources
Sources
- 6CR 7 Inch Professional Cutting Shear - Blacksmith Blades
- Adjusting Shear Tension - Blacksmith Blades
- Daily Shear Care and Storage - Blacksmith Blades
- Different Types of Haircutting Shears and How to Choose the Right Pair - Blacksmith Blades