November 9, 2026/3 min read
Where You Should Remove Weight With the 6CR 32T Professional Thinning Shear While Protecting the Perimeter
Step back from the haircut, find where it is truly heavy, protect your perimeter, and adjust for hair type before you pick up the 6CR 32T Professional Thinning Shear.
Read the haircut before you pick up the shear
Before you reach for a thinning, texturizing or chunker shear, look at the haircut from a distance. That view shows you where the shape is heavy and where the hair needs to stay strong. Let the cut tell you where weight should come out. A cut that merely feels heavy under your hands is not a reason to start thinning.
Name your goal before you cut. You might want to reduce density, soften a line, blend a transition, or create movement. Each goal calls for different placement, and sometimes a different tool. If you can't state the purpose, step back and evaluate the haircut again before you cut any more.
Decide where weight comes out and what you protect
- The interior of the haircut
- The area around a bulky transition
- Dense areas that need movement
Those are the places where you may consider weight removal, and you should use the shear only where it improves the shape. Thinning with no plan can weaken the perimeter, cause frizz, or leave visible holes, so treat the perimeter as the part of the cut you are protecting. Controlled thinning mostly happens through the mid-lengths and in selected weight areas, not randomly at the root.
Stay away from cutting too close to the scalp. It can leave short interior pieces that push the hair outward or create frizz. Near-scalp weight removal does exist as an advanced approach, but it takes experience and a clear plan.
Where the 6CR 32T fits in your cutting sequence
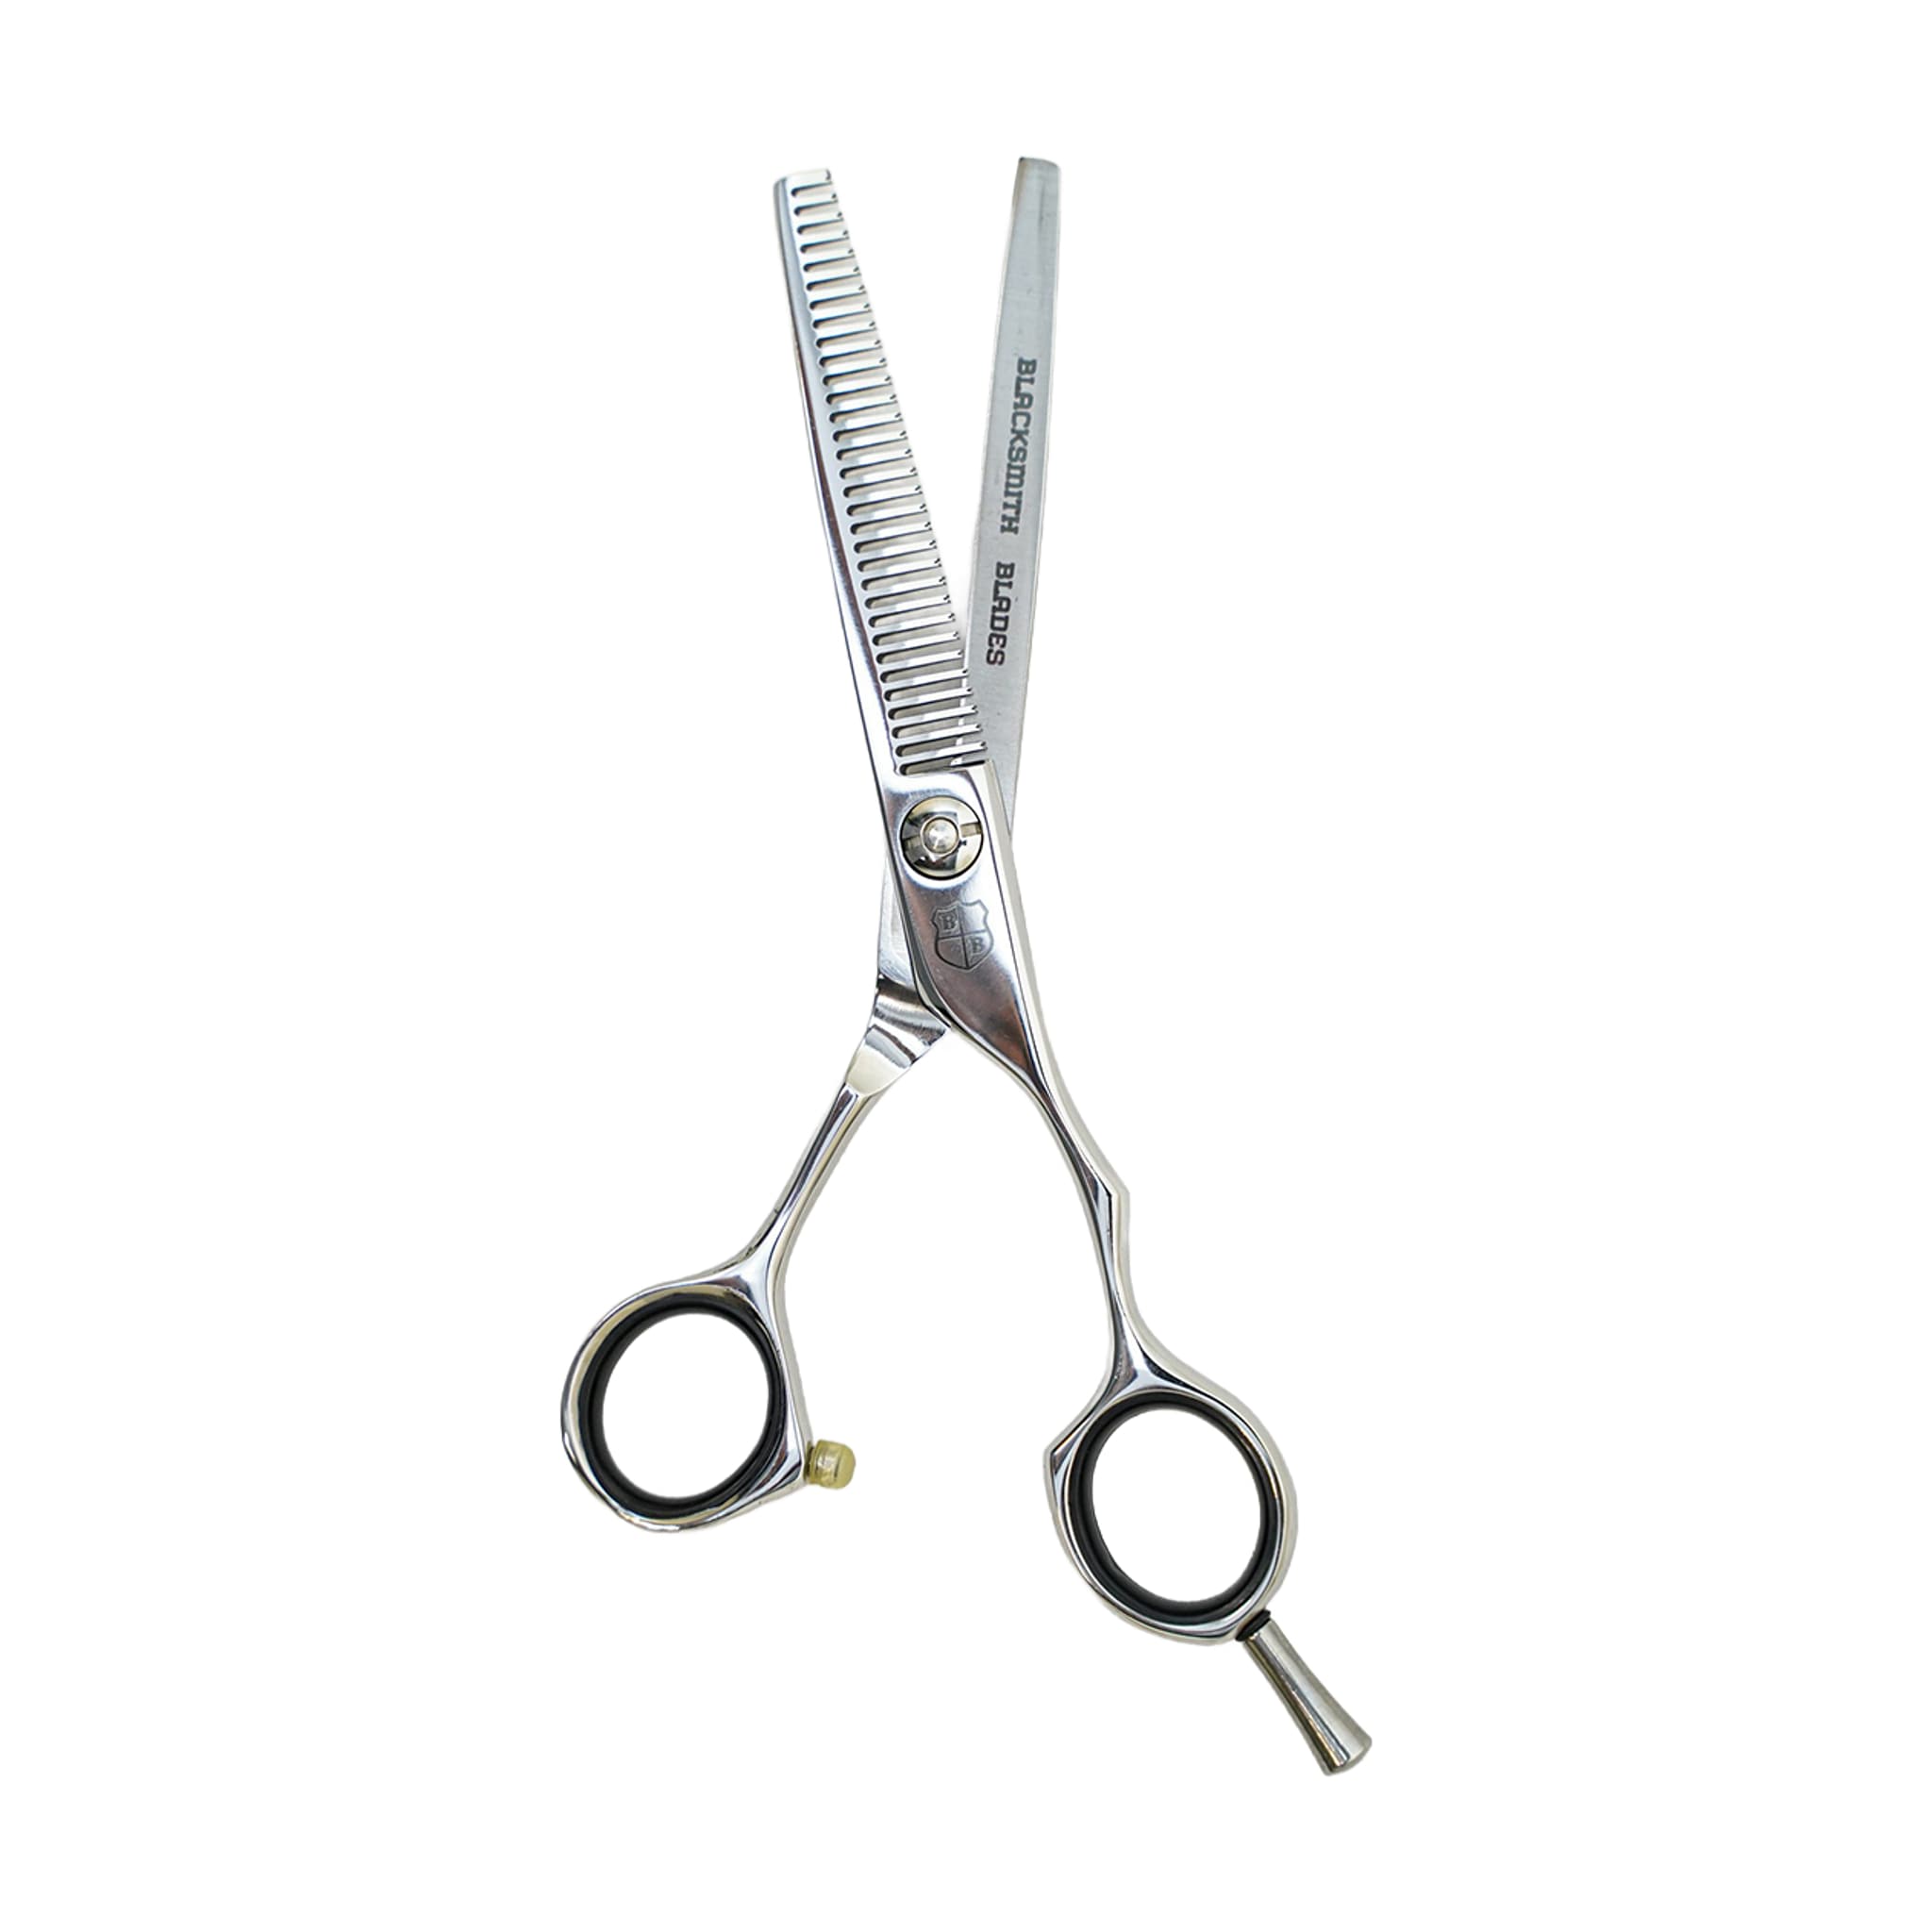
Shape comes first, because texturizing can't repair a poorly built haircut. You'll reach for the 6CR 32T Professional Thinning Shear after the shape is established, when you want to soften a strong line or blend weight following the main cut. Think of it as a blending partner to your straight cutting shear, not a replacement for it.
Tooth count shapes how strong the effect is. A higher tooth count suits soft blending, while a lower-tooth-count texturizer or chunker gives stronger separation and removes more hair. Choosing the wrong tool can take out too much too quickly.
Work the 6CR 32T in controlled sections and check your result between passes. This matters most with fine hair, or when you are switching over from a lower-tooth-count tool. Keep your sections clean, comb through after each pass, and judge the shape before you make the next cut, since hair can look different once it settles.
Adjust your placement for hair type and fragile ends
- Fine hair: use restraint, because it can look thin quickly.
- Curly hair: place weight removal carefully, since short interior pieces can expand and create frizz.
- Thick, dense hair: it may tolerate stronger texture, but you should still work in controlled passes.
- Fragile ends: removing too much weight can make the hair look weaker, and a cleaner cut or a treatment plan may serve your client better than more thinning.
Don't apply the same thinning pattern to every client; adapt your use of the tool to the hair in front of you. Good thinning is often invisible. You see a better shape and softer movement, with no obvious chunks, holes or weak ends. If you do see chunks or weak ends, treat that as a sign you've overdone it.
Choose your handle and take a closer look
The 6CR 32T Professional Thinning Shear comes in left-handed and right-handed handle options, so you can pick the one that matches your working hand. View the shear to see the options and decide whether it fits the blending work in your cutting sequence.
Related resources
Sources
- 6CR 32T Professional Thinning Shear - Blacksmith Blades
- How to Use Texturizing and Thinning Shears Like a Professional - Blacksmith Blades